You guys. It has been 13 months since we started renovating our kitchen. I know. While you're probably imagining us living in chaos for over a year, it was only bad for about two months. Once our countertops and cabinets were in we were able to use our kitchen it just wasn't as pretty. Throw in some delayed contractor schedules and you know having a baby and now I'm here to say it is DONE.
There is a lot to cover so this reveal is going to spread across a couple different posts. Before we get to the (shocking) before and afters, I wanted to take you down memory lane for a bit.
So a little backstory about our house (which you can read more about here), it was built in 1930 and the kitchen hasn't been updated since probably the late 40s / early 50s. There have been two official owners before us: the original owners who lived here until 2008 (the last 20-30 years of them owning it their kids used it as a rental property after their parents were gone), and then the person we bought it from who had also been using it as a rental. It's actually really cool that the homeowner history is so short because we were able to learn a lot about the original owners. The ex-husband of the woman we bought the house from actually lives across the street from us so we were able to get the scoop! San Antonio can be SUCH a small town.
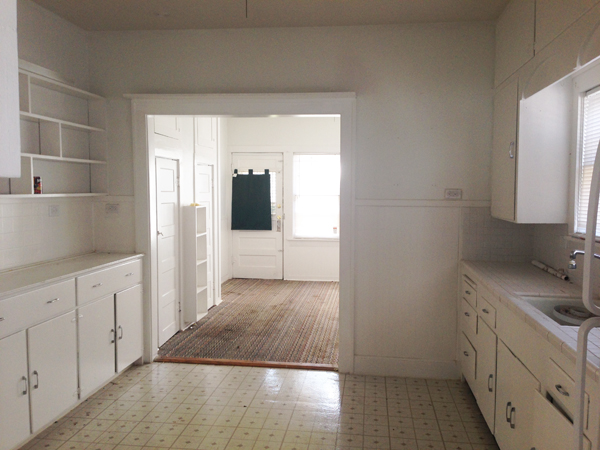
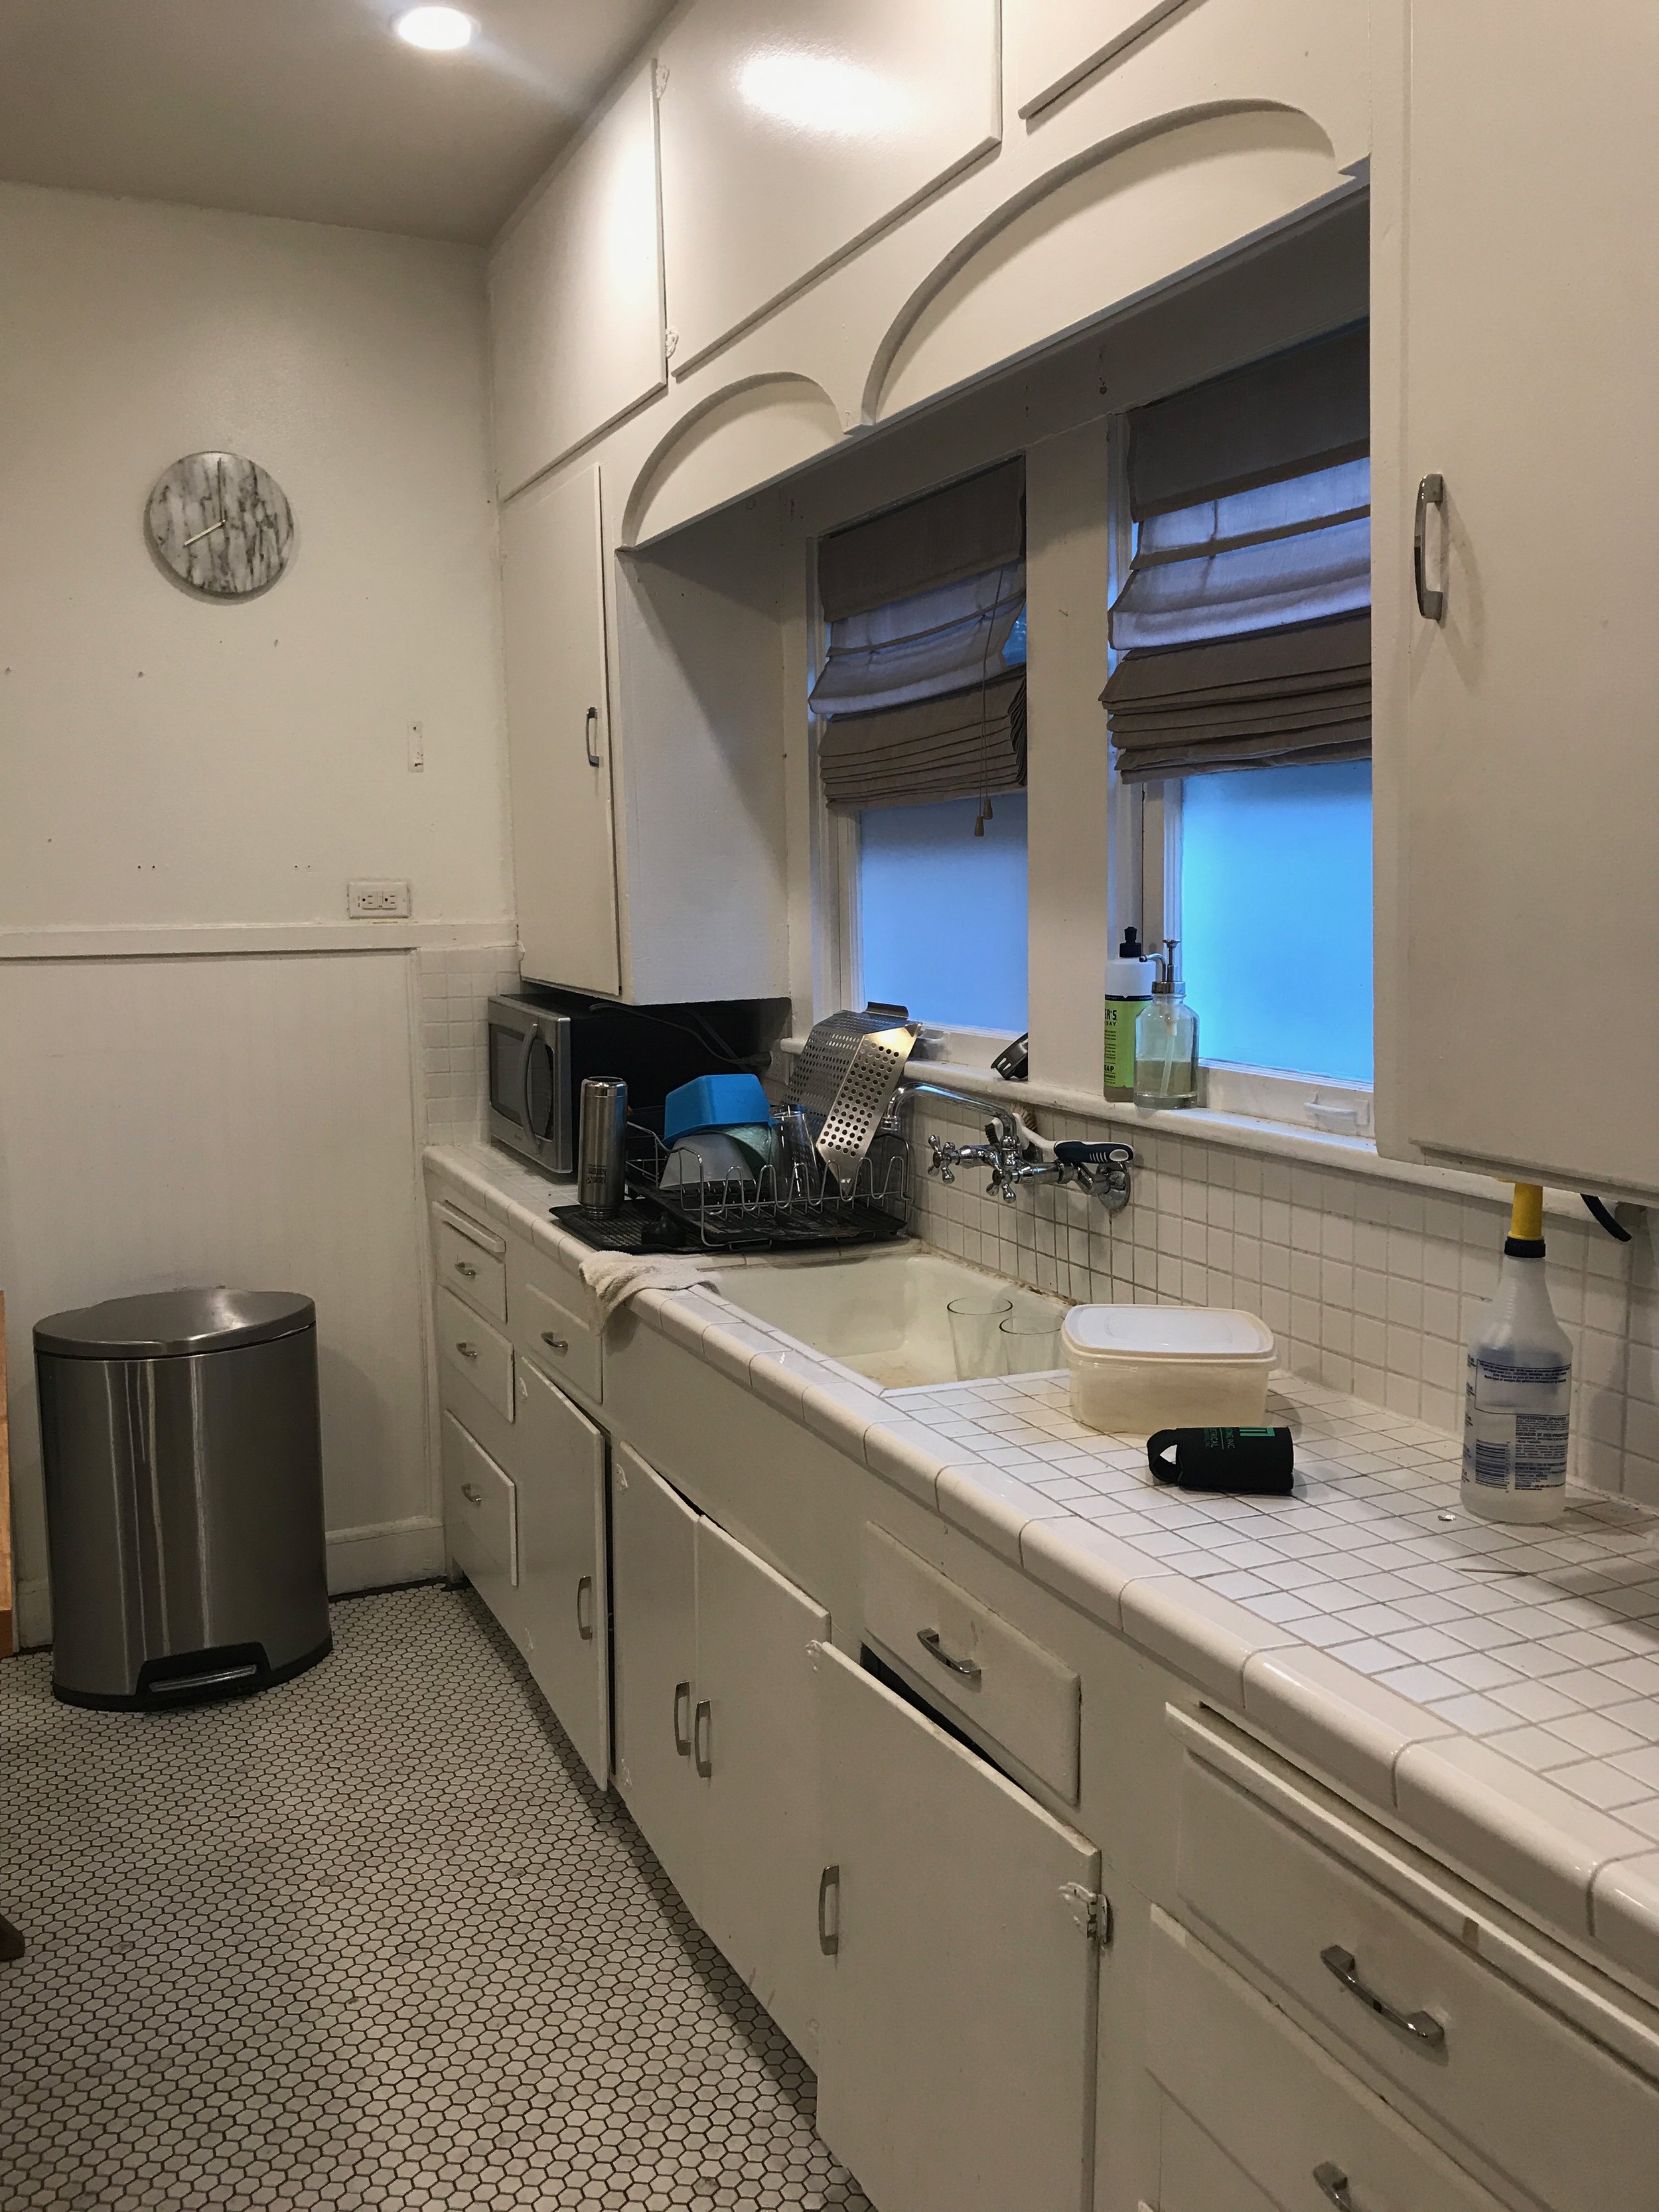
The husband was a carpenter and built all of the kitchen cabinets. However, he and his wife must have been short because the counters were pretty low, the toe kicks were almost non existent, and the upper cabinets came down really low. But because it was a custom kitchen, it came with lots of really cool storage features for its time.
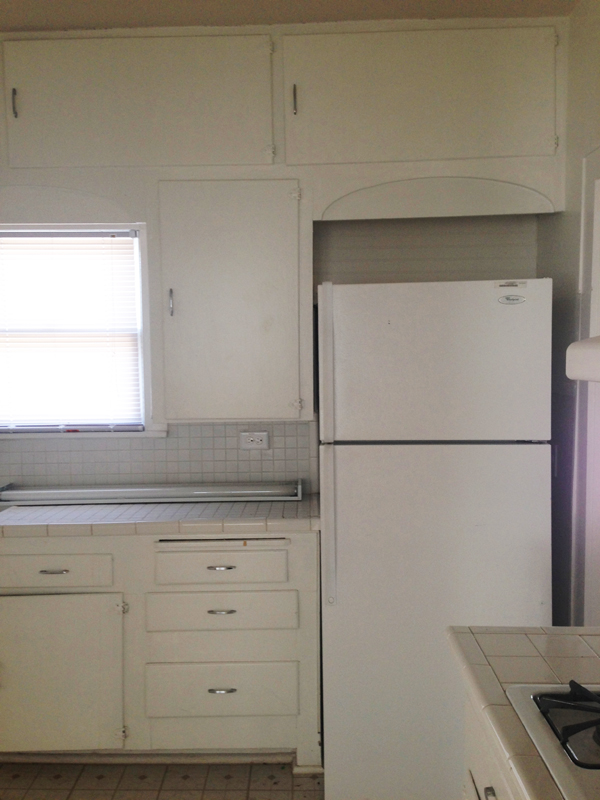
See how low the upper cabinets come down? The countertops are only about 18" deep (standard is 24") so they are literally in your face if you are trying to use the counters as prep space when cooking. The wood countertop on the opposite side is only 13" deep. So strange.
As you can see we were not hurting for storage. However we seriously never opened those top cabinets until demo day. I was so afraid of what we would find inside ha. The entire wall of cabinets just felt so visually heavy and covered up so much of the window with shadows.
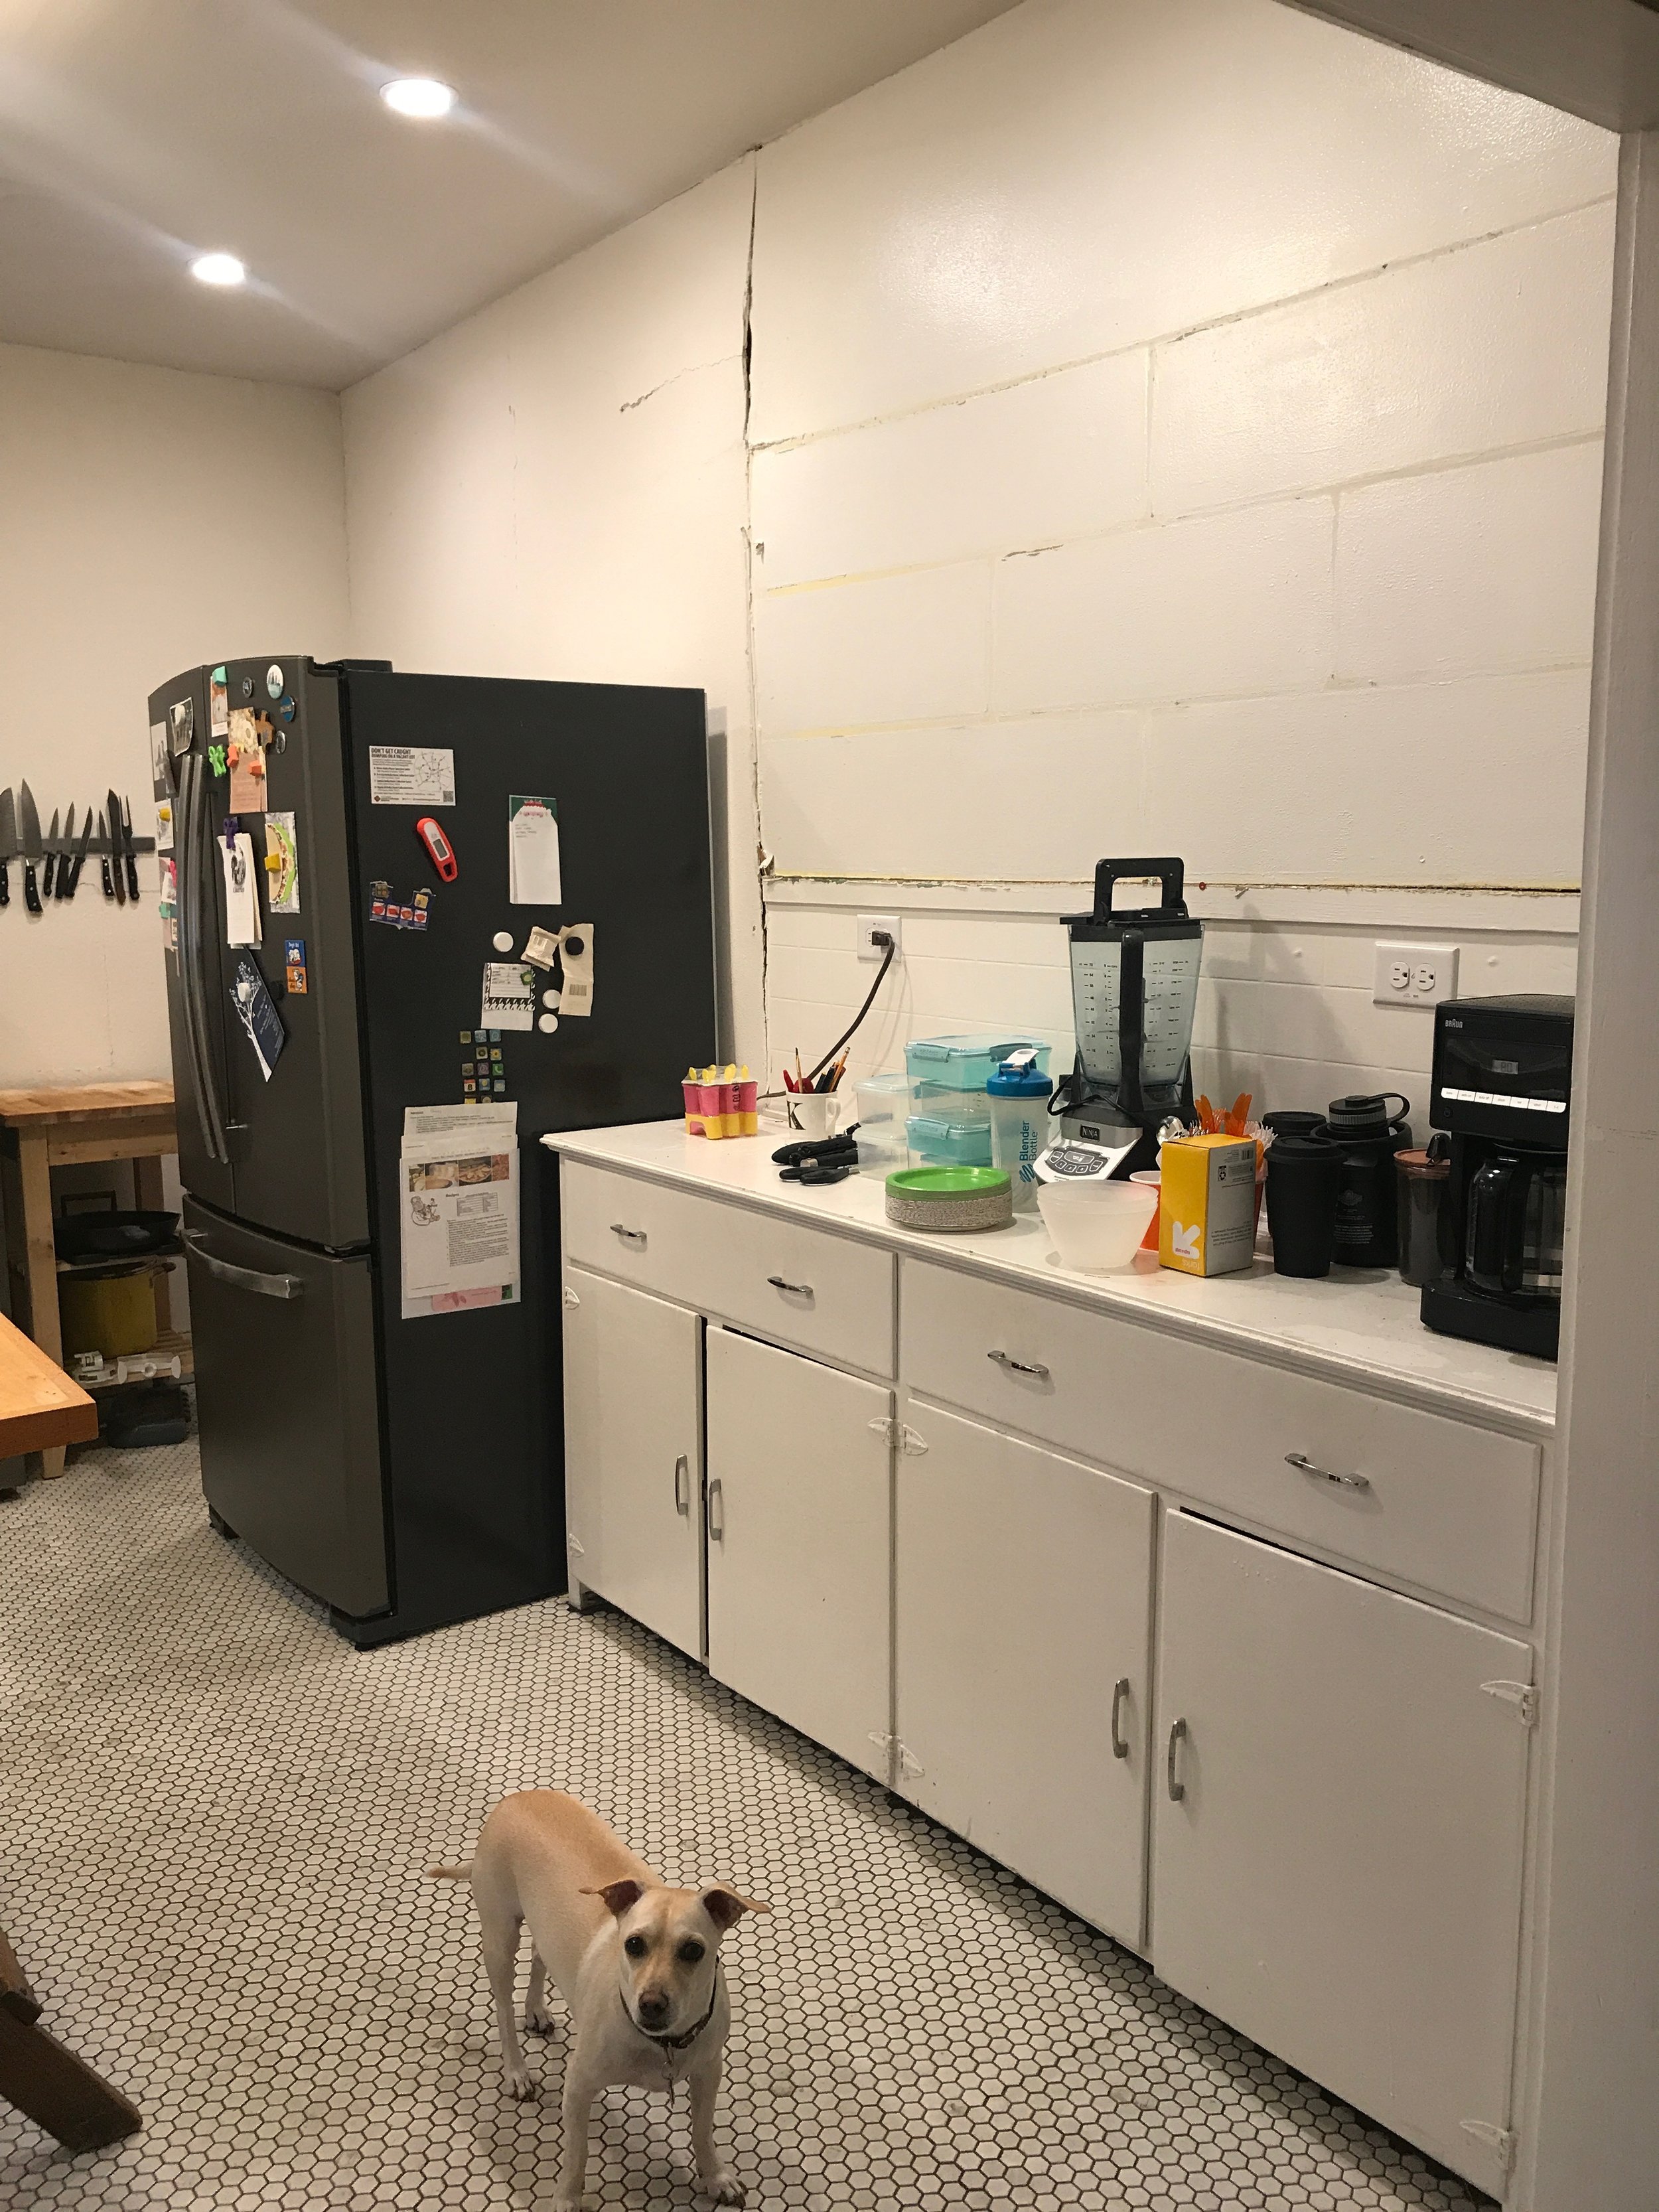
The original recess for the fridge was clearly for a much smaller 50s refrigerator. Which we thought about just getting a cute little Smeg fridge which would fit perfectly. The previous owner left an apartment sized fridge which stuck out about 6" into the walkway. And broke about two weeks after we moved in.
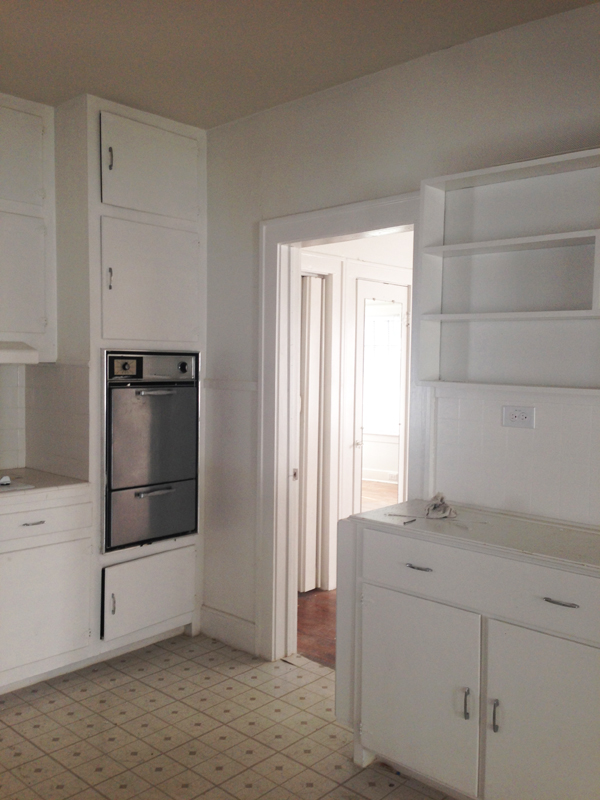
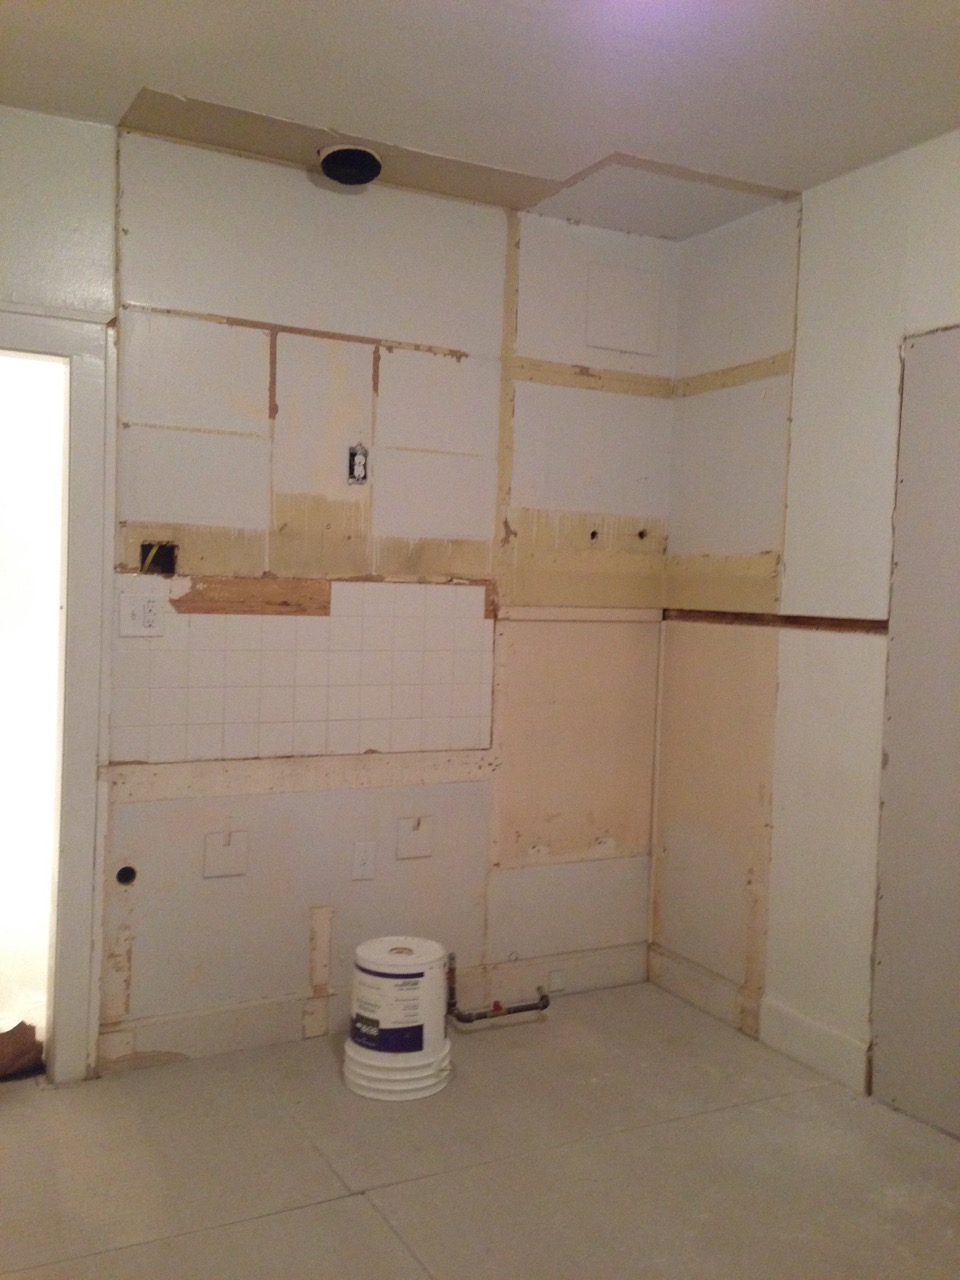
The oven wall had ample storage with built in dividers for cookie sheets. However while the stove was modern-ish, the oven was very vintage. Neither of us had seen an oven like this. It was about 20" wide (it literally wouldn't even fit a cookie sheet or a turkey). And we had no idea if it worked or not. With it being gas, we didn't even want to try. So we knew this side would have to be renovated very soon.
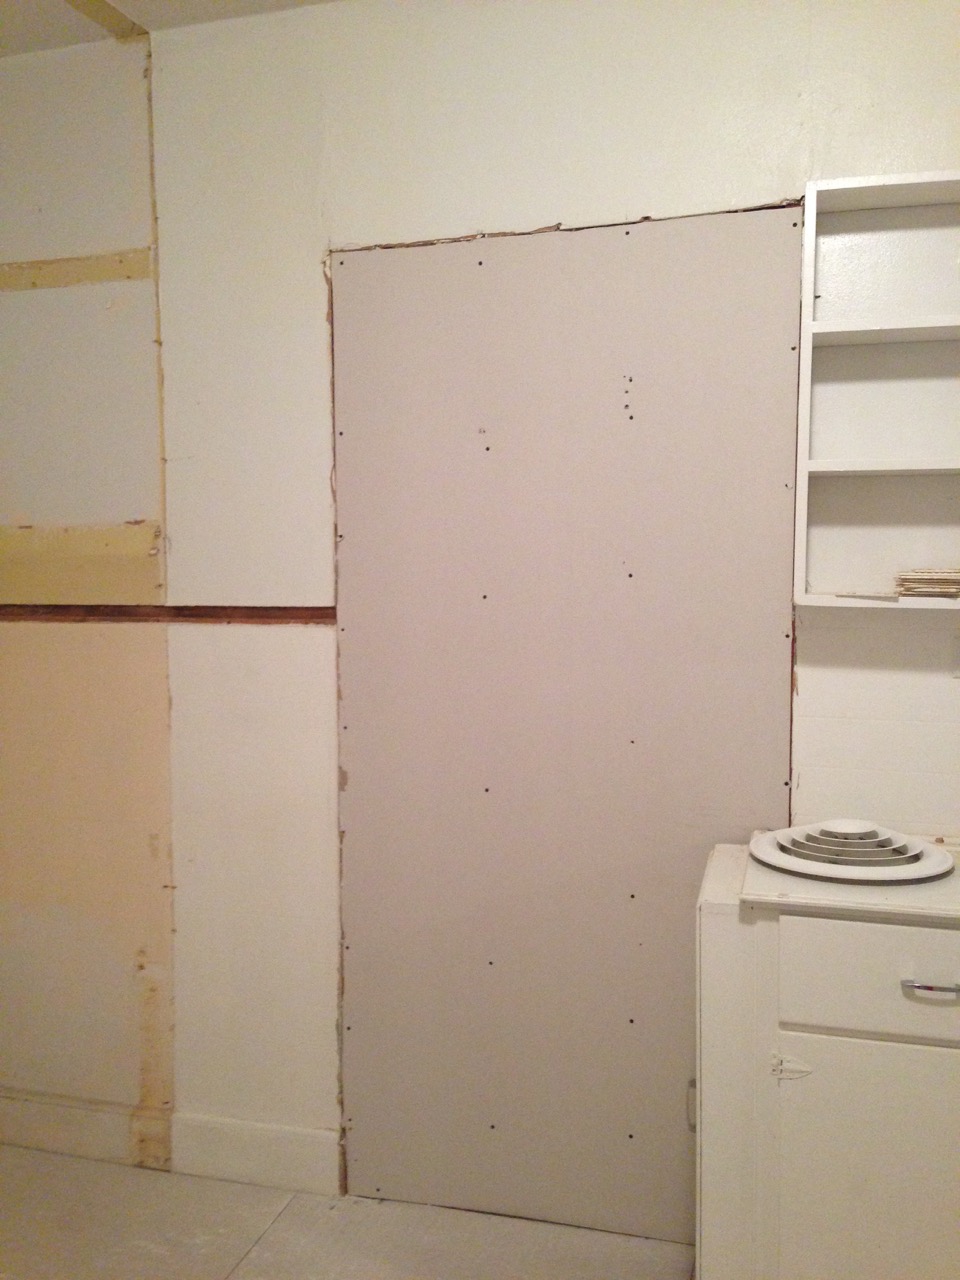
Why yes that IS a door to the master bedroom. Why you ask? We have no freaking clue. Our bedroom came with a door from the hallway, a door to the second bedroom, and a door to the kitchen. Oh and two closet doors. We knew that we wanted to close that in ASAP and start to rework the layout of the kitchen.
This is a view from the laundry room looking back toward the kitchen to help get your bearings. Look at how far that fridge sticks out!
We made it work this way for three (!!) years. There wasn't a dishwasher so everything had to be washed by hand. The countertops were 2x2 ceramic tile which were impossible to clean. The wood countertop on the opposite side had paint peeling up which was even more impossible to clean.
We replaced the broken fridge and used its nook for storage. We did the best with what we had, until we could save up enough money for the full renovation.
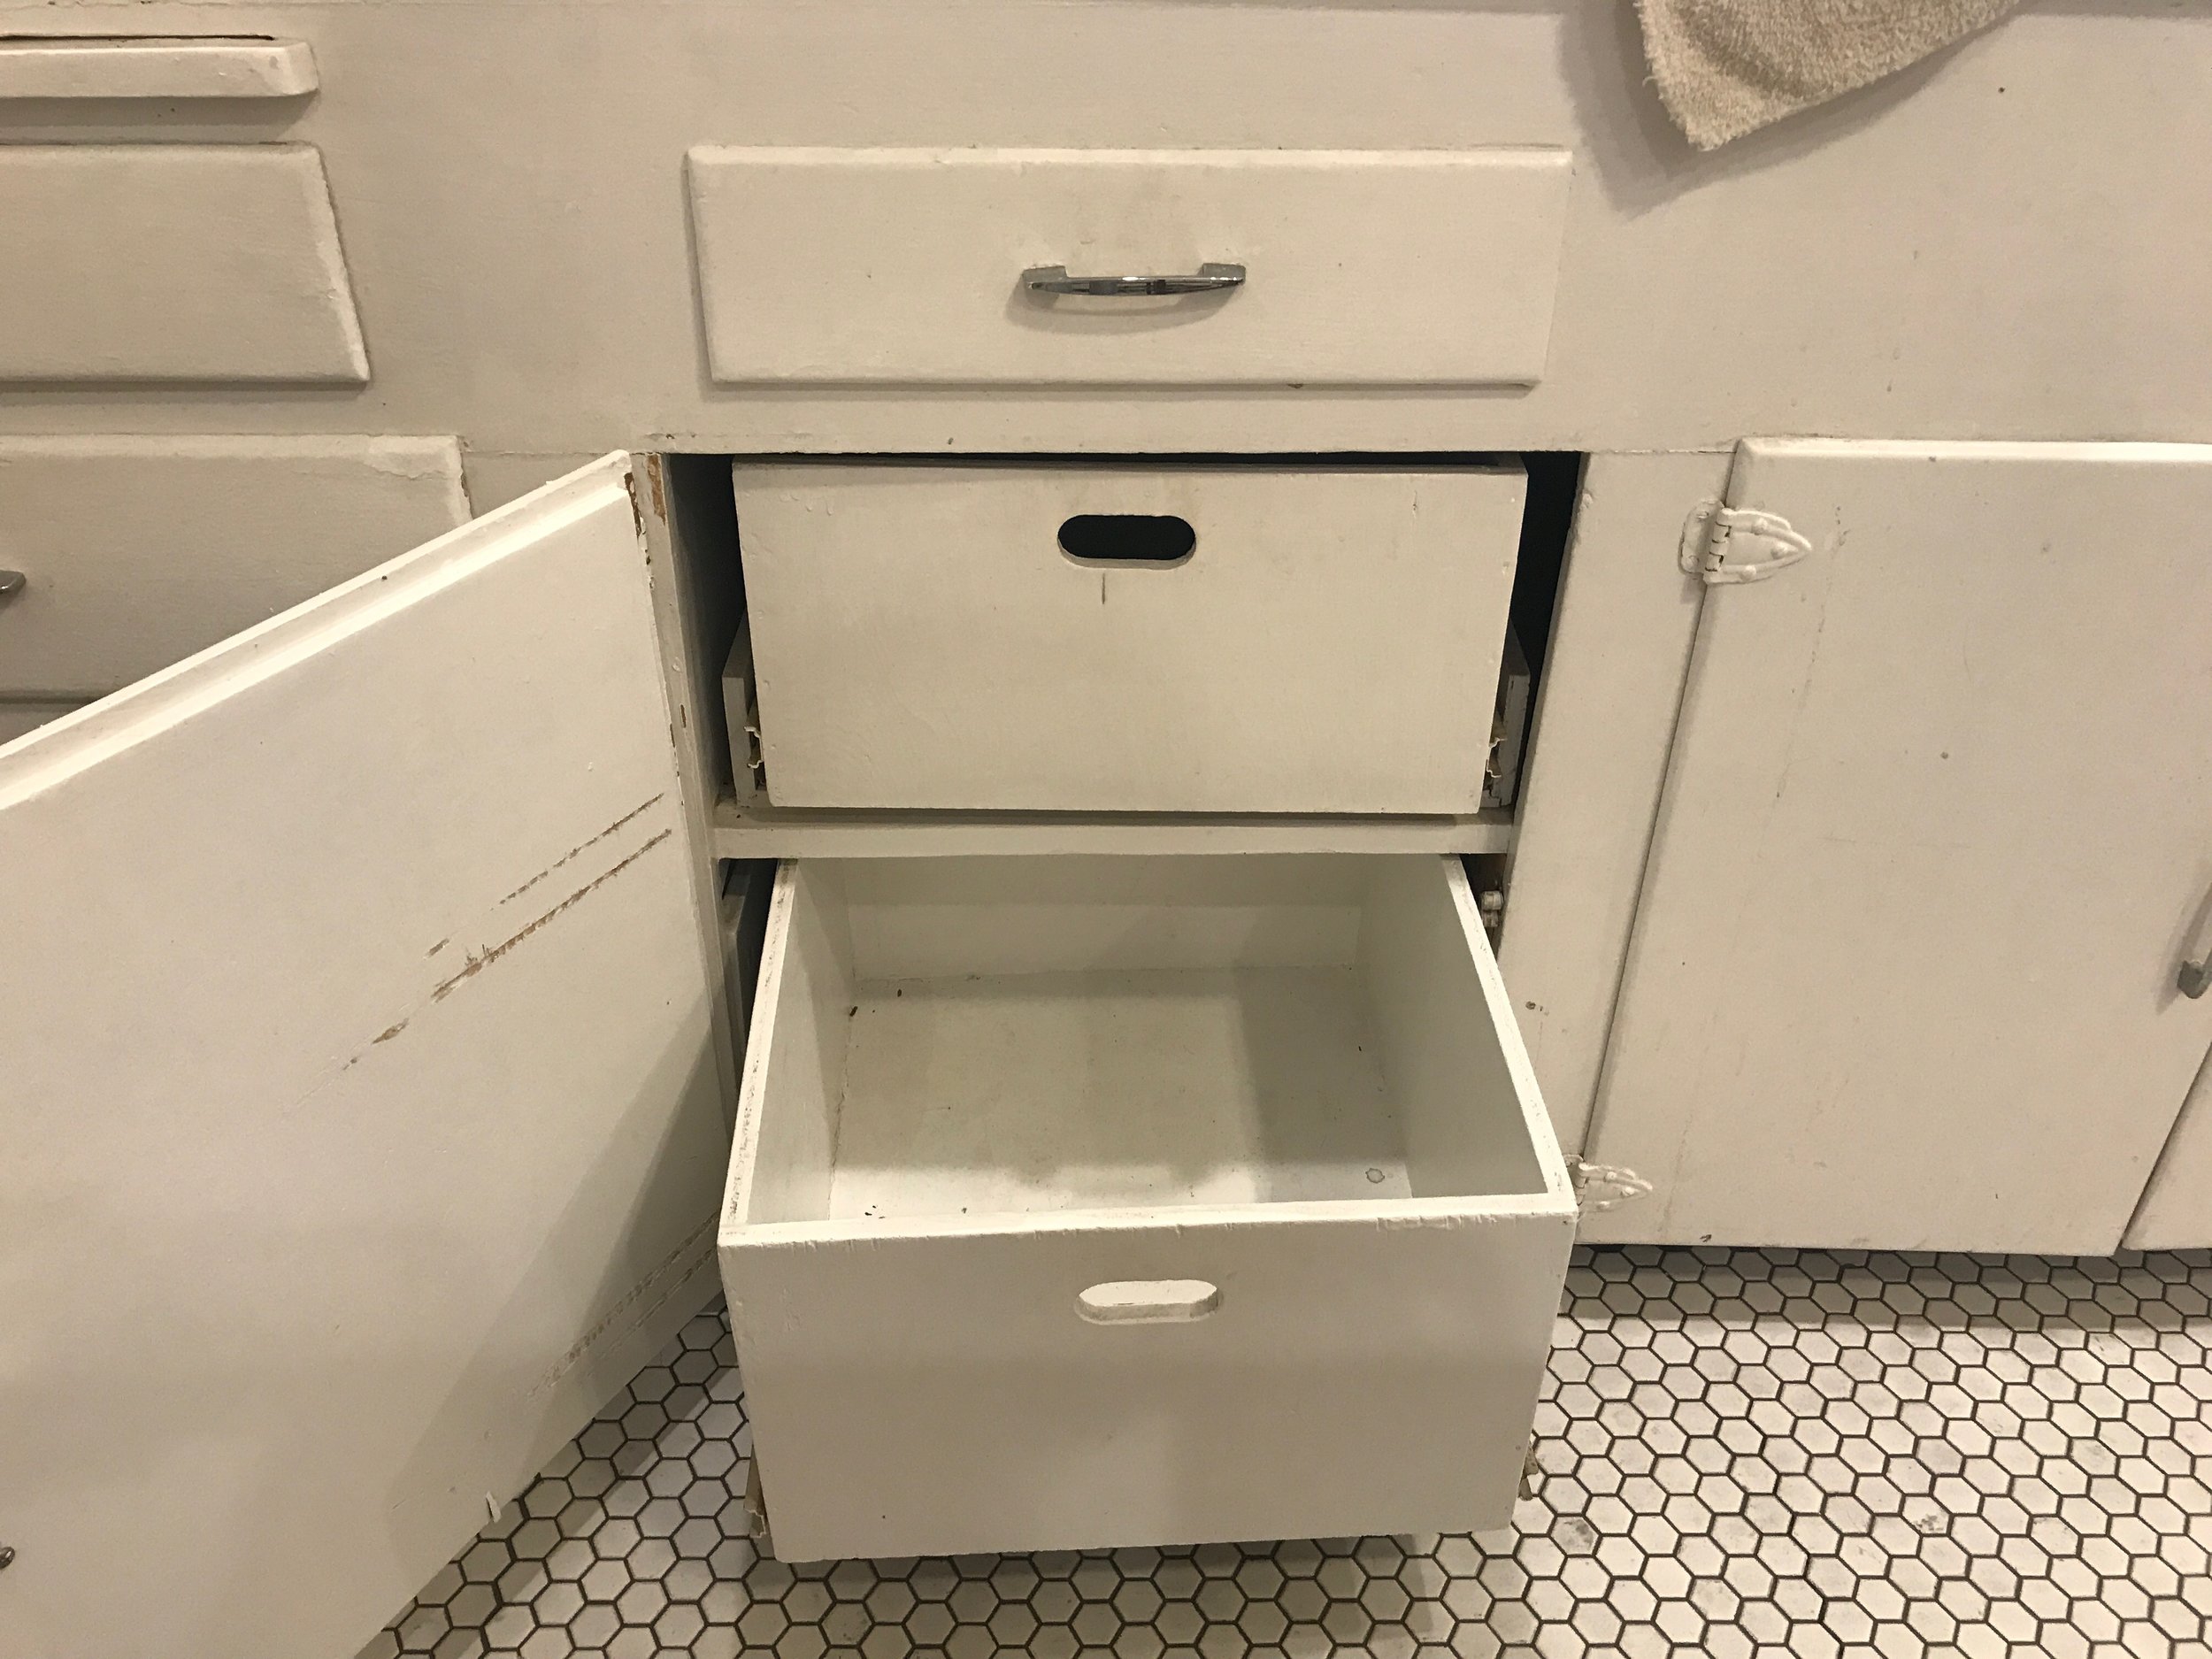
Here are some photos of the custom features. Which honestly would have been really cool if they were new and clean, but they were filthy with decades of grime and I feared putting our clean dishes in them ha. Can we also talk about how intense these hinges are?
The top drawers all had dividers for silverware, and then pull out boards which I originally thought were cutting boards, but then saw on an episode of Leave it to Beaver that they were actually pull out surfaces to mix things and have more prep space. Fancy!
None of the cabinets had backs so there were always bugs coming in from outside through the (many) cracks which just totally grossed us out. Most of the magnet closures were broken so the doors just stayed open all the time. This was a very classy joint.
The upper shelves on the opposite side were kind of cool, but the dimensions made them very tricky. They were about 6" deep and 9" tall so they didn't hold much other than glasses and bowls.
After demoing the original stove/oven wall we bought a new freestanding oven to match our new fridge and configured the appliances like this, which wasn't ideal but it worked for the time being.
You can really see just how shallow those lower cabinets are, look how much the fridge sticks out.
Fast forward to the summer of 2017 when we decided to have our foundation replaced. They ended up cranking up our house 7" which is why you'll see a ton of cracks in the walls in some of these photos. We had left the house one morning while they were working because it was so loud and freaking Geoffrey out, and when we came back the upper shelves next to the fridge were literally hanging off the wall (with everything still attached ha!) So we immediately took the shelving down (which by the way was hanging on by one screw and about 40 years worth of paint) and knew it was time to renovate the kitchen.
Stay tuned for Part II of our kitchen renovation saga where I'll share the design plans and inspiration for our new kitchen.


