
In case you missed Part I, Part II, Part III, Part IV, and Part V of our kitchen renovation saga be sure and check them out before we dive into the installation of our quartz countertops, sink, and hardware.
Once all of our cabinets were in place, we had to make sure they were completely level before we could have our countertops installed. I mean they looked level to the naked eye, but with an 88 year old house you can never be too sure.
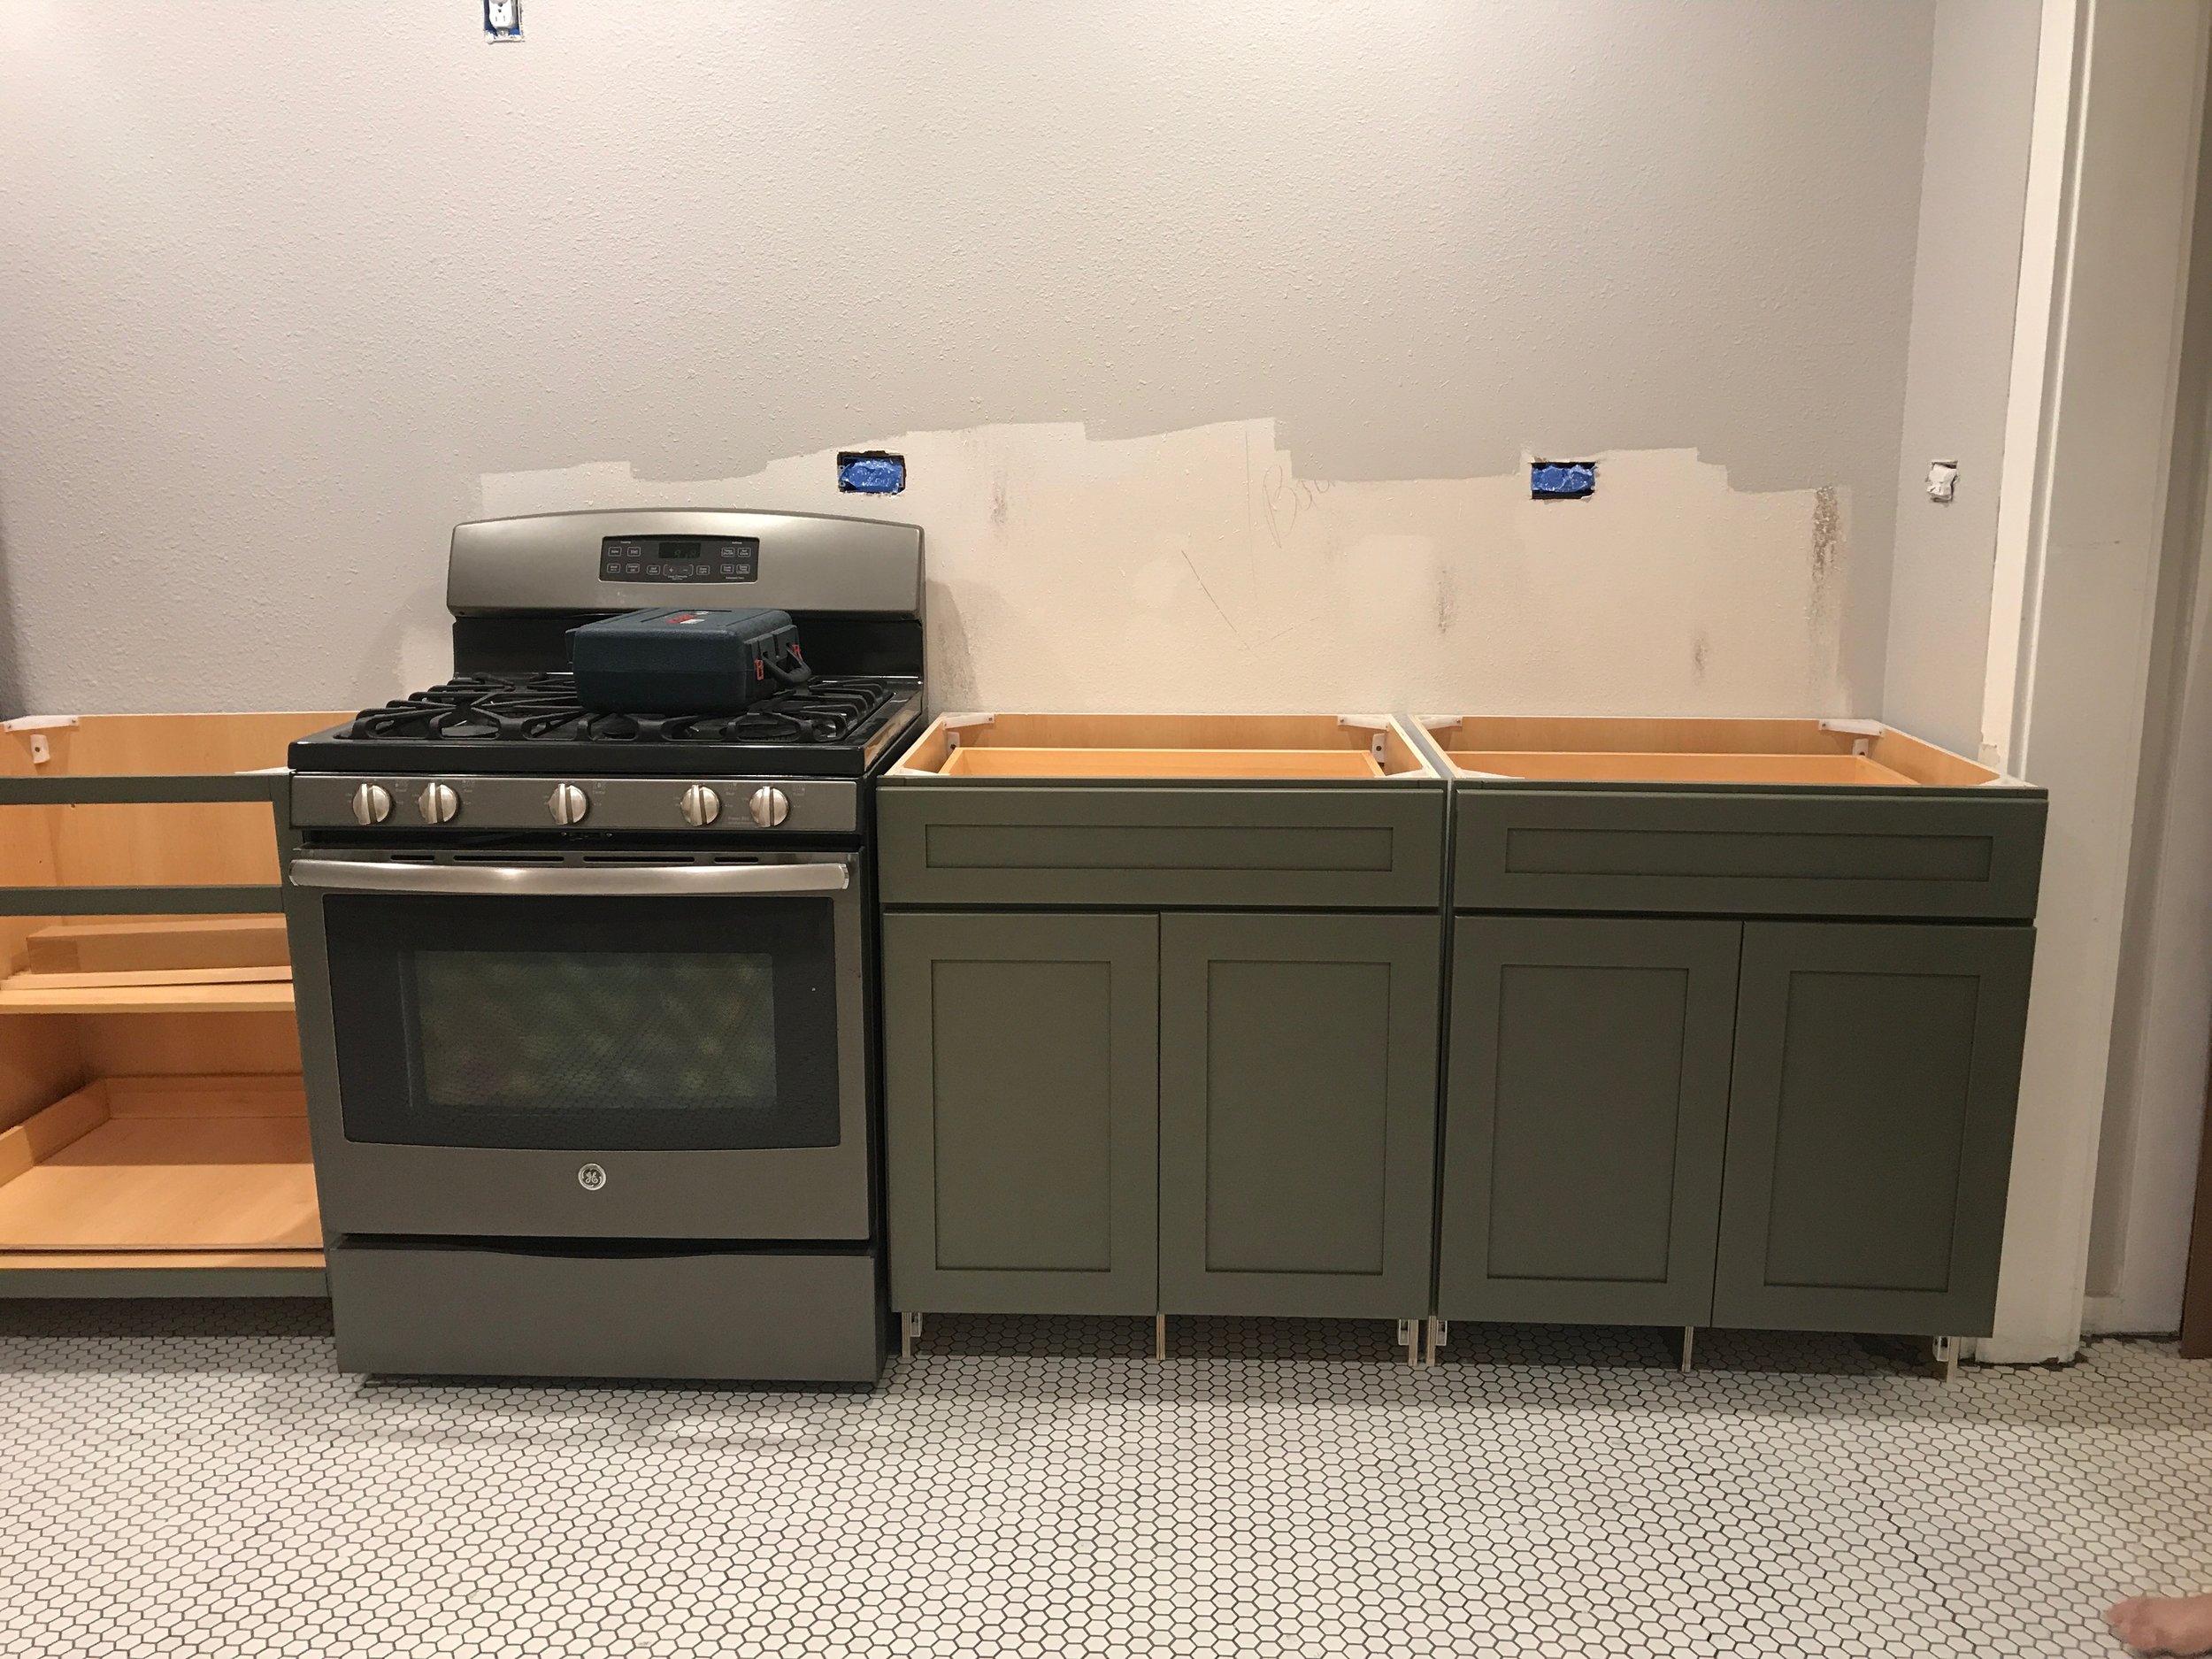
We used a laser level all around the room and then had our friend Brooks shim each cabinet so that it was perfectly level before adding the toe kicks back on. This was quite the process.

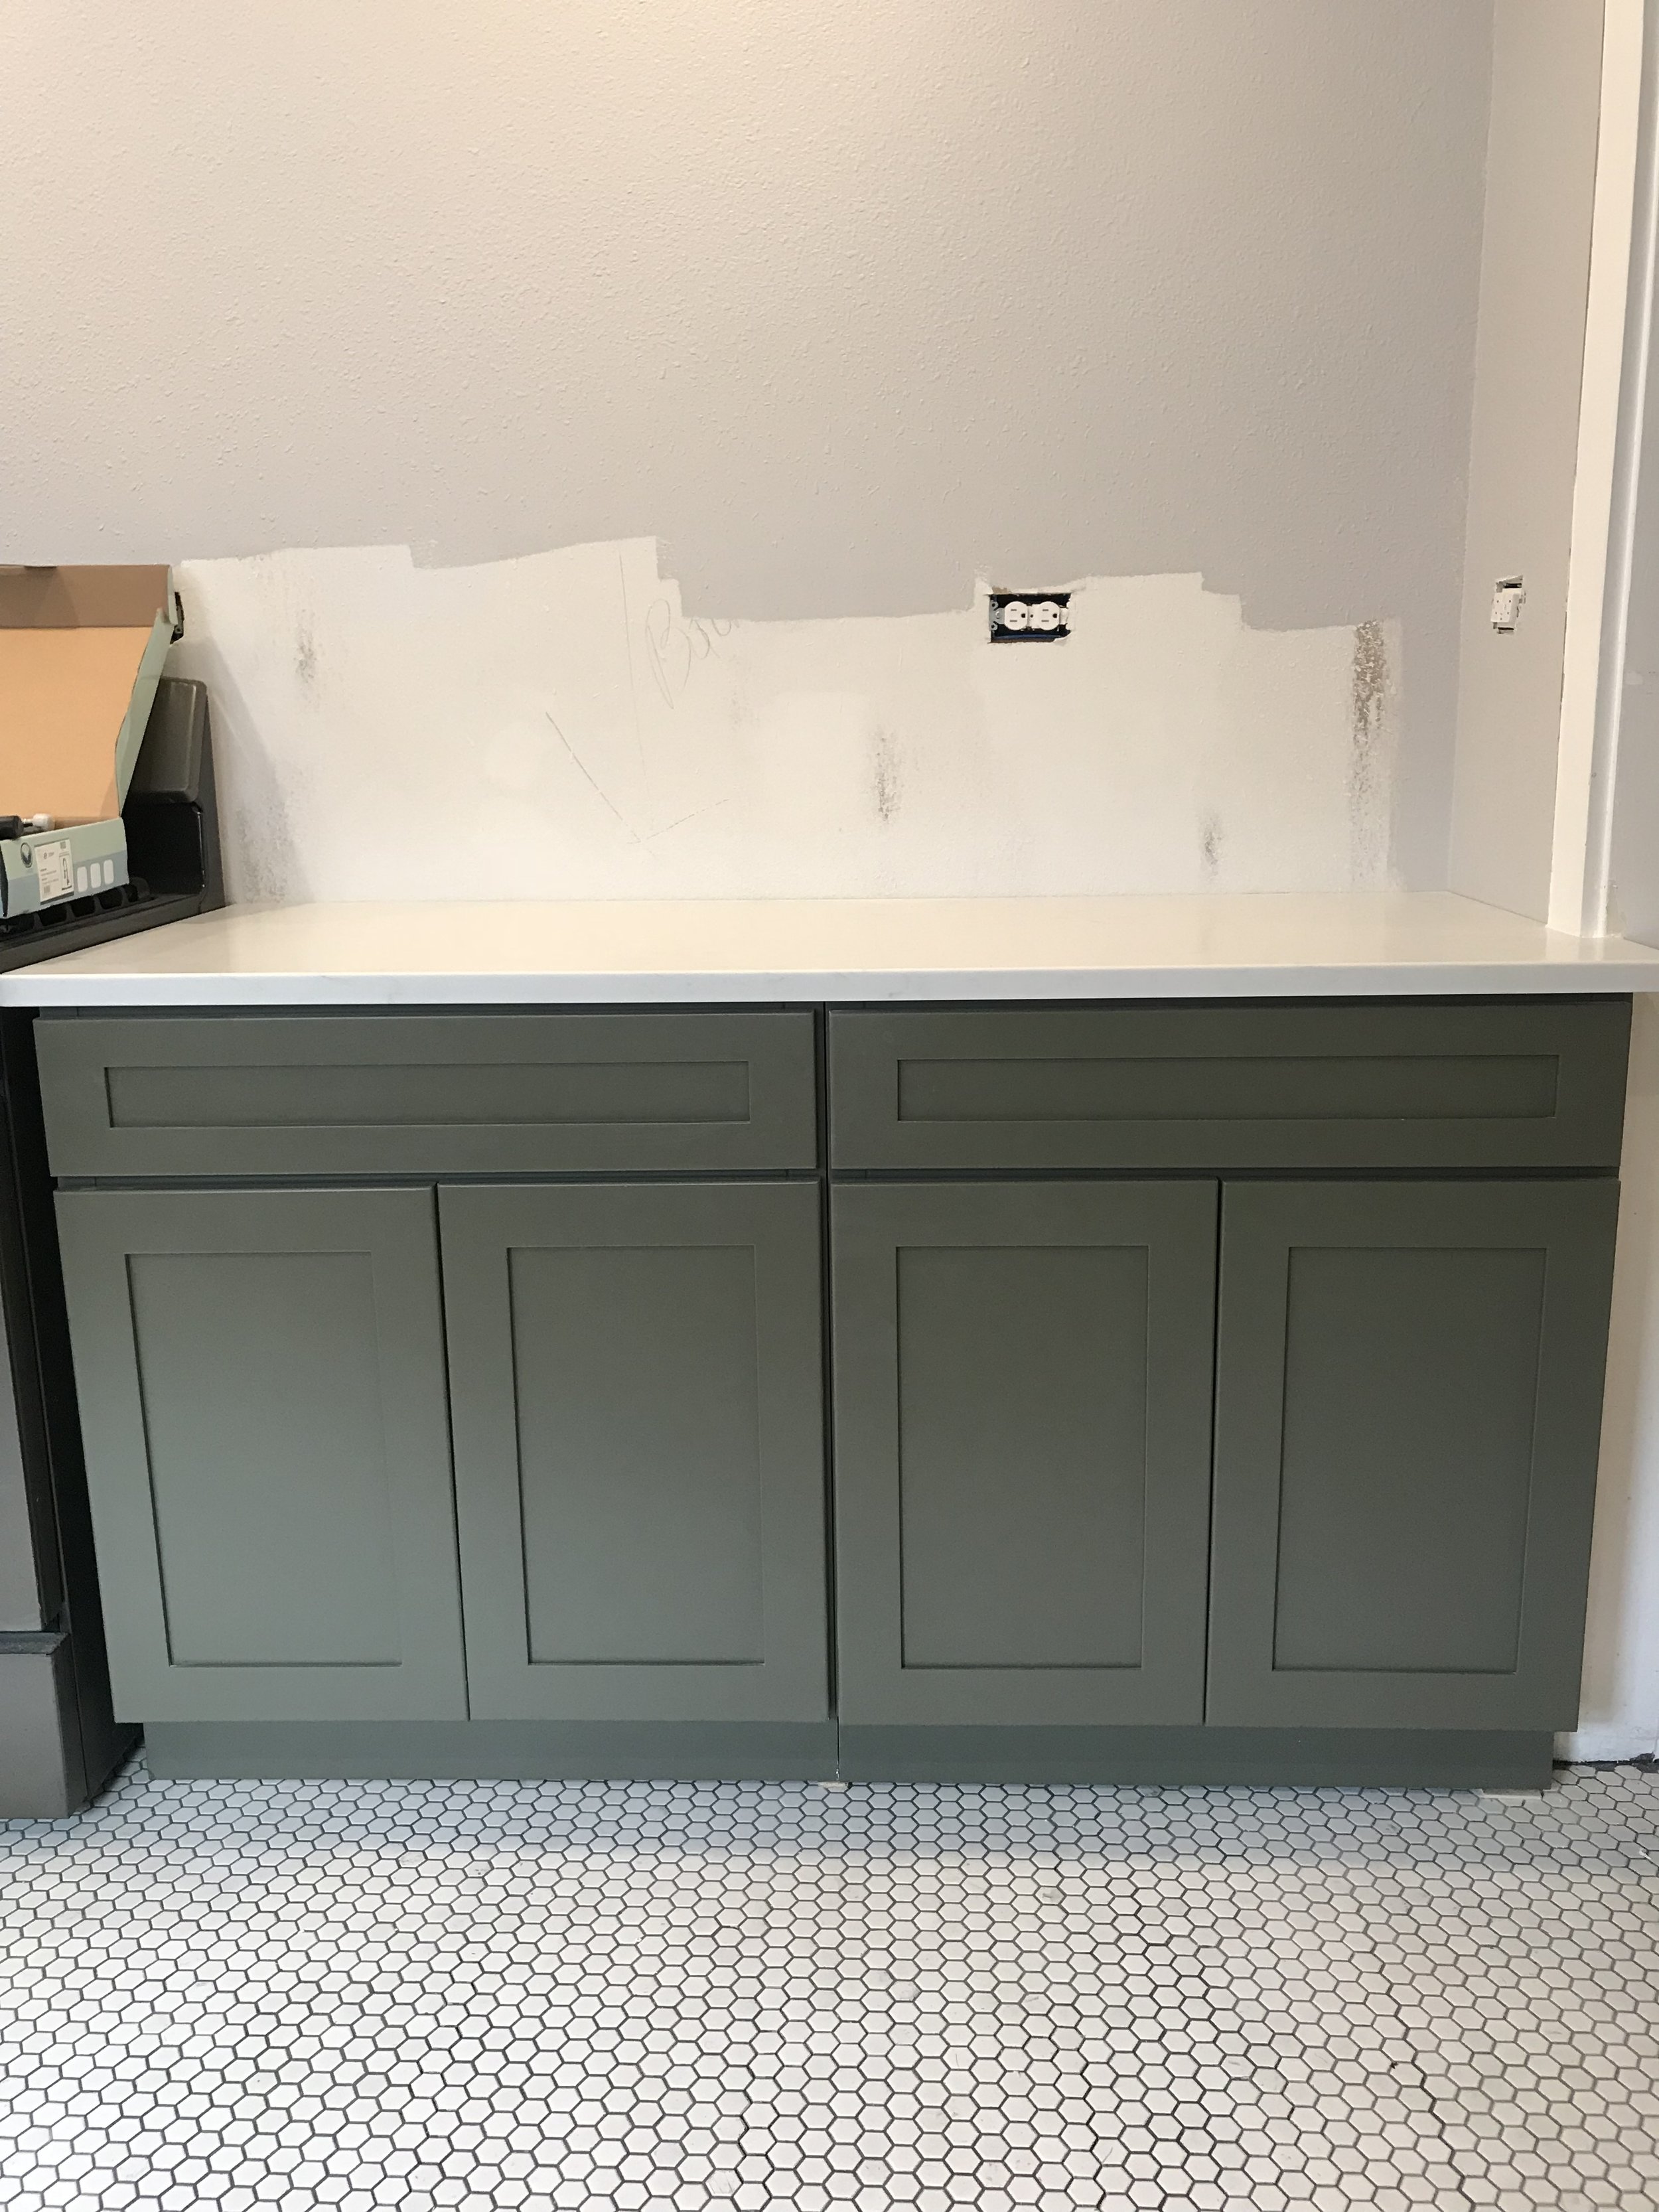
Once everything was level we had our countertop installers come and do their thing. We used A1 Stone for any locals wondering, and they did a fantastic job. We have recommended them to all of our clients. They came in and used their laser level to make sure everything was perfectly level, and it was phew! Then they measured everything and took our sink with them to have the hole precut and the sink glued in place which made the overall installation take only an hour or so.
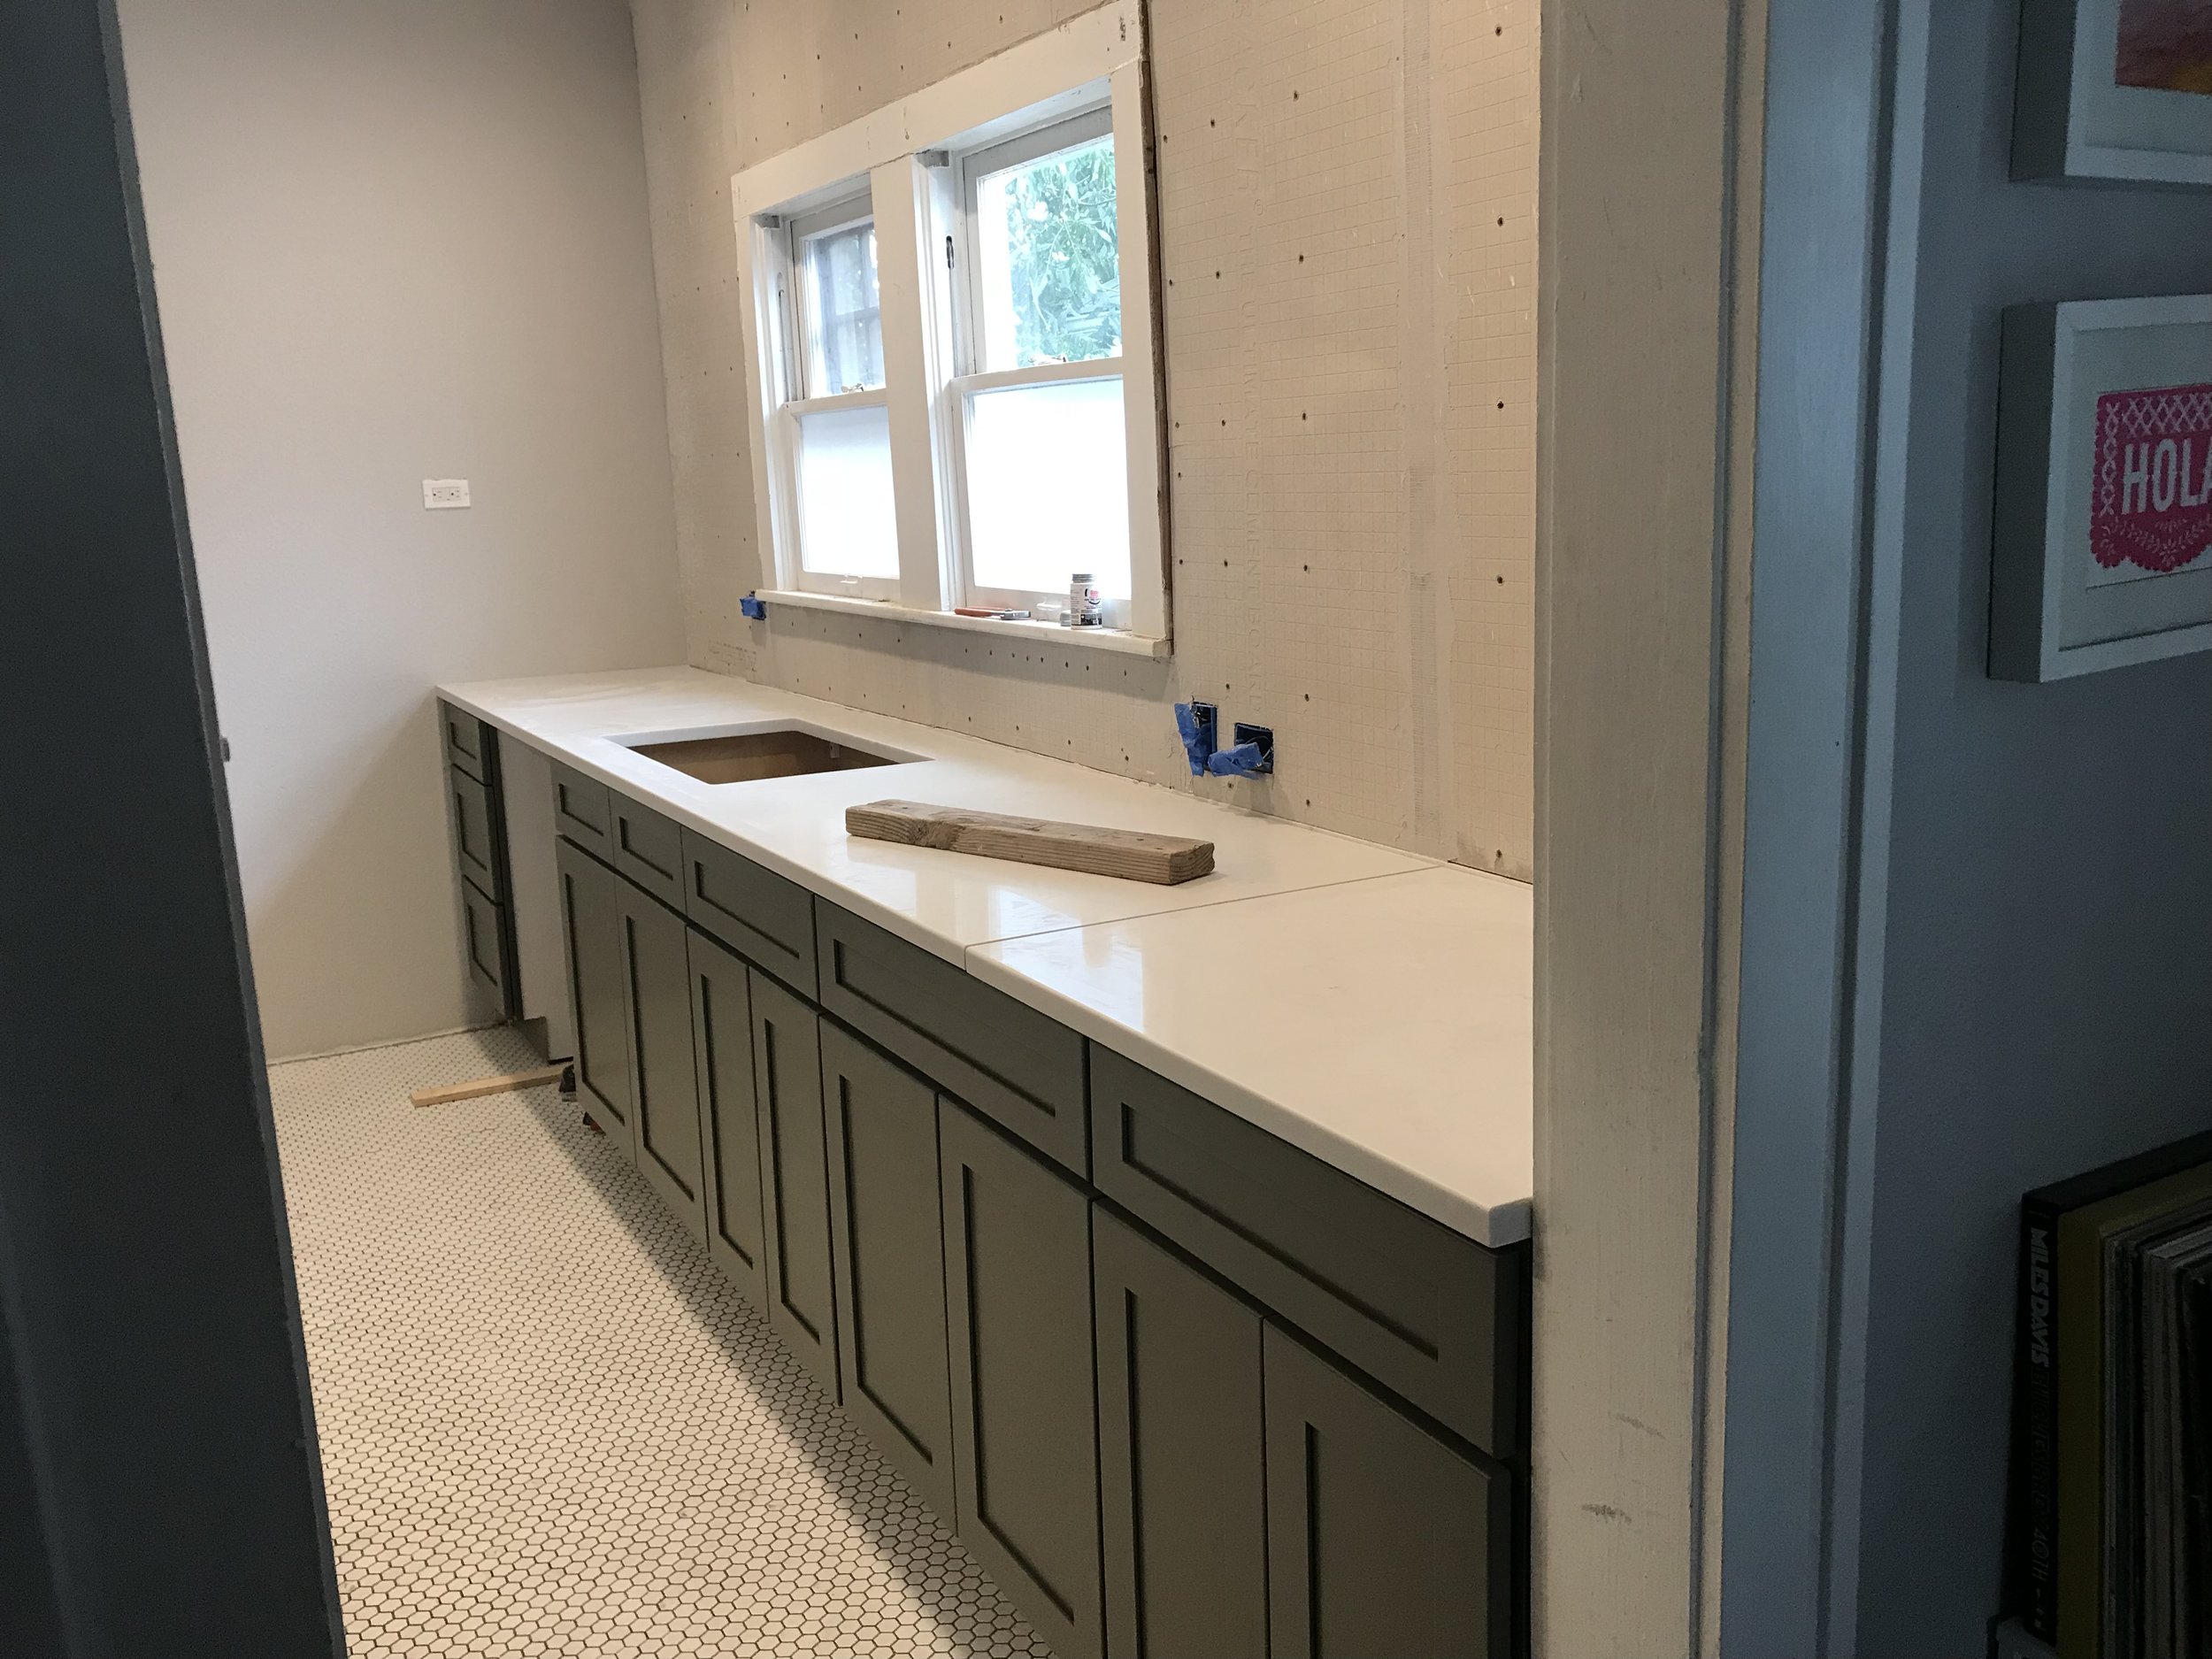
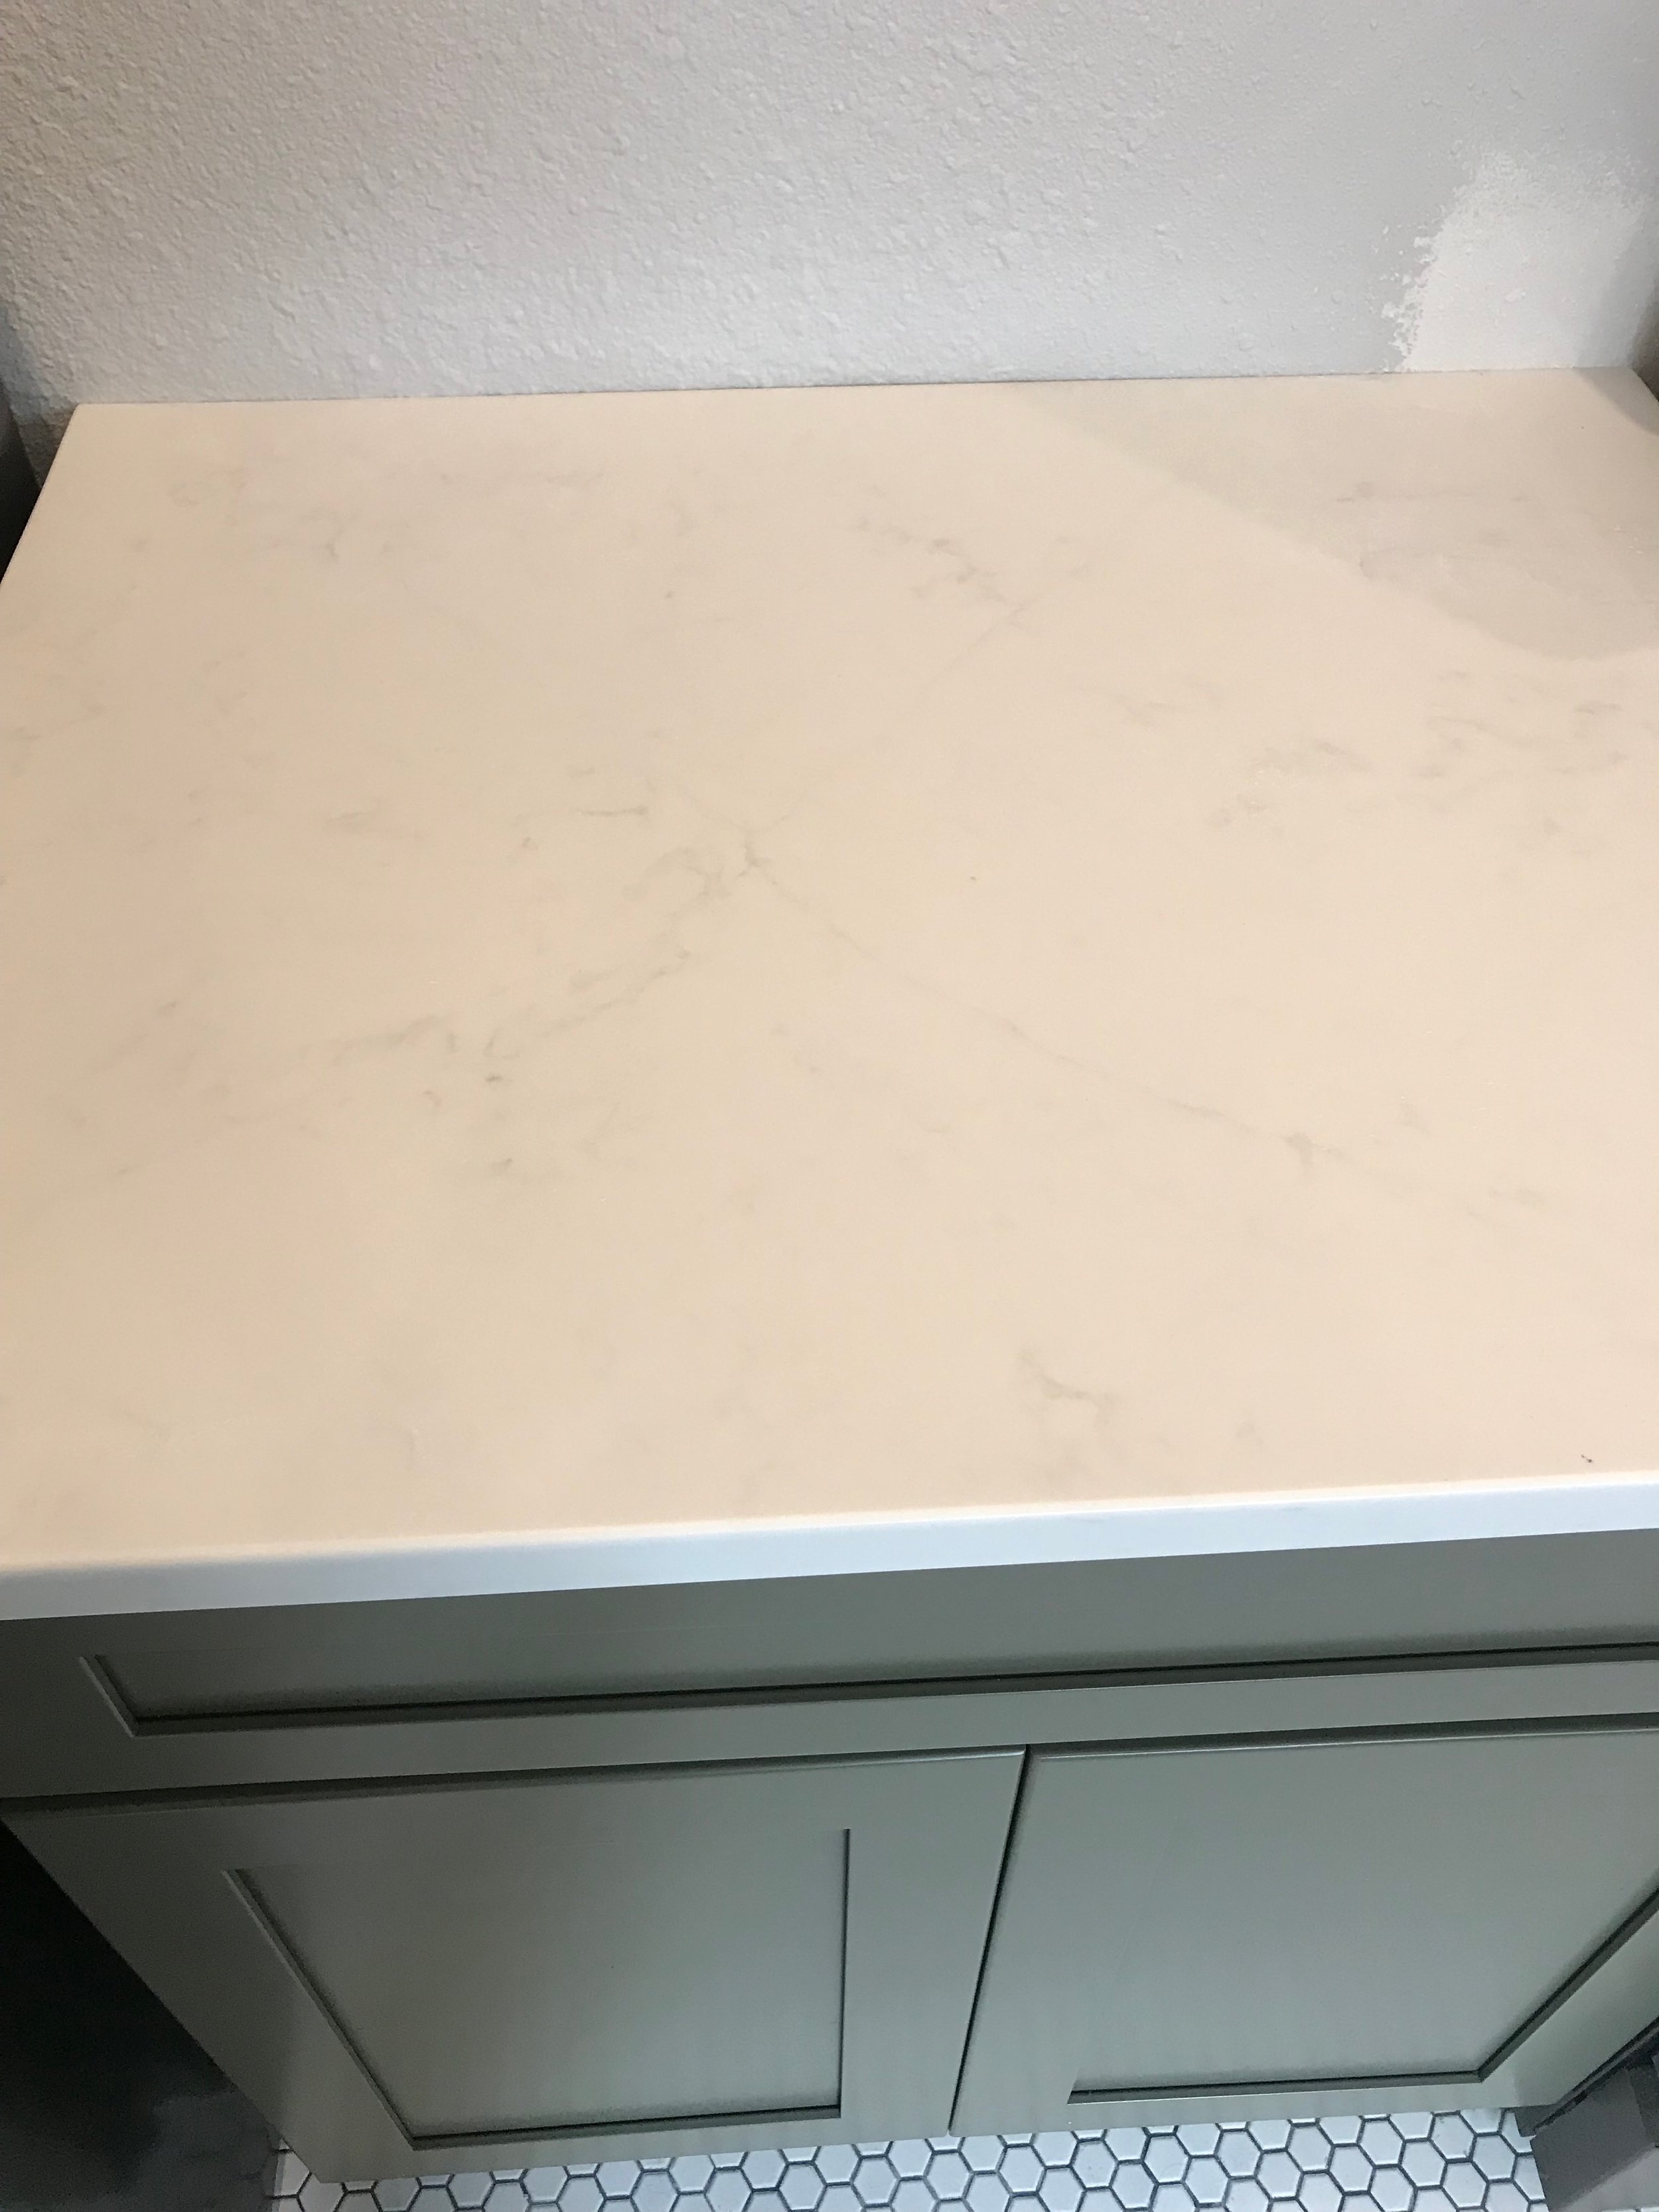
The countertop we ended up choosing was Wilsonart Quartz in Marrara. We loved the idea of quartz because it is a fraction of the price of granite or marble, it doesn't stain, it doesn't have to be constantly sealed, it's super easy to clean, and it's a real stone mixed with manmade materials which made us feel better about our impact on the environment. The only downside to quartz is that you can't put a hot pan on it, but we don't really have the need to do that so it hasn't really affected us. I used my designer connections to get quite the deal on this countertop (shoutout to Zane from Wilsonart!)
We chose the 3cm thickness in order to avoid having a false 1.5" edge wrapping plywood. This is solid quartz all the way through. We also chose a square edge for a more modern look.
We LOVE our sink. We wanted a nice deep single basin sink to hide all of the dirty dishes when we're feeling lazy. It was difficult to find a sink with square edges (most are round or curved), but we scored our Elkay Crosstown sink at Lowes.
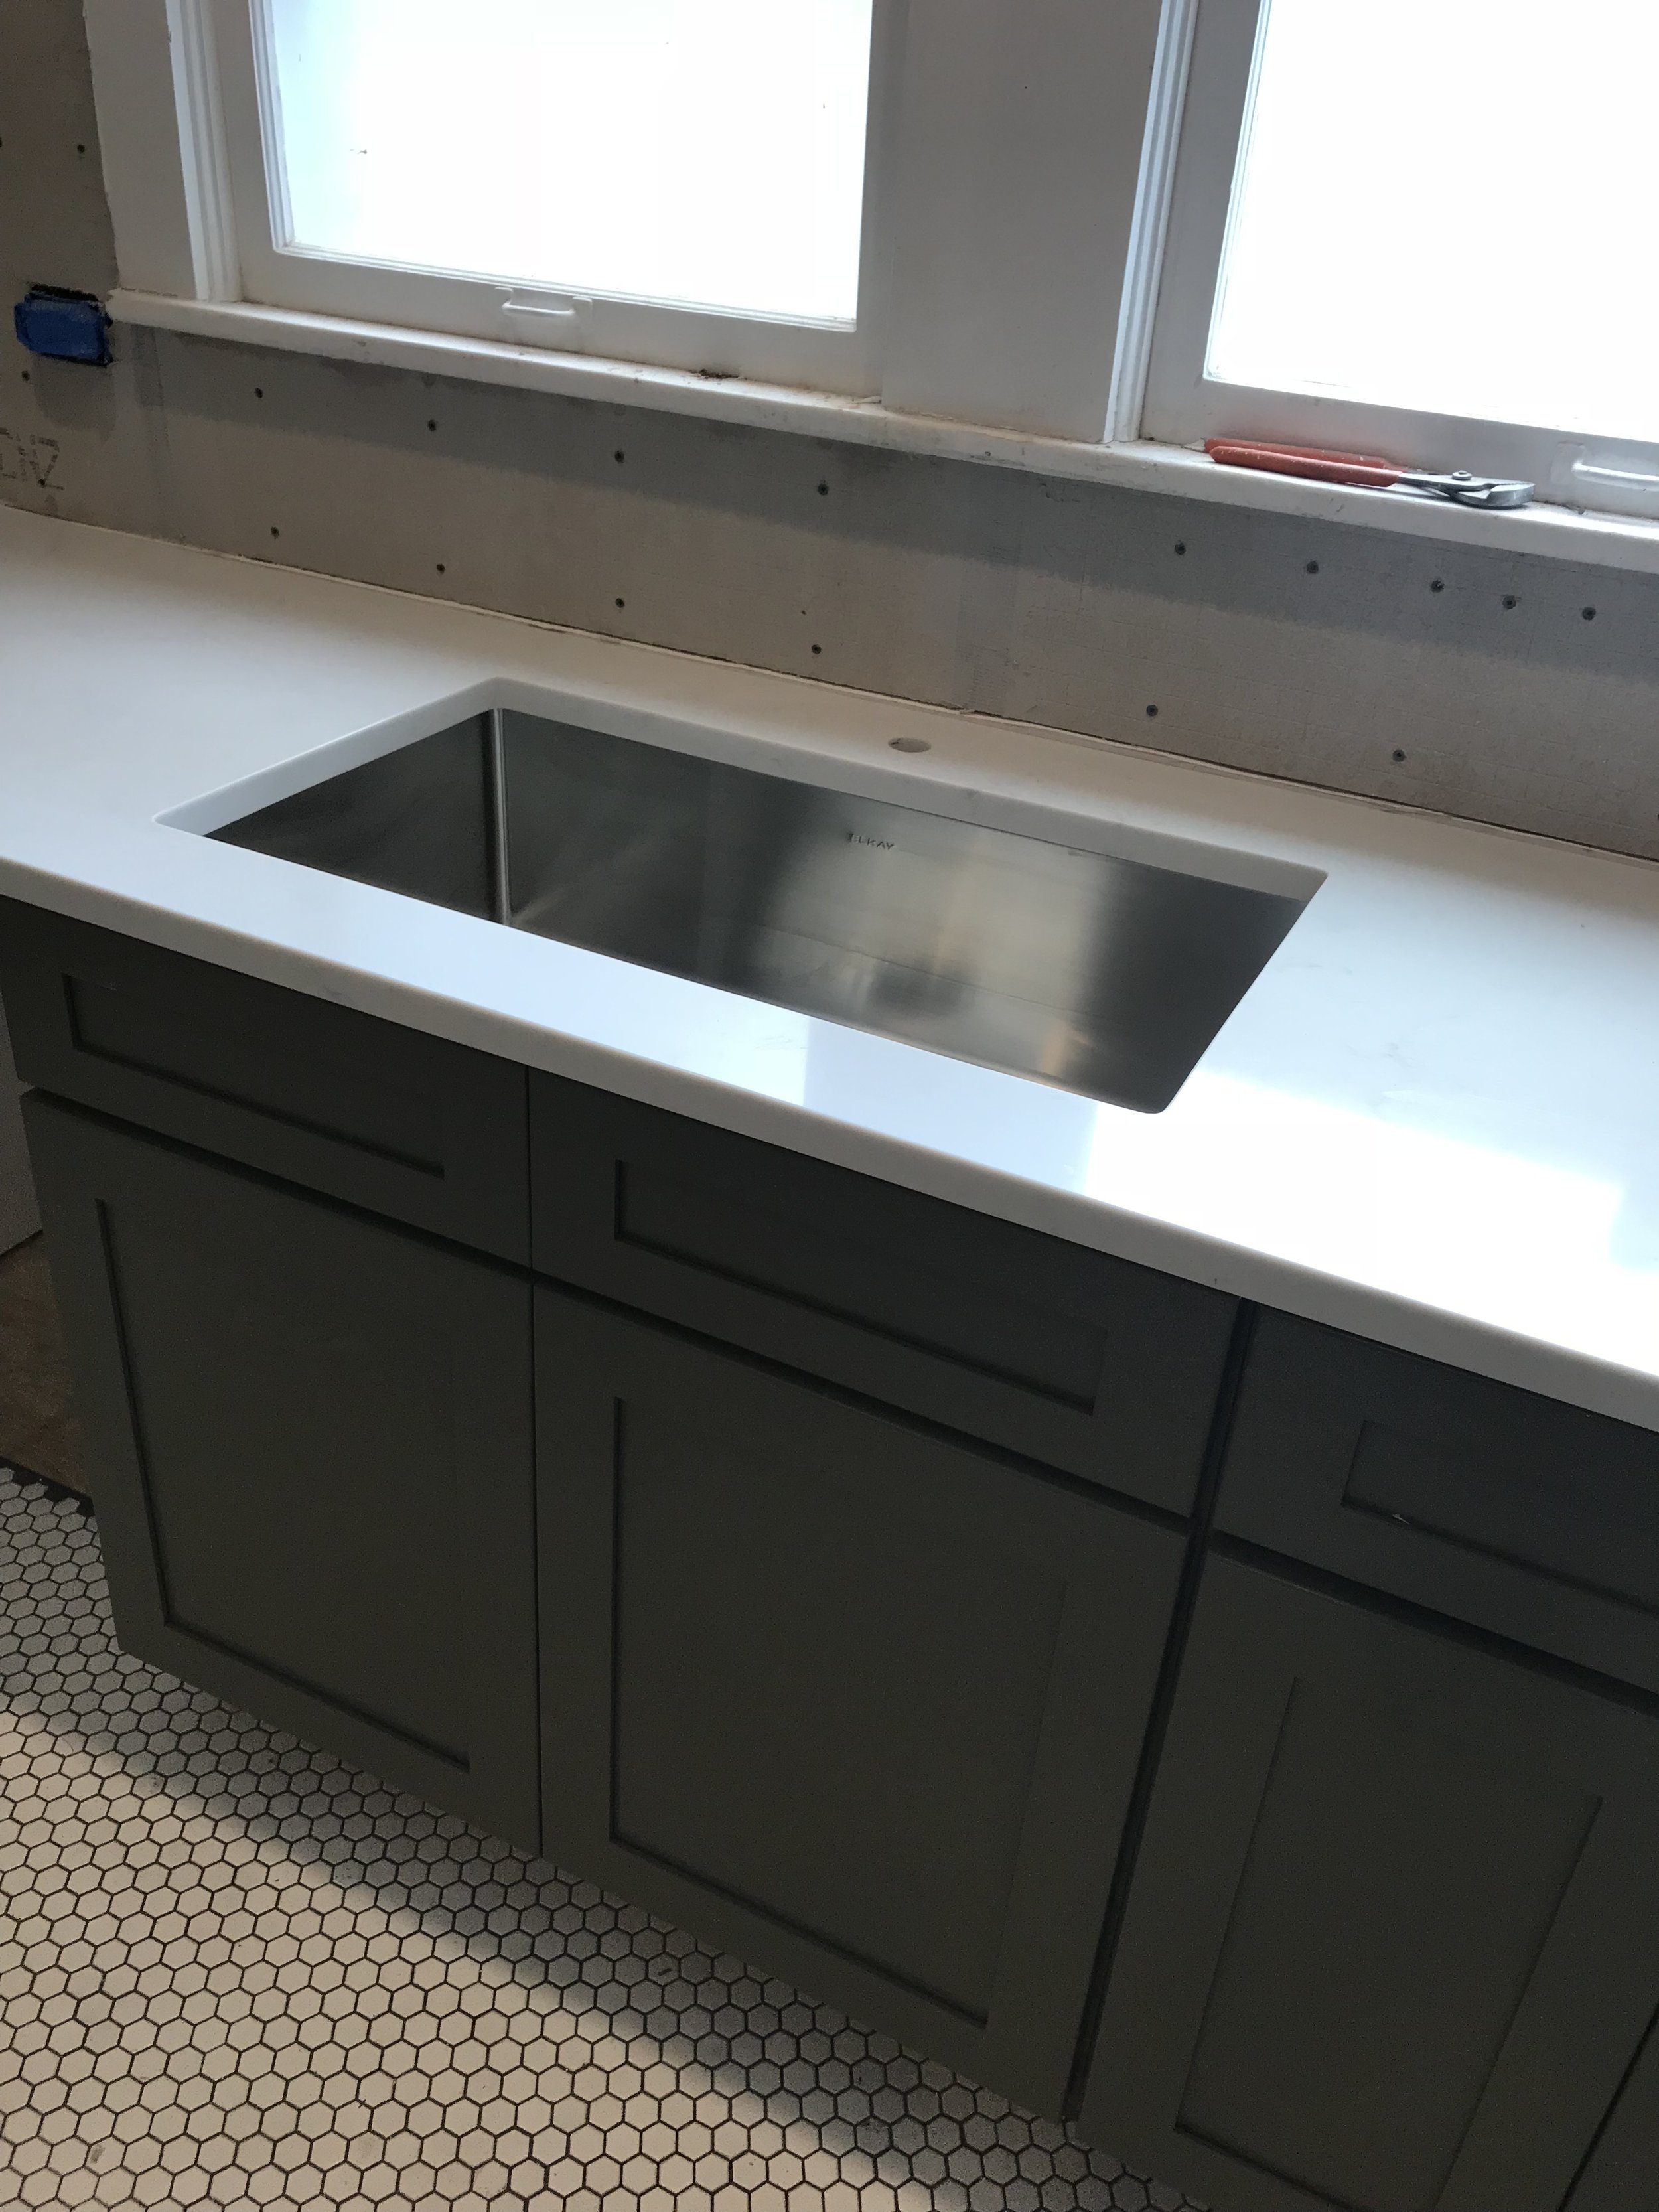

They cut out the hole for our faucet on site. We wanted a matte black faucet that looked kind of commercial, and just about flipped when we came across this Vigo Edison faucet. It has an option to spray or flow normally, which is great when washing dishes. Or Geoffrey.

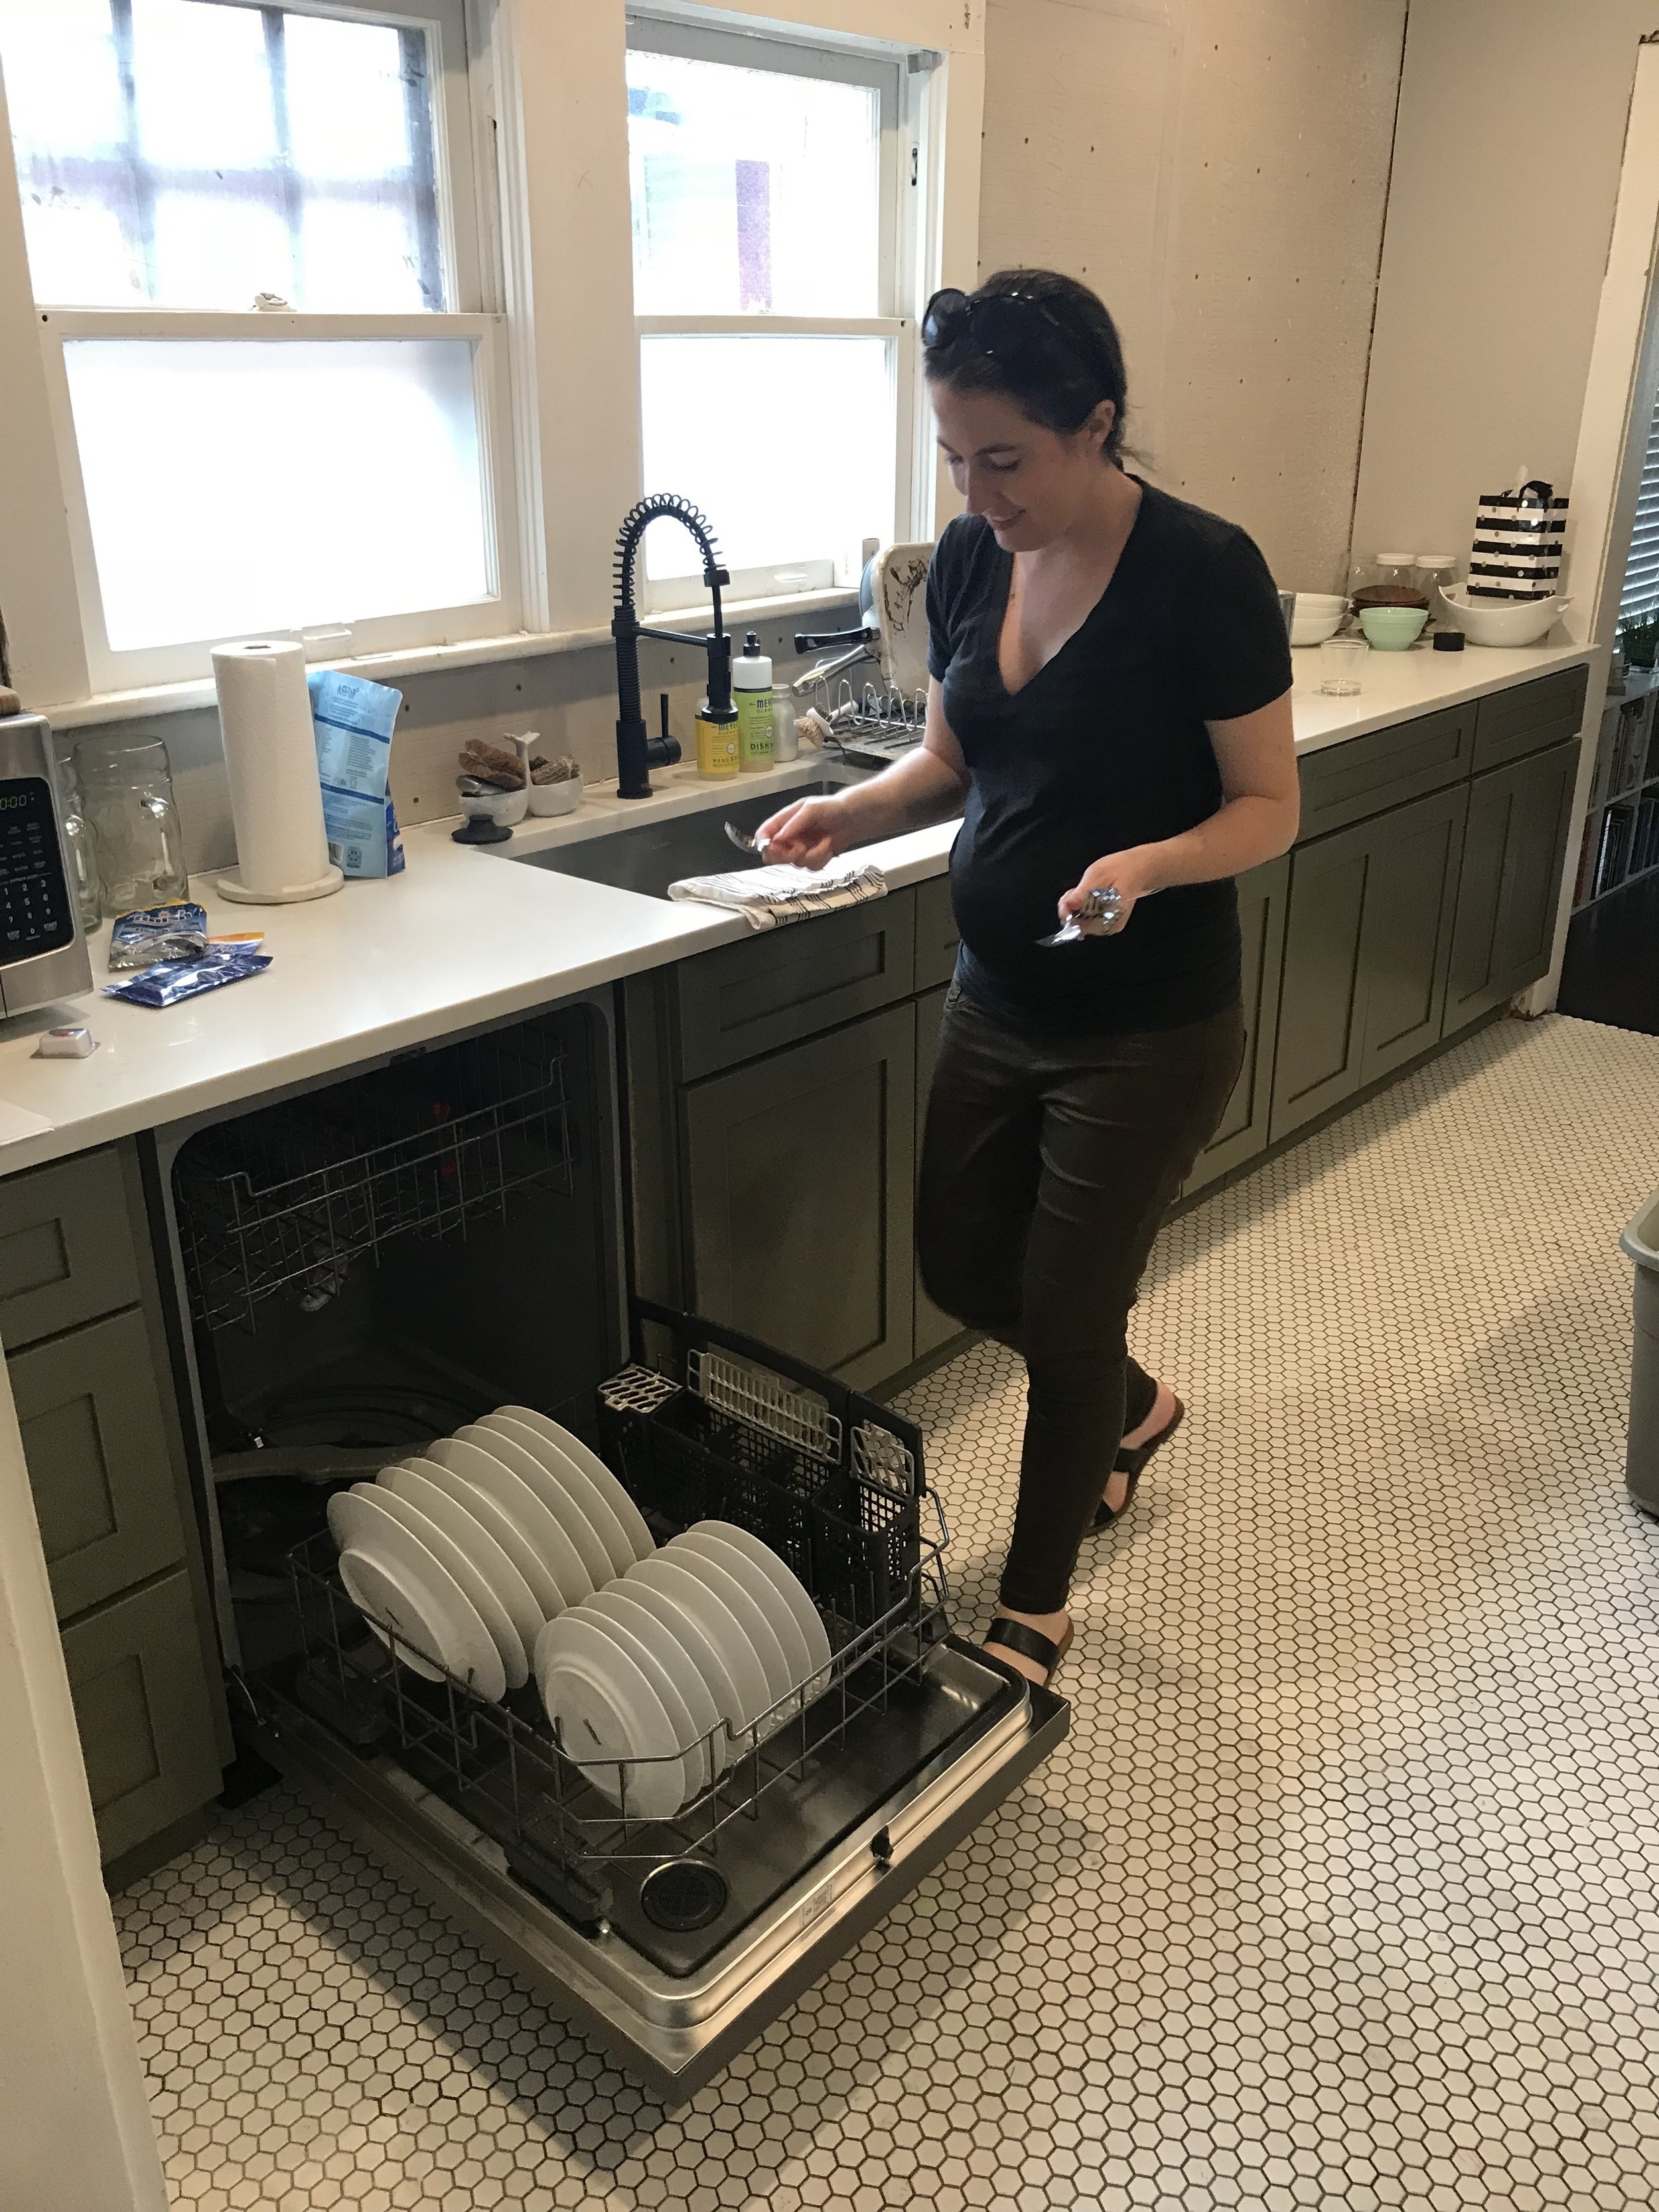
The other (and probably most) exciting part about having our countertops installed is that we could finally hook up our new dishwasher. Derek and I have never had a dishwasher in any apartment or house that we've lived in together. Never. This was a game changer. I was so excited to wash all of our dishes that had been packed away during the renovation. Six month baby bump and all.

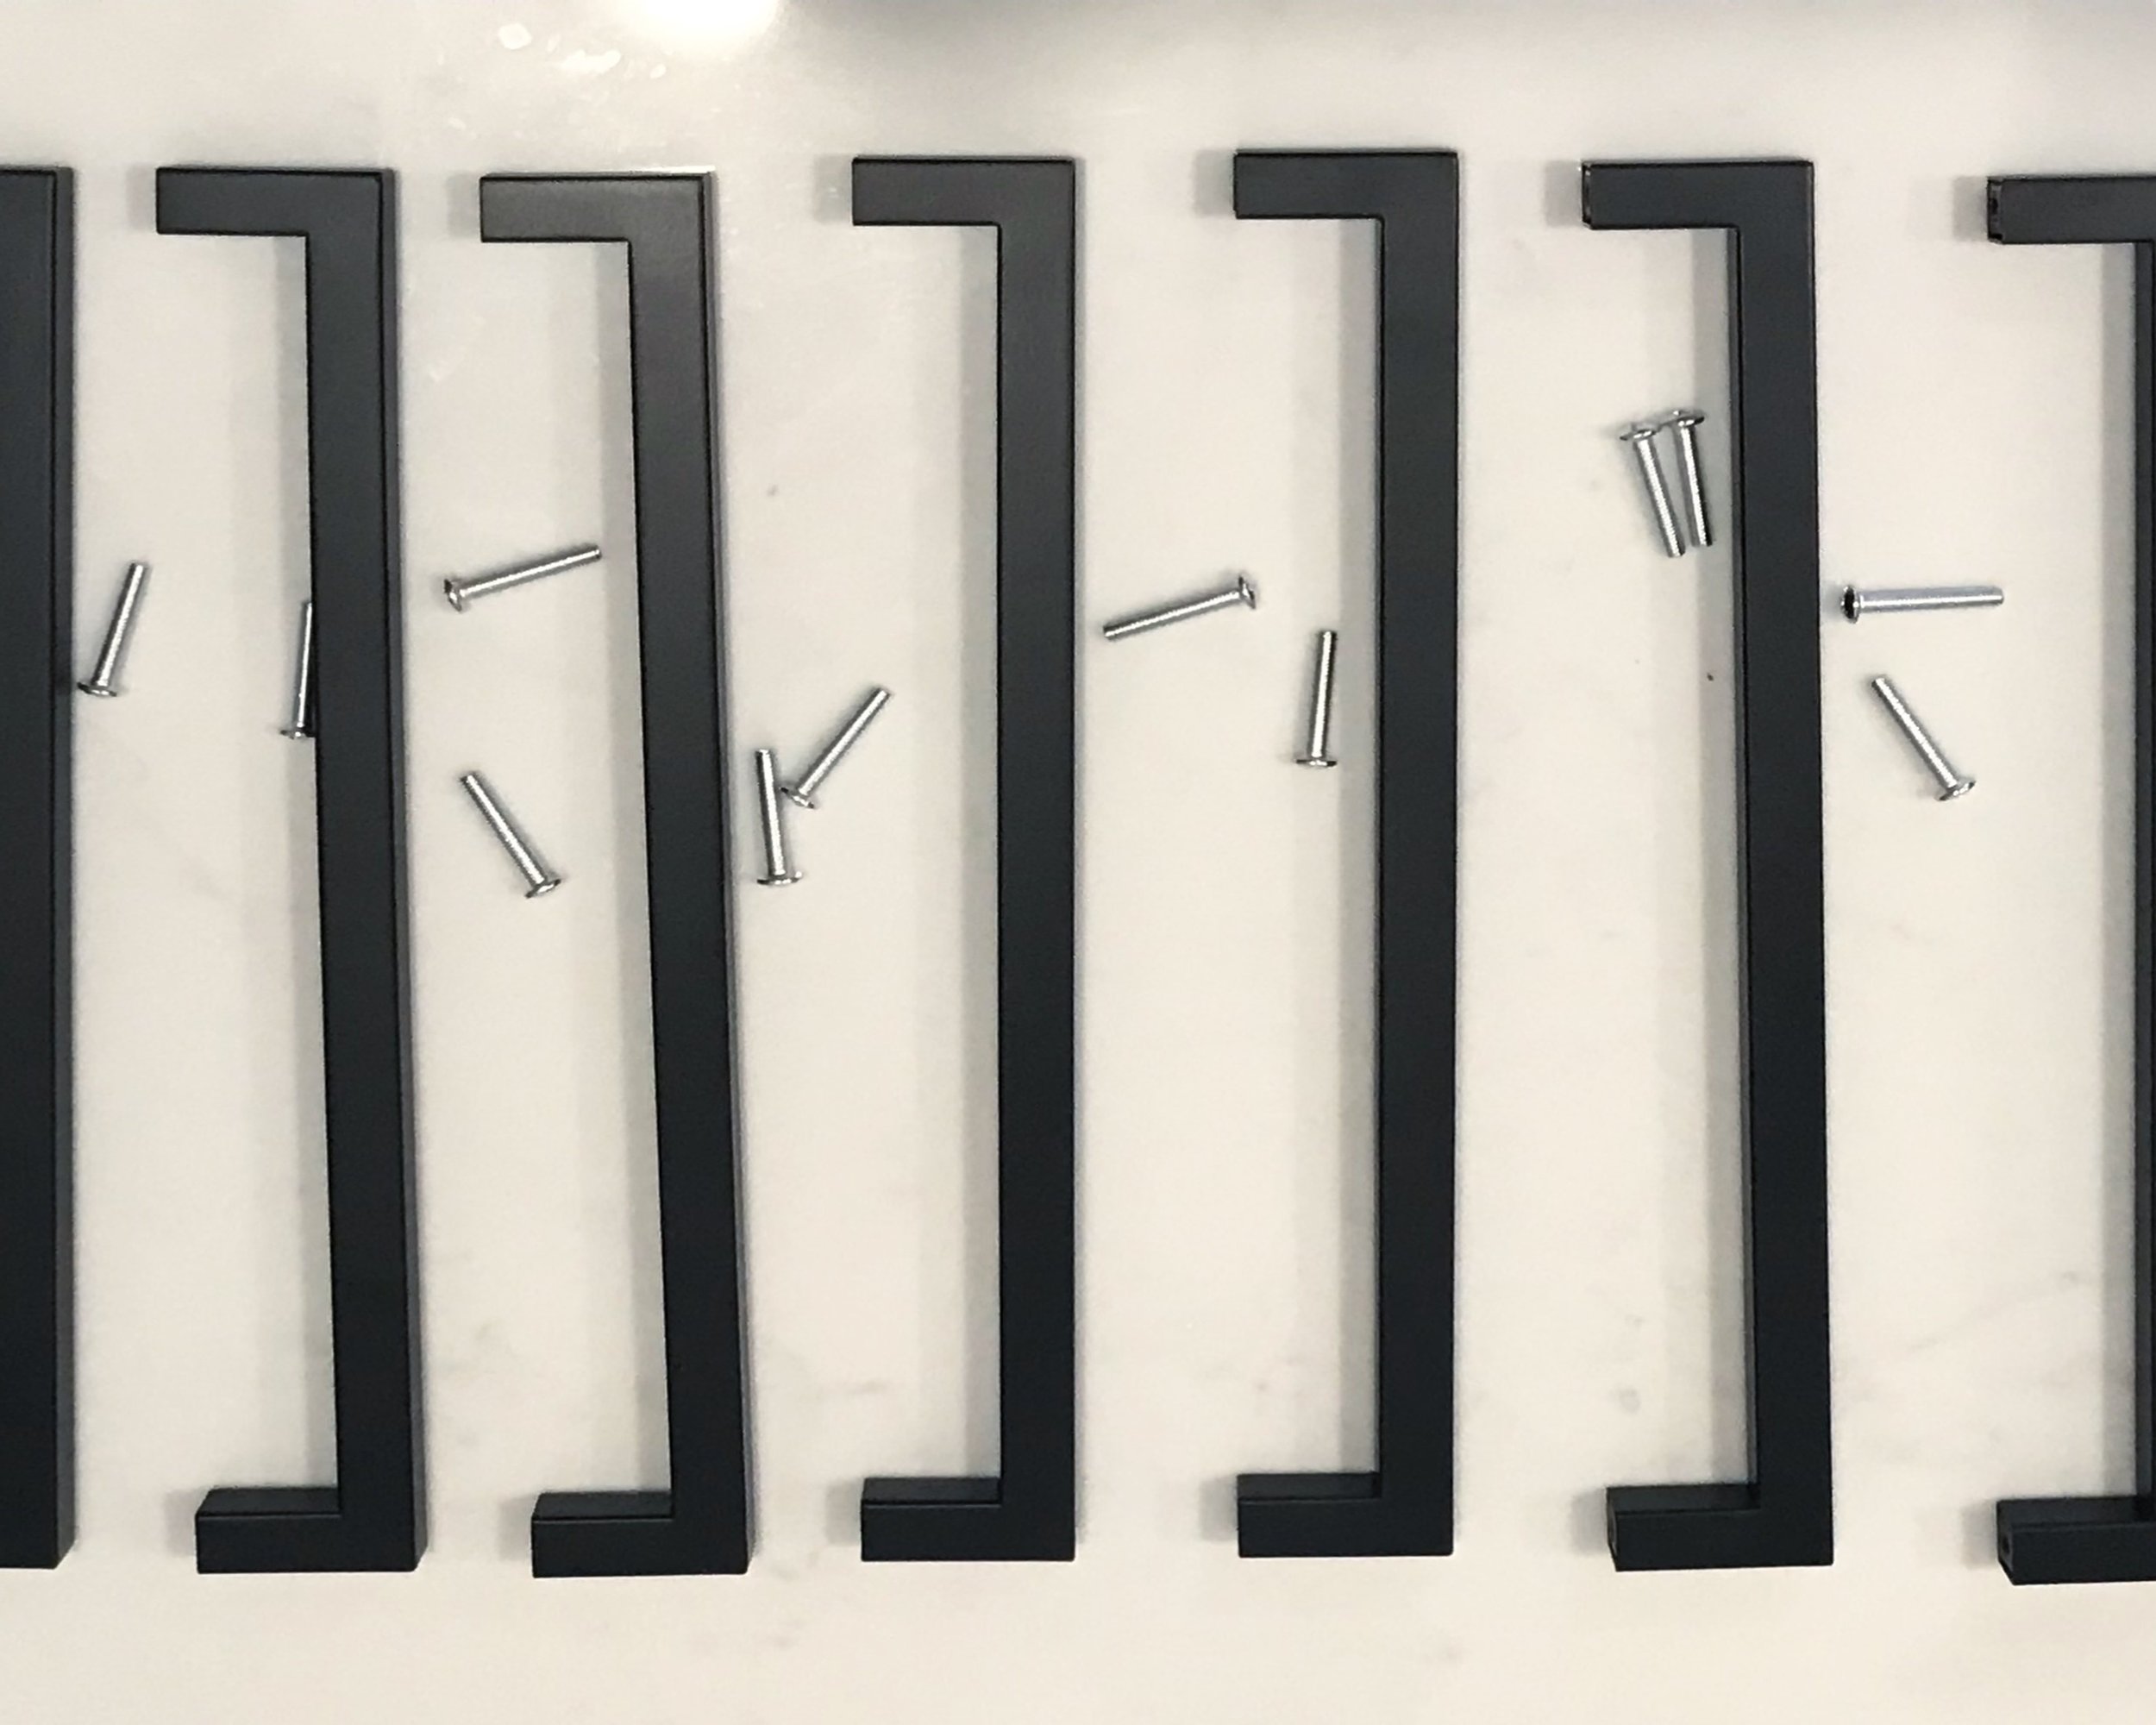
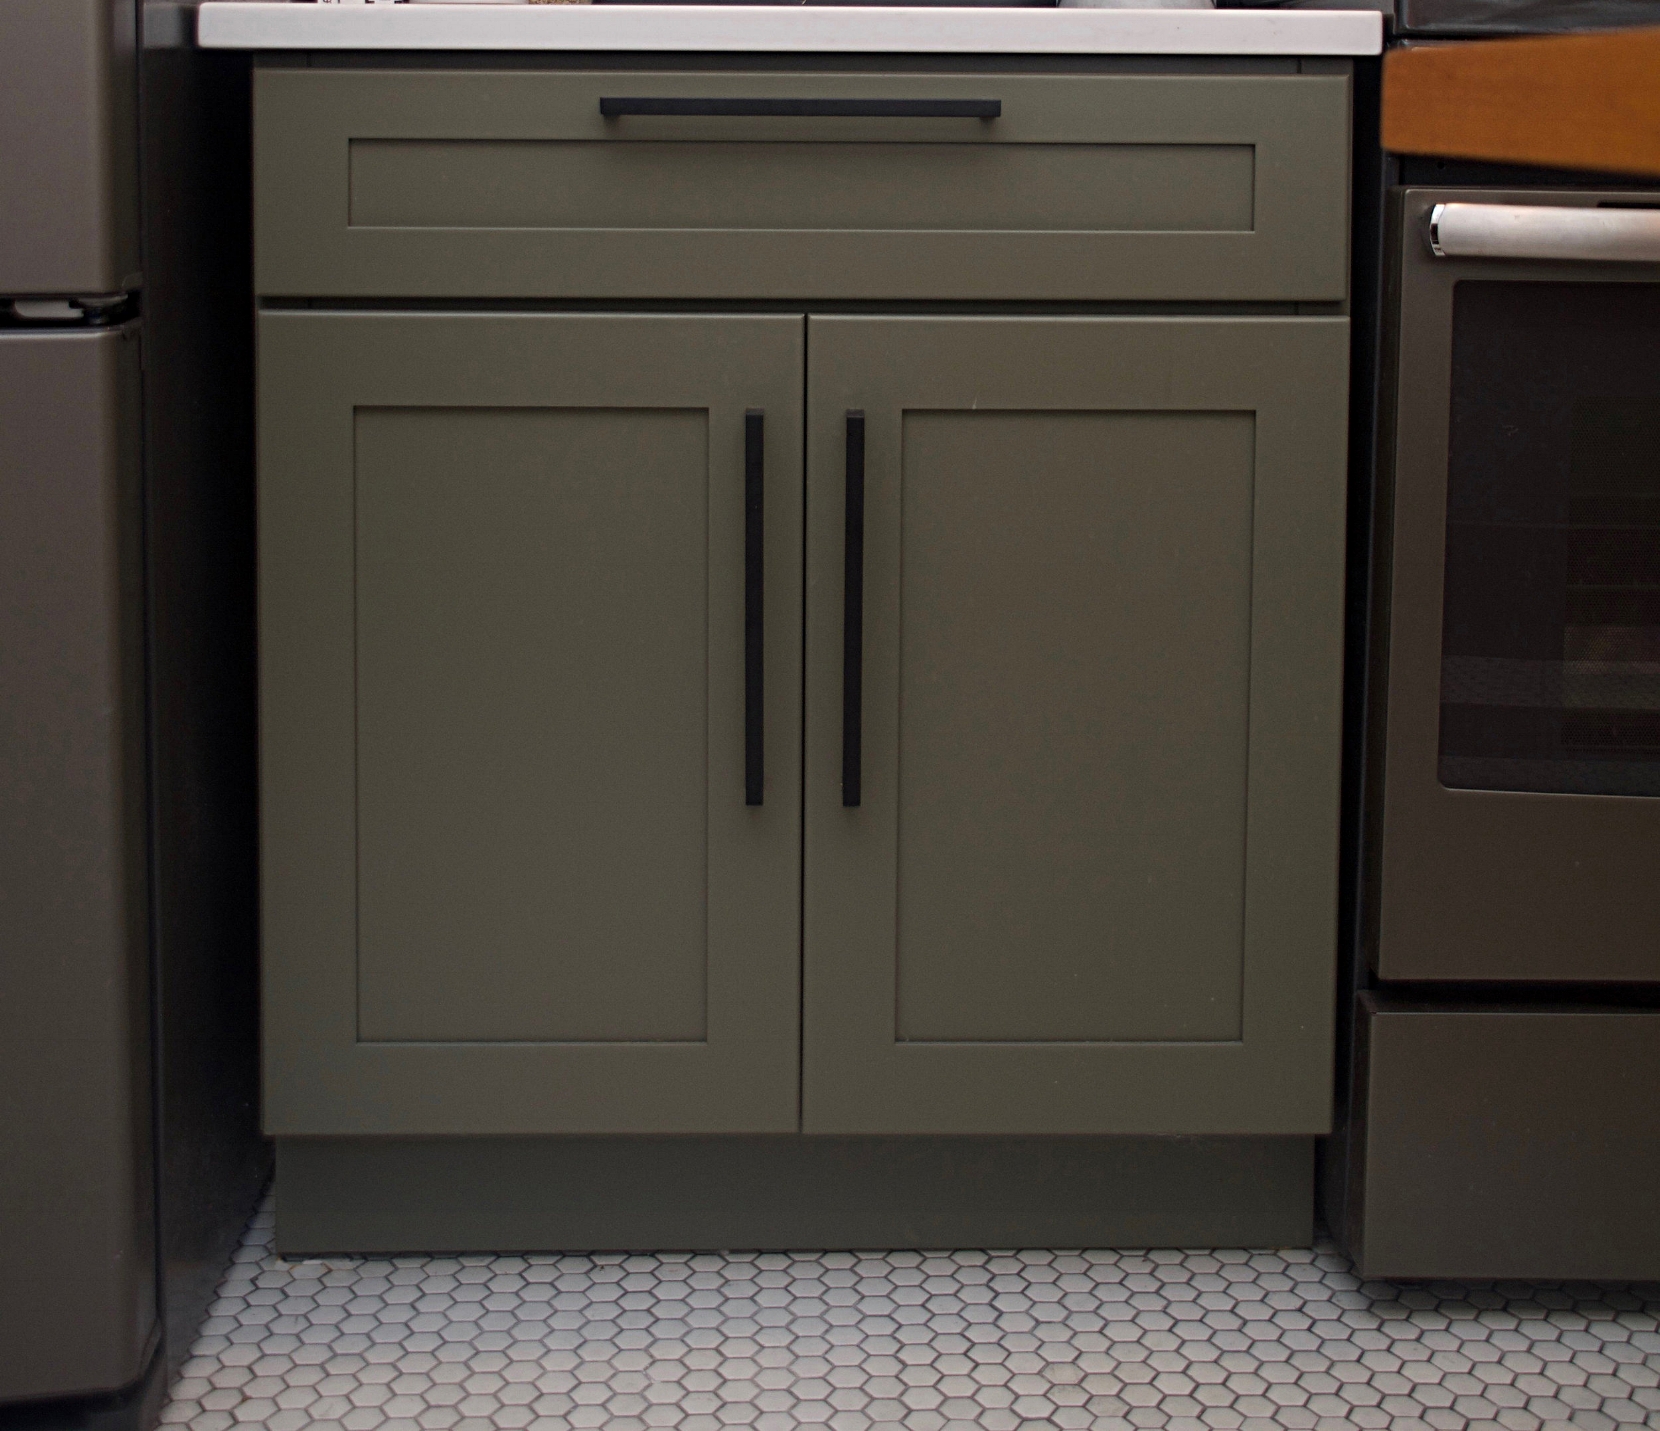
For the hardware we wanted something super modern and clean, and also matte black to match the faucet and light fixtures. I was about to shell out a zillion dollars at Schoolhouse when I came across these guys on ebay. We chose the 12 3/5" size. At about $4.60 a pop we couldn't be happier. I just love how they turn back and there isn't anything sticking out to catch your pockets on. They just look clean.
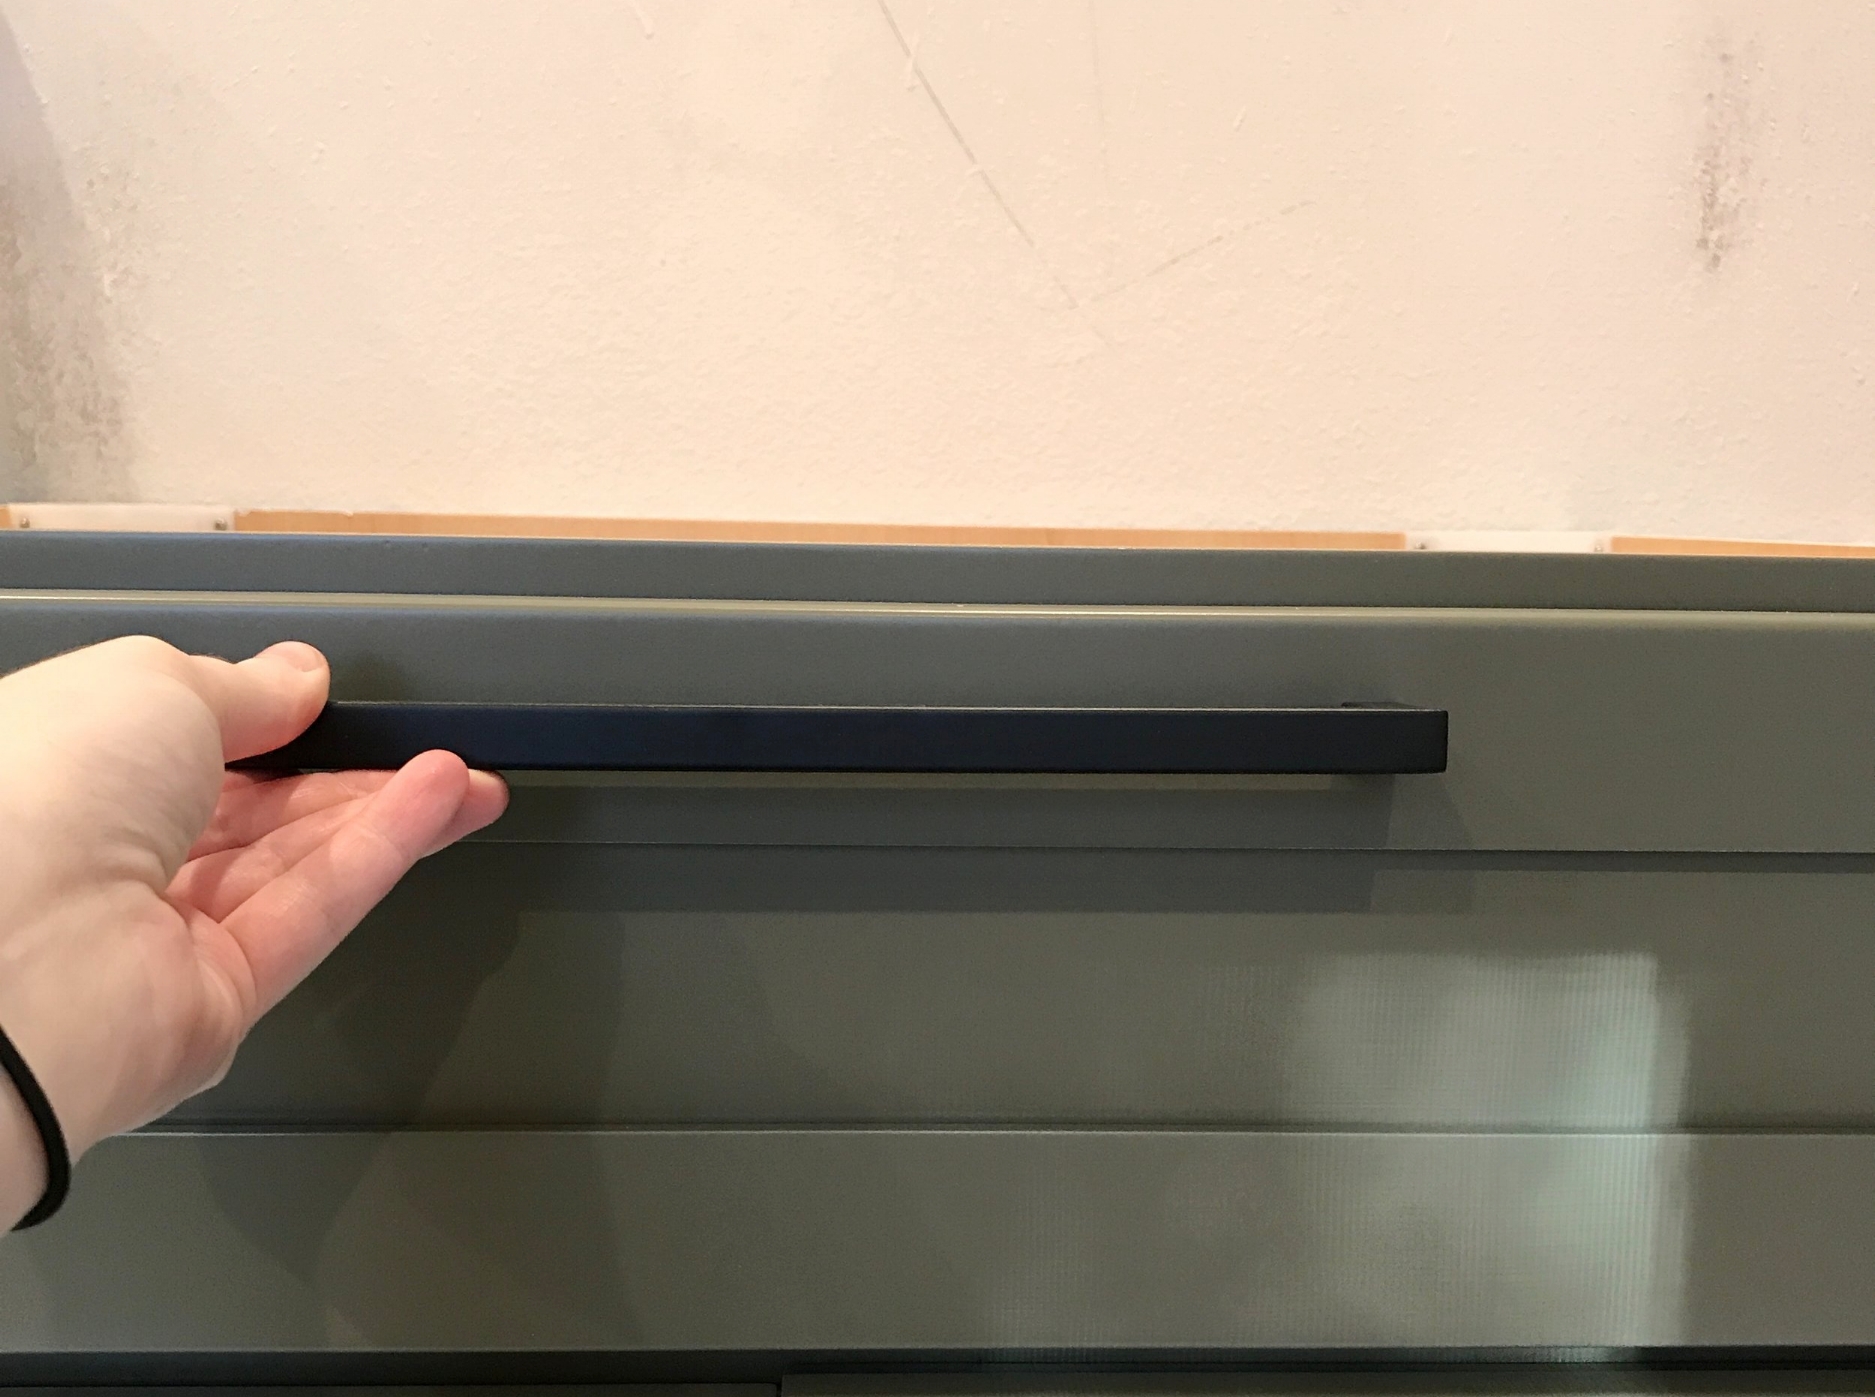

We made a handy little template for all of the drawers, and then did the same for all of the doors. We wanted all of the drawer hardware to be centered on the top shaker panel.

Derek's dad was in town and we put him to work. He and Derek lined up the template on each drawer and used a center punch to mark where each hole would be drilled, while I followed them installing all of the hardware.


For the doors, we wanted the top of each pull to line up with the bottom edge of the top shaker panel.
We used a Rev-A-Shelf conversion kit to turn two of the doors into drawers for our trash and recycling bins. Their system is incredibly easy to use, and then we ordered two of the Rev-A-shelf trash bins which fit perfectly. They are a little smaller than your average kitchen trash bin, so you have to empty them more often, but not having to see (and smell) freestanding trash / recycling bins was totally worth it. Aside from the dishwasher this was probably my favorite part of this entire project.


Stay tuned for Part VII of our kitchen renovation saga where I'll share how Derek fabricated the steel backsplash and custom upper cabinets.