made X modern

before & after

The Kitchen Reveal: Before & Afters

DIYCatharine KlepacComment

In case you missed Part IPart IIPart IIIPart IV, Part V, Part VI, Part VII, Part VIII, and Part IX of our kitchen renovation saga be sure and check them out before we dive into the moment you've all been waiting for: THE BIG REVEAL!

_b 2.jpg
_9.jpg
_8.jpg
_2.jpg
_1.jpg
_3.jpg
_4.jpg
DSC_0302black.jpg
DSC_0373 copy2.jpg
_a.jpg
_7.jpg
DSC_0317.jpg
DSC_0305.jpg
DSC_0334.jpg
DSC_0320.jpg
DSC_0348.jpg
DSC_0323.jpg
DSC_0314.jpg
DSC_0311.jpg
DSC_0395.jpg
DSC_0324.jpg
DSC_0374.jpg
DSC_0339.jpg
DSC_0347.jpg
_b 2.jpg

And now for some pretty shocking before and afters (my favorite).

IMG_9335.JPG
DSC_0322-black.jpg
IMG_9334.jpg
IMG_5241.jpg
IMG_9336.jpg
DSC_0332.jpg
IMG_9337.JPG
DSC_0333.jpg
IMG_9339.jpg
DSC_0319.jpg
IMG_9340.jpg
DSC_0308.jpg

 So there you have it, our full kitchen renovation. And yes, I’m super sad that I only got to enjoy it for a month before we moved to Dallas. But it just makes me even more excited for our next renovation. If you have any questions about our kitchen or renovation process feel free to leave a comment below. Or if you are looking to hire someone to tackle your next project, I’m taking on a couple more new clients this fall.

| S O U R C E S |

Flooring | Lower Cabinets (via Habitat Restore) | Hardware | Countertops | Tile Backsplash | Faucet | Floating Shelves (custom) | Vent Hood Insert and Liner | Vent Hood Wrap (custom) | Upper Cabinets (custom) | Steel Backsplash (custom) | Barn Light Sconce | Pendant Lights | Can Lights | Island (vintage) | Fridge | Range | Dishwasher | Sink | Bowls + Dishes | Glasses | Tea Glasses | Stainless Steel Bowls | Cutting Board | Straight Canisters | Tapered Canisters | Utensil Holder

Here are all of the posts in case you missed any:

Part I: A Brief History

Part II: Our Design Plan

Part III: Lighting Up the Joint

Part IV: #demoday

Part V: Our Not So Custom Cabinets

Part VI: Countertops + Hardware

Part VII: Installing Our Steel Backsplash

Part VIII: The Oven Wall

Part IX: The Sink Wall

The Kitchen Reveal: Our Design Plan

DIYCatharine KlepacComment

In case you missed Part I of our kitchen renovation saga be sure and check it out before we dive into the design of our new kitchen.

Even after closing in the door to our bedroom, and removing the millwork on the oven wall, we still had a hard time figuring out how we really wanted our kitchen to flow. We didn't want to create any major movements to help keep the budget down, but were open to relocating things like gas, waterlines, etc. 

Here is what the floor plan looked like when we first moved in, to help give a better idea of what we were working with. 

Kitchen - Existing.jpg

Then this is how we had it laid out after closing in the door to our bedroom and removing the millwork on the existing oven wall.

Kitchen - Phase 1.jpg

For the longest time Derek only wanted to partially renovate the kitchen, while I was 100% for a full renovation. So we thought about adding an L-shape lower cabinet between the new stove and fridge but L-shape cabinets kind of drive us crazy. They are super deep and its hard to reach things in the way back corner. Plus in our situation it would have to be a very tight L-shape lower which made it even more awkward. I also didn't love how the edge of the stove would be exposed, it all just felt like a big bandaid. So we stewed over several different sketches until Derek finally yeilded and agreed that a full renovation was the only way to have a successful kitchen, and we landed on this.

Kitchen - Phase 2.jpg

The overall concept is an oversized galley kitchen with an island in the middle. It was a simple choice, while also solving all of our problems. No awkward cabinets, a clean flow, and minimal demolition. You're probably wondering why we didn't remove that wall that separates the kitchen from the living room (on the left). Honestly, because the laundry room / breakfast nook also had a wide opening, and we didn't want to see all the way down the house when you first walked into the front door. We wanted to create a separate space. Also, there was a lot of electrical we would have had to relocate and a floor material (and level) change, and it just didn't seem worth it. If this was our "forever" house we probably would have made much bigger moves like that. 

We put together two finish palettes knowing that our main design elements would be steel, our white hexagon floors, gunmetal appliances, black fixtures / hardware, and plywood. I loved the idea of olive green shaker cabinets with a carerra style quartz countertop, while Derek preferred white shaker cabinets with a matte concrete style quartz. We took a poll and (most) everyone loved the olive route which we would have probably ended up doing even if everyone picked white ha. I just didn't love the idea of having white cabinets against our white floors. 

IMG_8250.jpg

We decided that all of the lower cabinets would be shaker style doors and drawers painted Eclipse by Sherwin Williams with these matte black linear pulls and white carrera style quartz countertops with a 3cm square edge.

As the floor plan indicated, the oven and fridge would be on one side of the kitchen. There will be a hot rolled sheet steel backsplash and thin steel shelf for spices and grains. We loved the idea of steel because it ties in with the other steel elements throughout our home, and it's also magnetic which is kind of fun for recipes, hooks, etc. The vent hood will be wrapped in plywood with two plywood upper cabinets on either side, each with sliding gloss white doors. We felt like this helped to ground everything and make the fridge and oven feel more built in.

Screen Shot 2018-08-15 at 12.39.27 PM.png

The opposite side of the kitchen will have a matte white ceramic tile backsplash, to help offset the darkness of the steel. There will be plywood floating shelves on hidden steel brackets on either side of the window, with a black barn light above. We will located the dishwasher (eek!) to the left of the sink in the same gunmetal finish as our fridge and stove. The sink will be nice and deep and under-mounted with a matte black faucet. 

Screen Shot 2018-08-15 at 12.39.36 PM.png

Between both sides of the kitchen will be our antique drafting table that will be used as an island, allowing for more prep area, with two matte black and milk glass globe pendants hanging above. 

For the lighting we wanted everything to be black to pop against the white, while also tying into the color of the steel. 

We plan to order all of the lower cabinets, while Derek makes all of the uppers and the vent hood wrap. We just love how all of the elements reflect the craftsman style of our home with modern industrial elements like the steel and plywood. Yet everything ties together so nicely and reflects our overall style without looking too trendy. 

Stay tuned for Part III of our kitchen renovation saga where I'll share how we replaced our one boob light with snap in can lights. You can't demo without great lighting!

The Kitchen Reveal: A Brief History

DIYCatharine KlepacComment

You guys. It has been 13 months since we started renovating our kitchen. I know. While you're probably imagining us living in chaos for over a year,  it was only bad for about two months. Once our countertops and cabinets were in we were able to use our kitchen it just wasn't as pretty. Throw in some delayed contractor schedules and you know having a baby and now I'm here to say it is DONE.

There is a lot to cover so this reveal is going to spread across a couple different posts. Before we get to the (shocking) before and afters, I wanted to take you down memory lane for a bit.

So a little backstory about our house (which you can read more about here), it was built in 1930 and the kitchen hasn't been updated since probably the late 40s / early 50s. There have been two official owners before us: the original owners who lived here until 2008 (the last 20-30 years of them owning it their kids used it as a rental property after their parents were gone), and then the person we bought it from who had also been using it as a rental. It's actually really cool that the homeowner history is so short because we were able to learn a lot about the original owners. The ex-husband of the woman we bought the house from actually lives across the street from us so we were able to get the scoop! San Antonio can be SUCH a small town. 

The husband was a carpenter and built all of the kitchen cabinets. However, he and his wife must have been short because the counters were pretty low, the toe kicks were almost non existent, and the upper cabinets came down really low. But because it was a custom kitchen, it came with lots of really cool storage features for its time.

IMG_9335.JPG

See how low the upper cabinets come down? The countertops are only about 18" deep (standard is 24") so they are literally in your face if you are trying to use the counters as prep space when cooking. The wood countertop on the opposite side is only 13" deep. So strange.

IMG_9339.jpg

As you can see we were not hurting for storage. However we seriously never opened those top cabinets until demo day. I was so afraid of what we would find inside ha. The entire wall of cabinets just felt so visually heavy and covered up so much of the window with shadows. 

The original recess for the fridge was clearly for a much smaller 50s refrigerator. Which we thought about just getting a cute little Smeg fridge which would fit perfectly. The previous owner left an apartment sized fridge which stuck out about 6" into the walkway. And broke about two weeks after we moved in. 

IMG_9340.jpg

The oven wall had ample storage with built in dividers for cookie sheets. However while the stove was modern-ish, the oven was very vintage. Neither of us had seen an oven like this. It was about 20" wide (it literally wouldn't even fit a cookie sheet or a turkey). And we had no idea if it worked or not. With it being gas, we didn't even want to try. So we knew this side would have to be renovated very soon.

IMG_9337.JPG

Why yes that IS a door to the master bedroom. Why you ask? We have no freaking clue. Our bedroom came with a door from the hallway, a door to the second bedroom, and a door to the kitchen. Oh and two closet doors. We knew that we wanted to close that in ASAP and start to rework the layout of the kitchen. 

IMG_9336.jpg

This is a view from the laundry room looking back toward the kitchen to help get your bearings. Look at how far that fridge sticks out!

IMG_9346.JPG

When we had the kitchen and laundry room floor replaced before moving in (which you can read about here and then about how we cleaned it here) we took this as an opportunity to also have the oven / stove millwork removed and the door to our bedroom closed in.

IMG_9540.jpeg
IMG_9536.jpeg
IMG_9537.jpeg
IMG_9557.jpeg

We made it work this way for three (!!) years. There wasn't a dishwasher so everything had to be washed by hand. The countertops were 2x2 ceramic tile which were impossible to clean. The wood countertop on the opposite side had paint peeling up which was even more impossible to clean. 

IMG_8362.jpg

We replaced the broken fridge and used its nook for storage. We did the best with what we had, until we could save up enough money for the full renovation.

Here are some photos of the custom features. Which honestly would have been really cool if they were new and clean, but they were filthy with decades of grime and I feared putting our clean dishes in them ha. Can we also talk about how intense these hinges are?

IMG_8355.jpg
IMG_8356.jpg

The top drawers all had dividers for silverware, and then pull out boards which I originally thought were cutting boards, but then saw on an episode of Leave it to Beaver that they were actually pull out surfaces to mix things and have more prep space. Fancy!

IMG_8357.jpg

None of the cabinets had backs so there were always bugs coming in from outside through the (many) cracks which just totally grossed us out. Most of the magnet closures were broken so the doors just stayed open all the time. This was a very classy joint.

The upper shelves on the opposite side were kind of cool, but the dimensions made them very tricky. They were about 6" deep and 9" tall so they didn't hold much other than glasses and bowls.

After demoing the original stove/oven wall we bought a new freestanding oven to match our new fridge and configured the appliances like this, which wasn't ideal but it worked for the time being. 

You can really see just how shallow those lower cabinets are, look how much the fridge sticks out. 

Fast forward to the summer of 2017 when we decided to have our foundation replaced. They ended up cranking up our house 7" which is why you'll see a ton of cracks in the walls in some of these photos. We had left the house one morning while they were working because it was so loud and freaking Geoffrey out, and when we came back the upper shelves next to the fridge were literally hanging off the wall (with everything still attached ha!) So we immediately took the shelving down (which by the way was hanging on by one screw and about 40 years worth of paint) and knew it was time to renovate the kitchen. 

IMG_8369.jpg

Stay tuned for Part II of our kitchen renovation saga where I'll share the design plans and inspiration for our new kitchen.

How To: Make 5 Paneled Doors the Easy Way

DIYCatharine KlepacComment

So before we dig in, I feel like I need to give you a little backstory on the door situation in our 1930 bungie. As I've mentioned before our house has had two owners. A sweet little family back when it was originally built and then it was sold and used as a rental for 40 years. So yes it's only had two owners, but having four decades of renters means this sucker is full of cheap (lazy) bandaids and weird quirks. When we moved in all of the closets and two of the rooms had original single panel solid wood doors. 

One to the bathroom:

IMG_9362.jpg

And one to the guest room:

IMG_9377.JPG

There were two flimsy builder hollow core doors that looked like they were straight out of an apartment. 

One to the kitchen from the master (I know. Midnight snack anyone?):

IMG_9359.JPG

And one from the master to what is now Olivia's nursery (ooo shiny 90s gold hardware):

IMG_9352.JPG

There were also two accordion doors. Yep. 

A super gross fabric/vinyl one from the nursery to the laundry room (think those accordion partitions from the 70s that divided classrooms in elementary school. Oh and it was covered in paint): 

IMG_9350.jpg

And a shiny plastic one from the hallway to the master bedroom:

IMG_9373.jpg

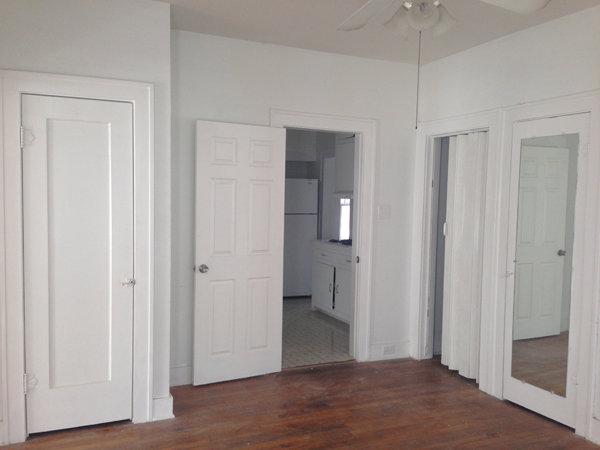
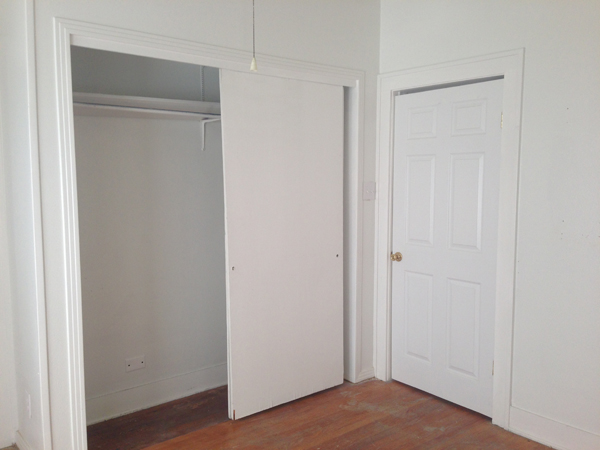
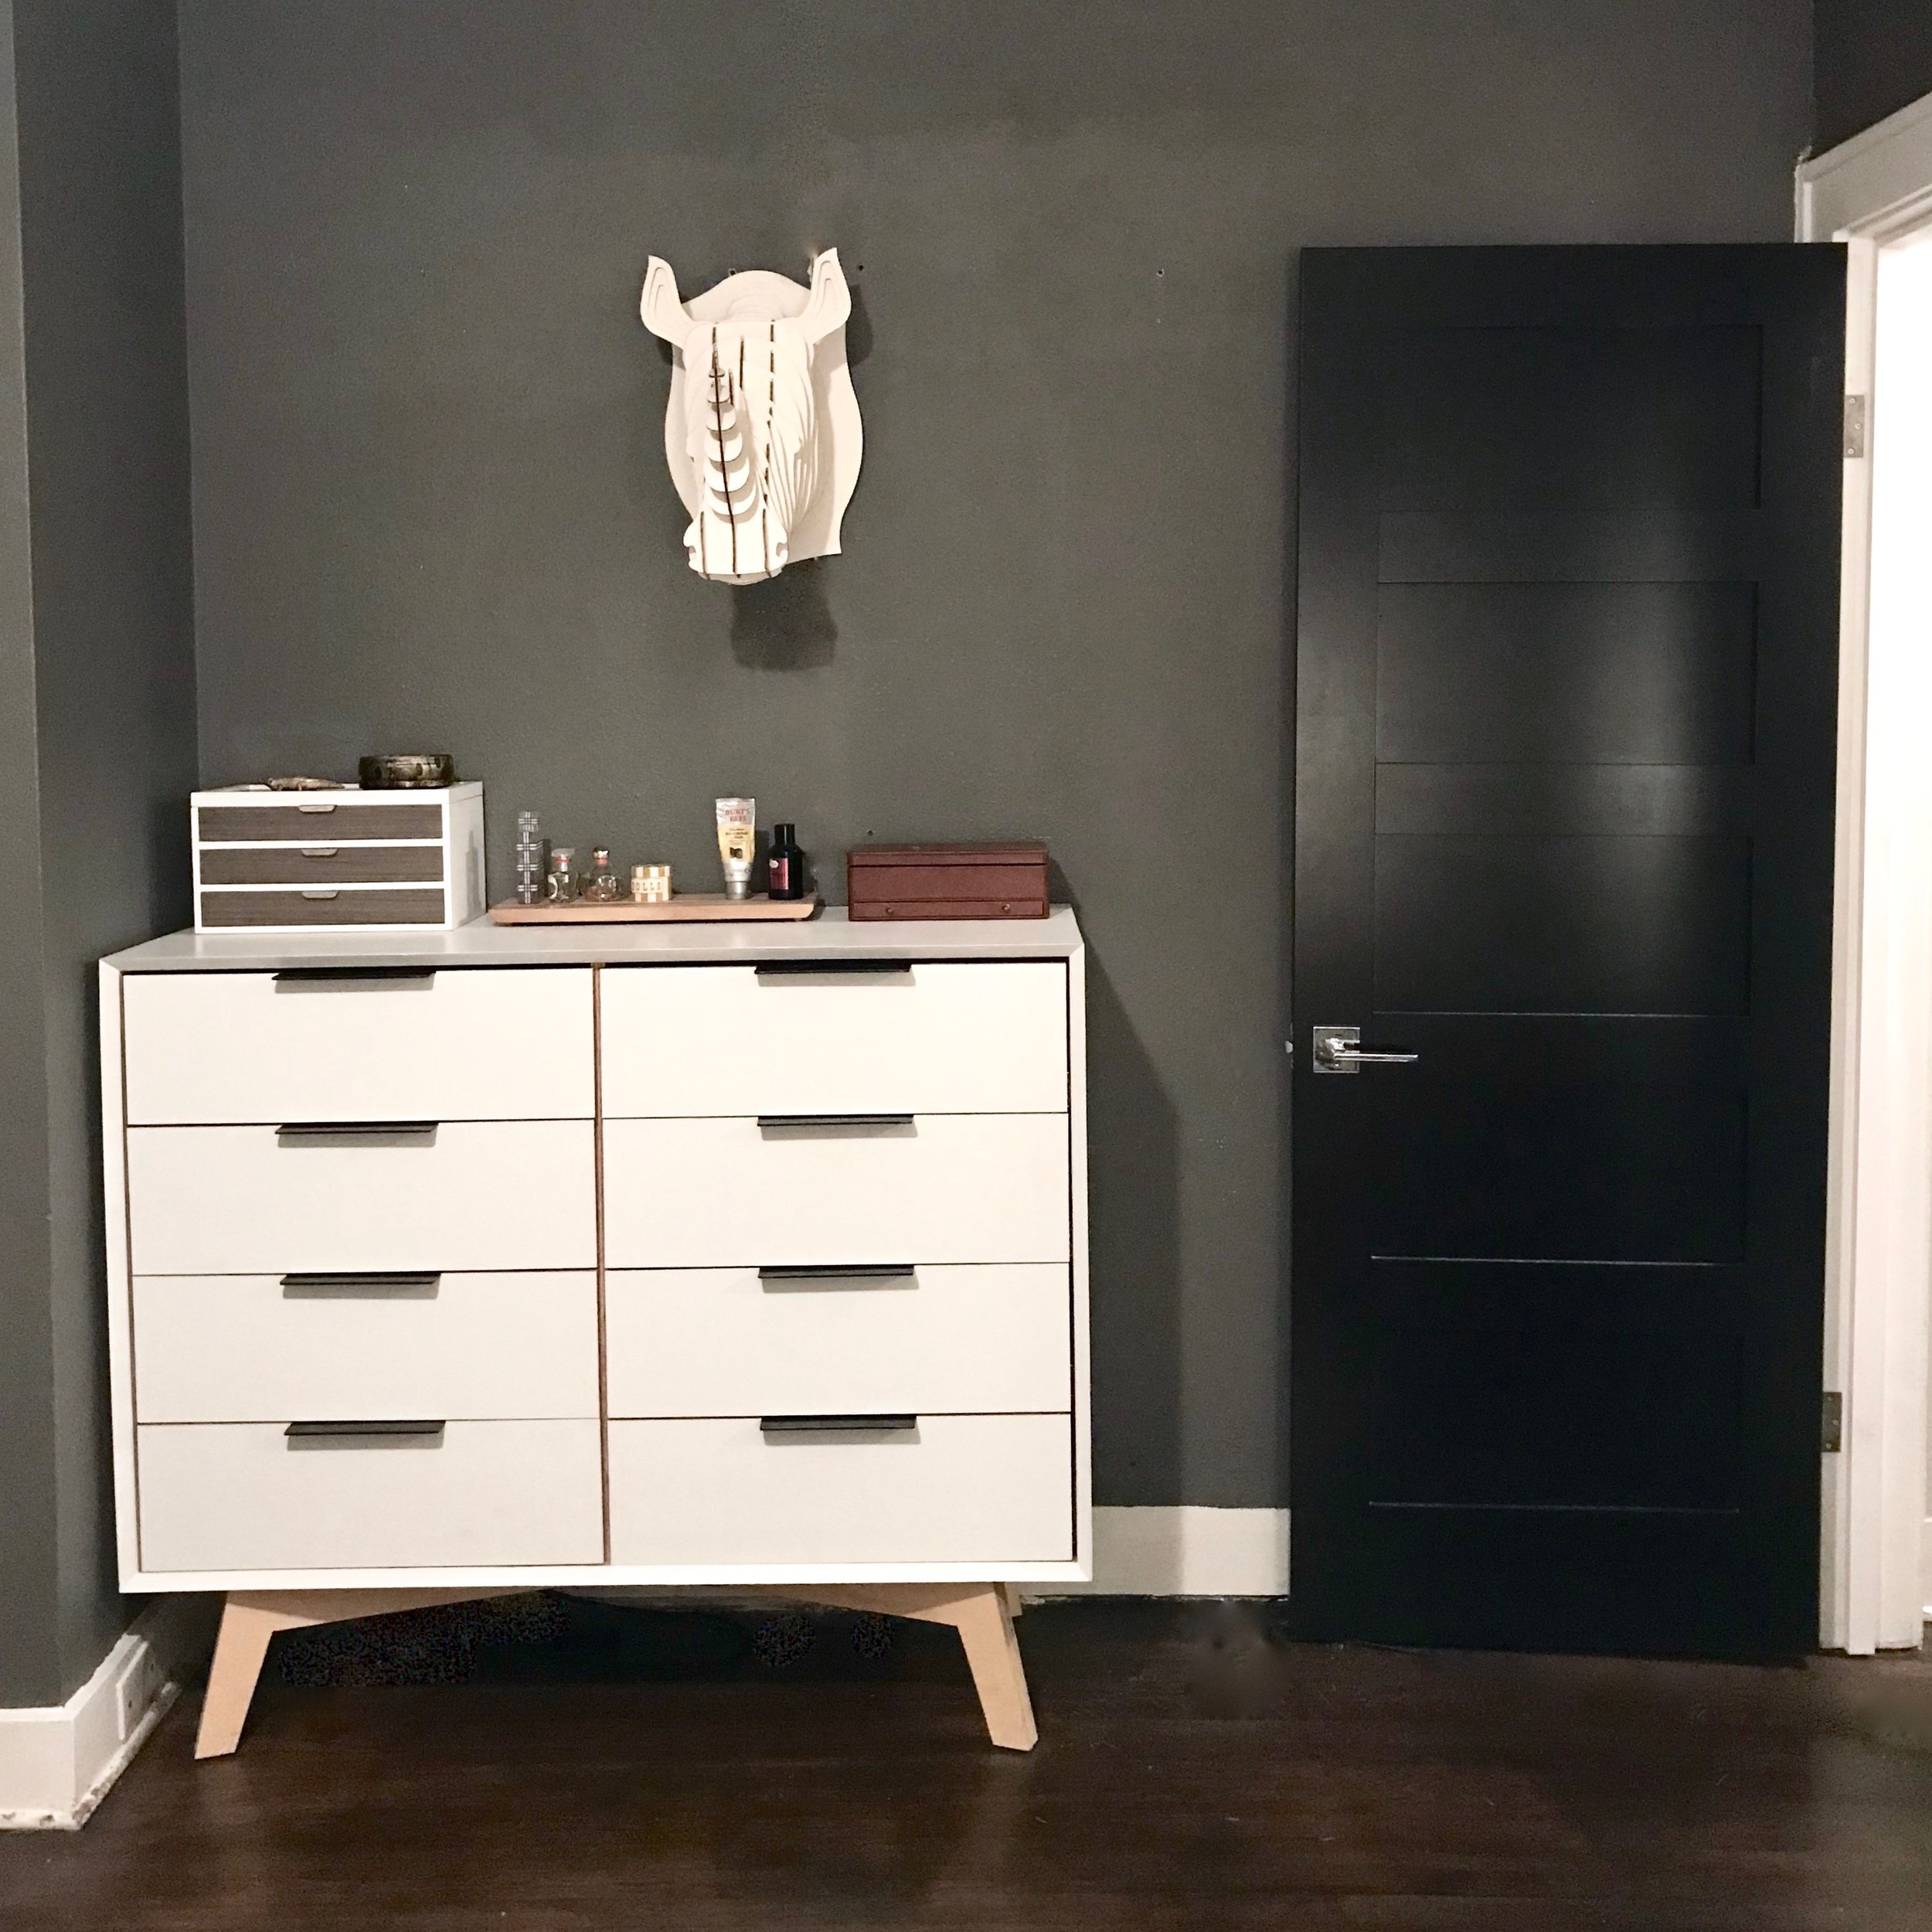
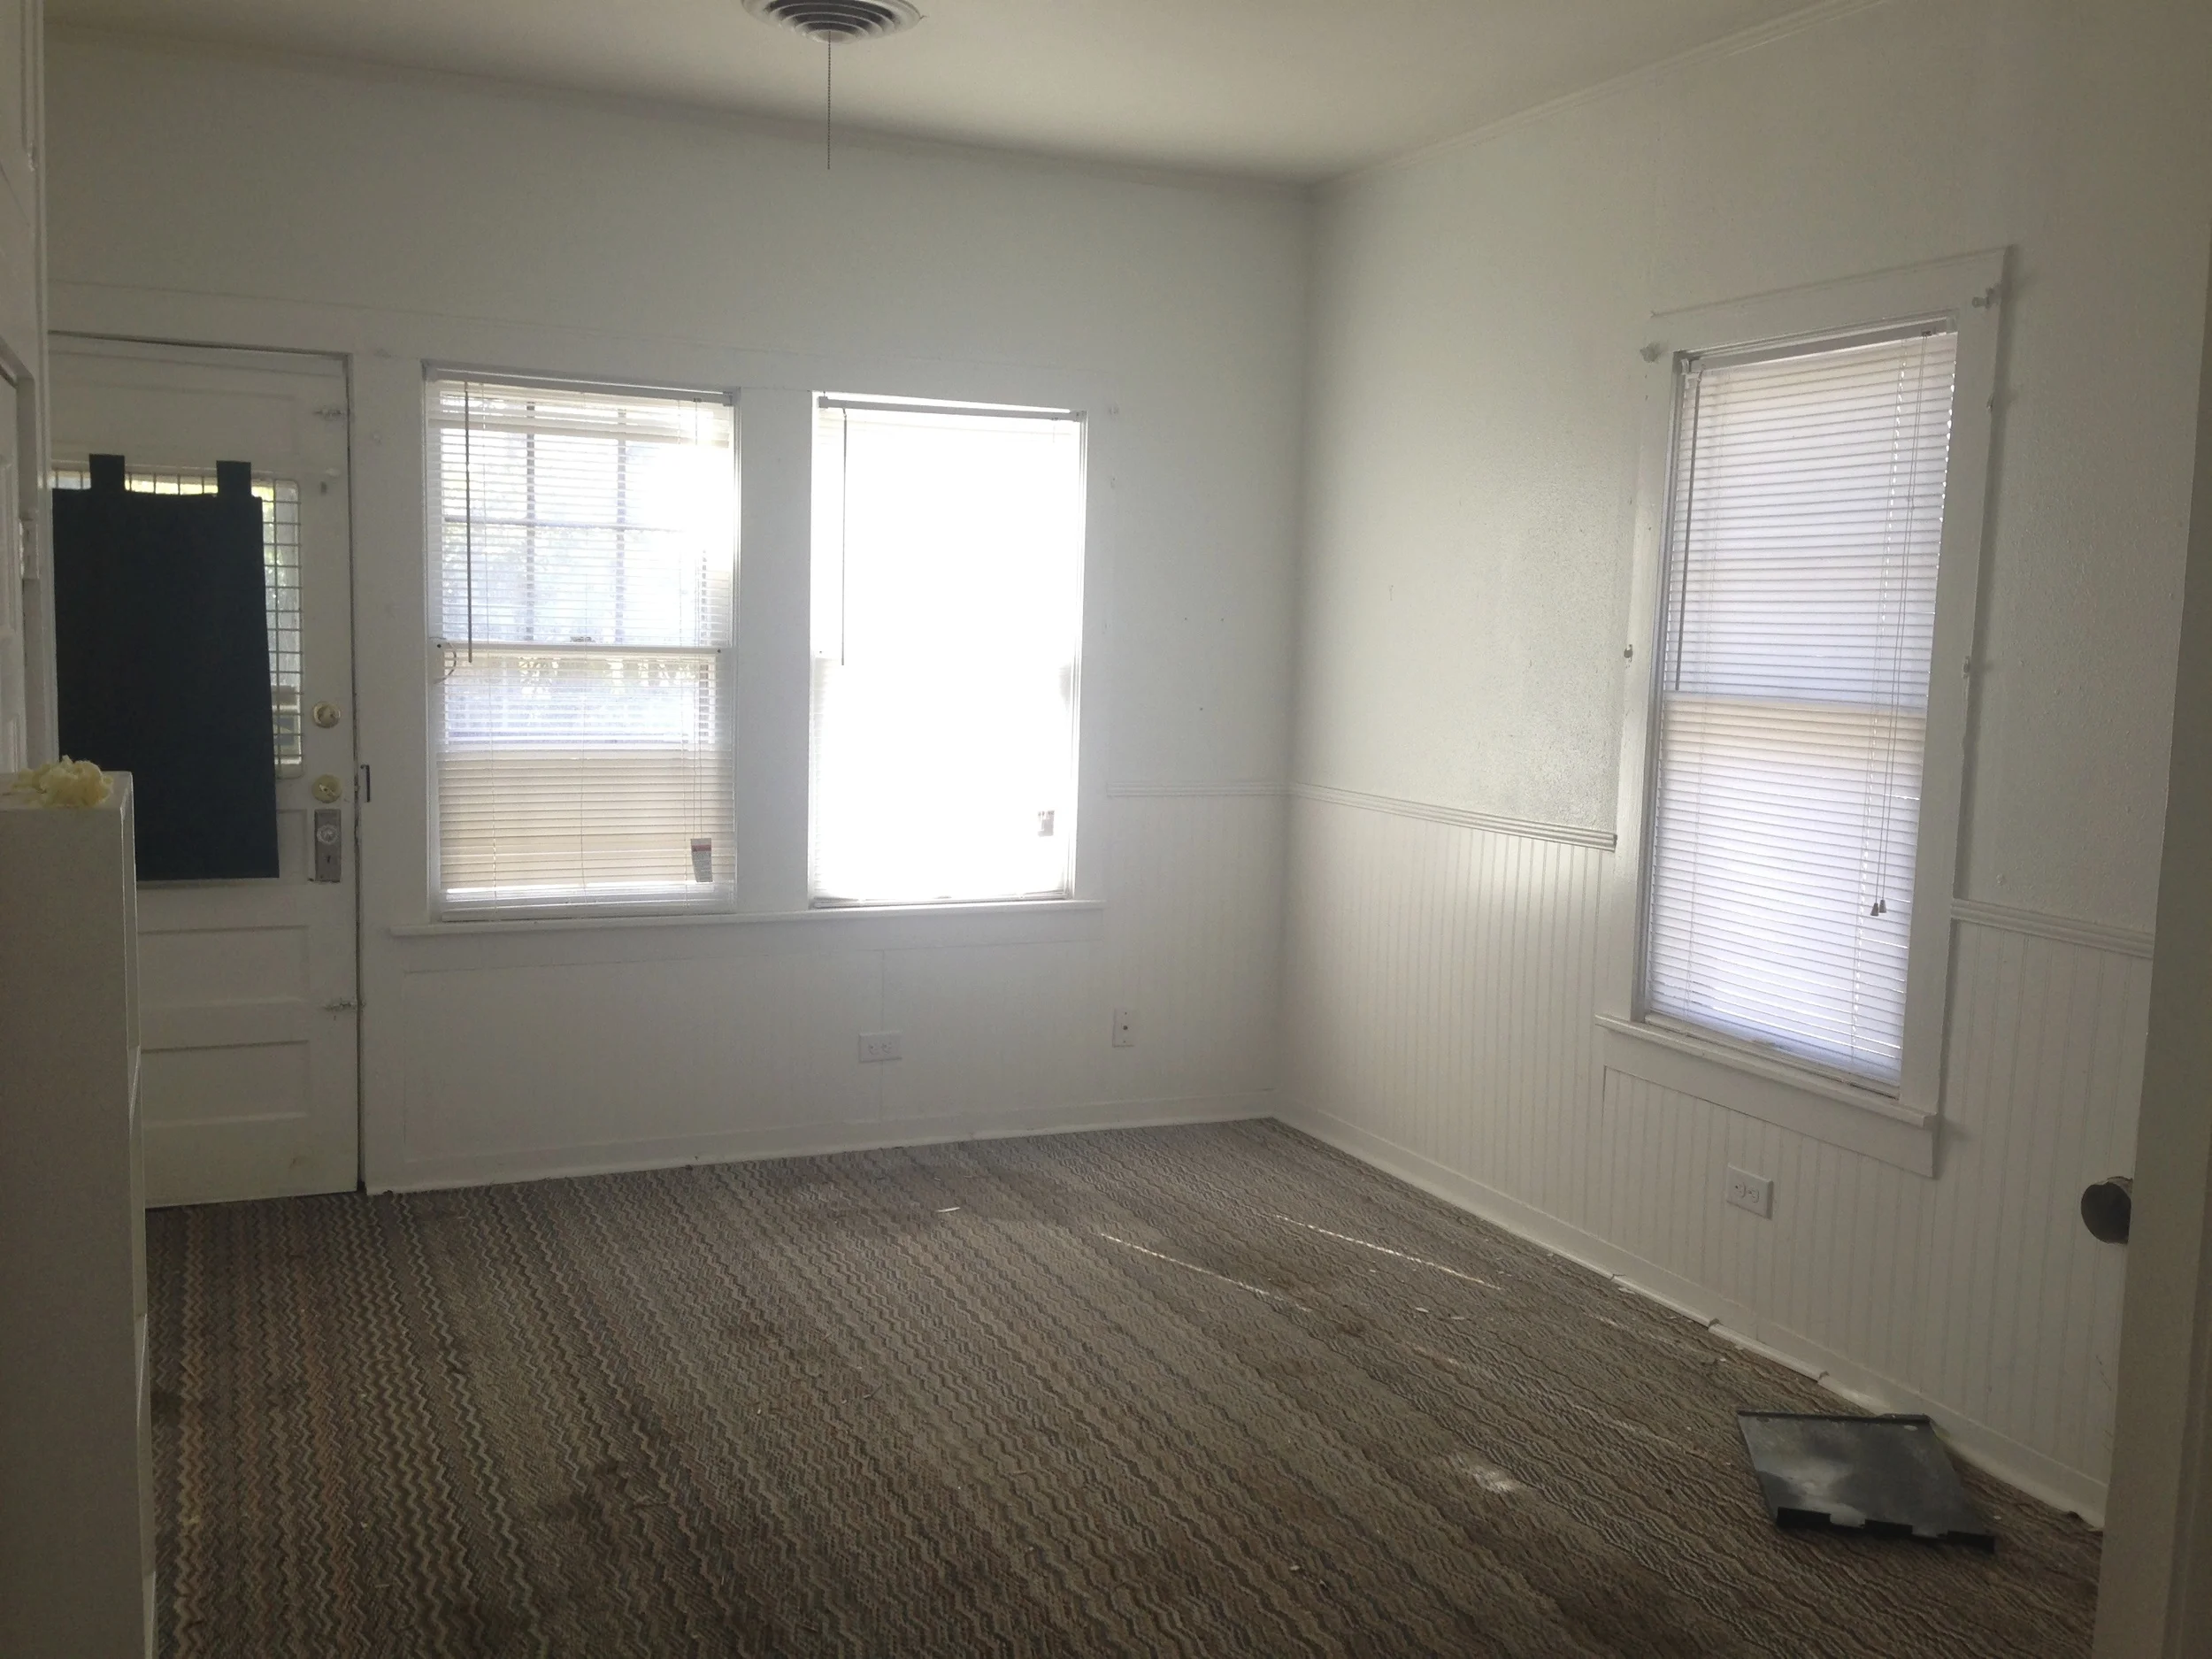
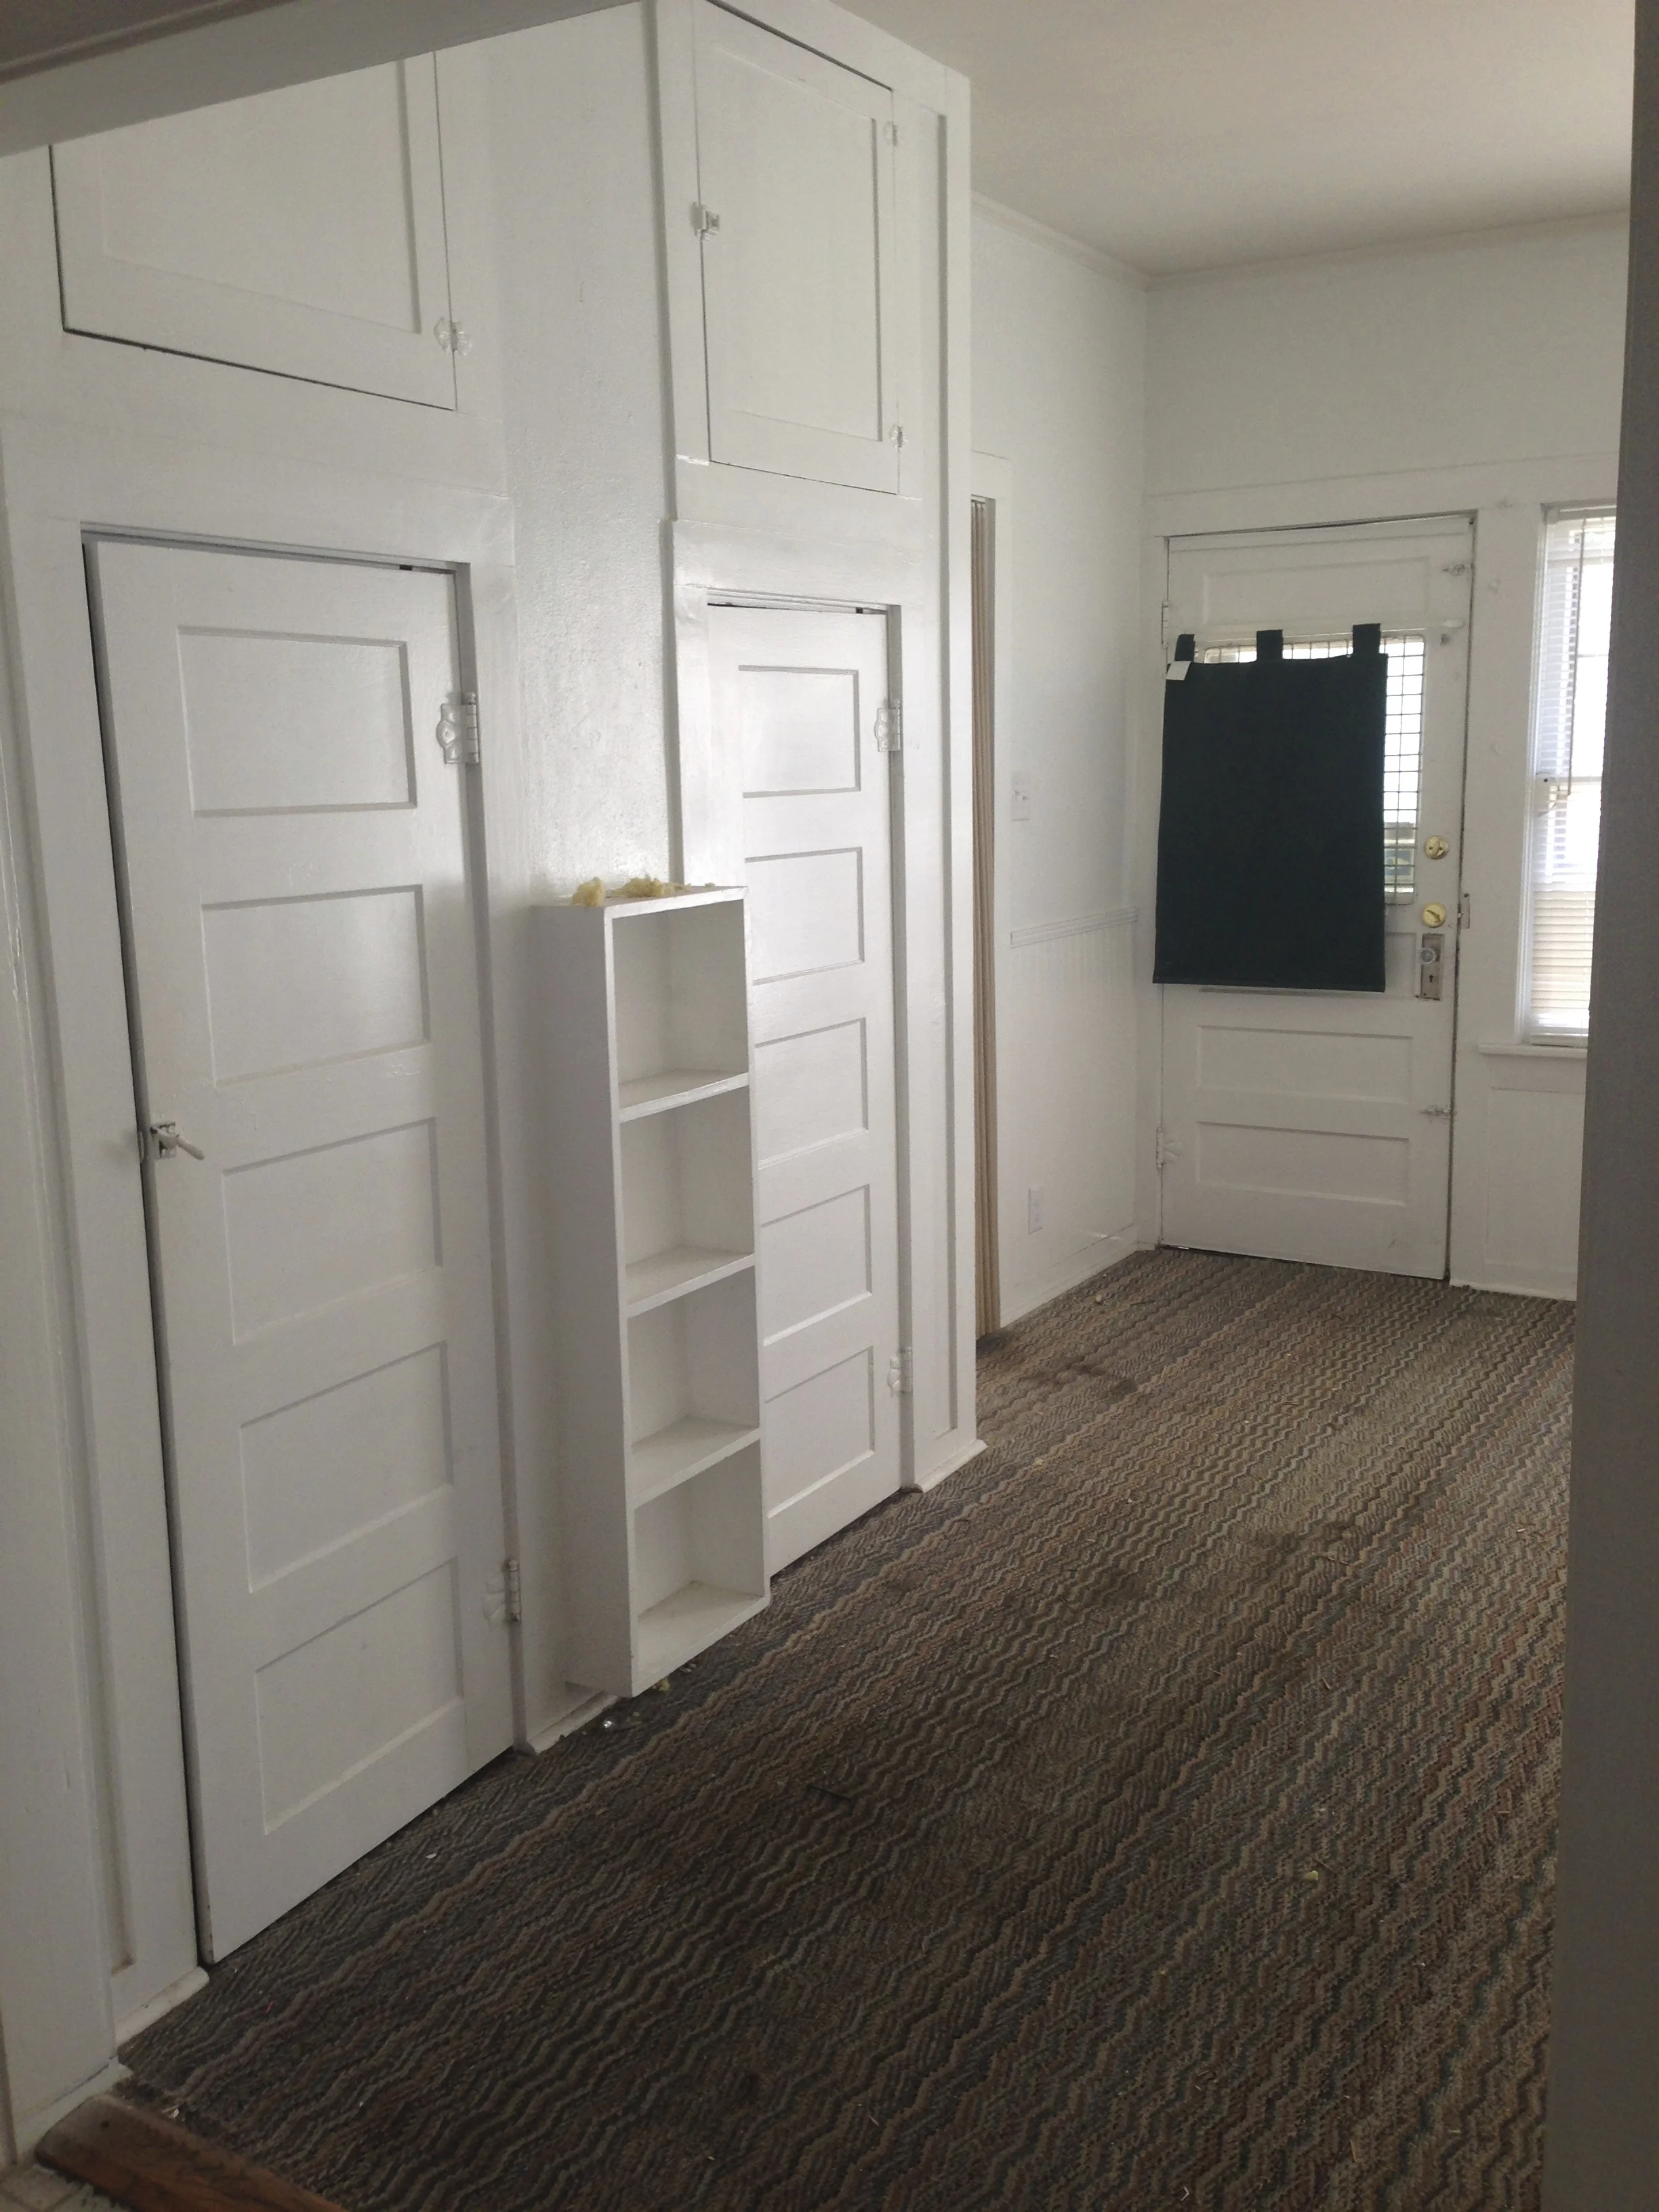
When we first moved in we immediately removed all of the accordion doors because 1. they were filthy, and 2. we were not about to try and move furniture through 18" openings. Removing the door to the now nursery (then office) wasn't a big deal at all because it wasn't a true bedroom yet. However, removing the door to the master bedroom meant that we ended up not having a bedroom door for almost 5 years (!!)

Why did it take so long? Well first of all we rarely have guests so this project was not at the top of our todo list. Second of all, we had such a hodgepodge collection of doors and we eventually wanted to replace them all with 5 panel shaker doors that matched which was pretty pricey. After looking around at Lowe's and Home Depot a couple years ago, if you wanted a solid core 5 panel door it was a custom order and started at around $300 a door. Woof. We started looking at architectural salvage stores to find some we could refinish but even those started at $100 and still needed to be completed stripped and refinished from decades of abuse. Double woof. Also, having an old house means that your door openings are all different widths, that tend to be on the smaller side. Ours range from 31" - 34", which are not common door widths so it was like finding a needle in a haystack. 

So Derek had planned on building all of the doors in our house instead. He made the barn door from the laundry room to the office/nursery, and it turned out just gorgeous. However, Derek is a busy guy with lots of fabrication products on his plate and it was going to take some time to squeeze four more doors into his schedule, so I was getting a little desperate. 

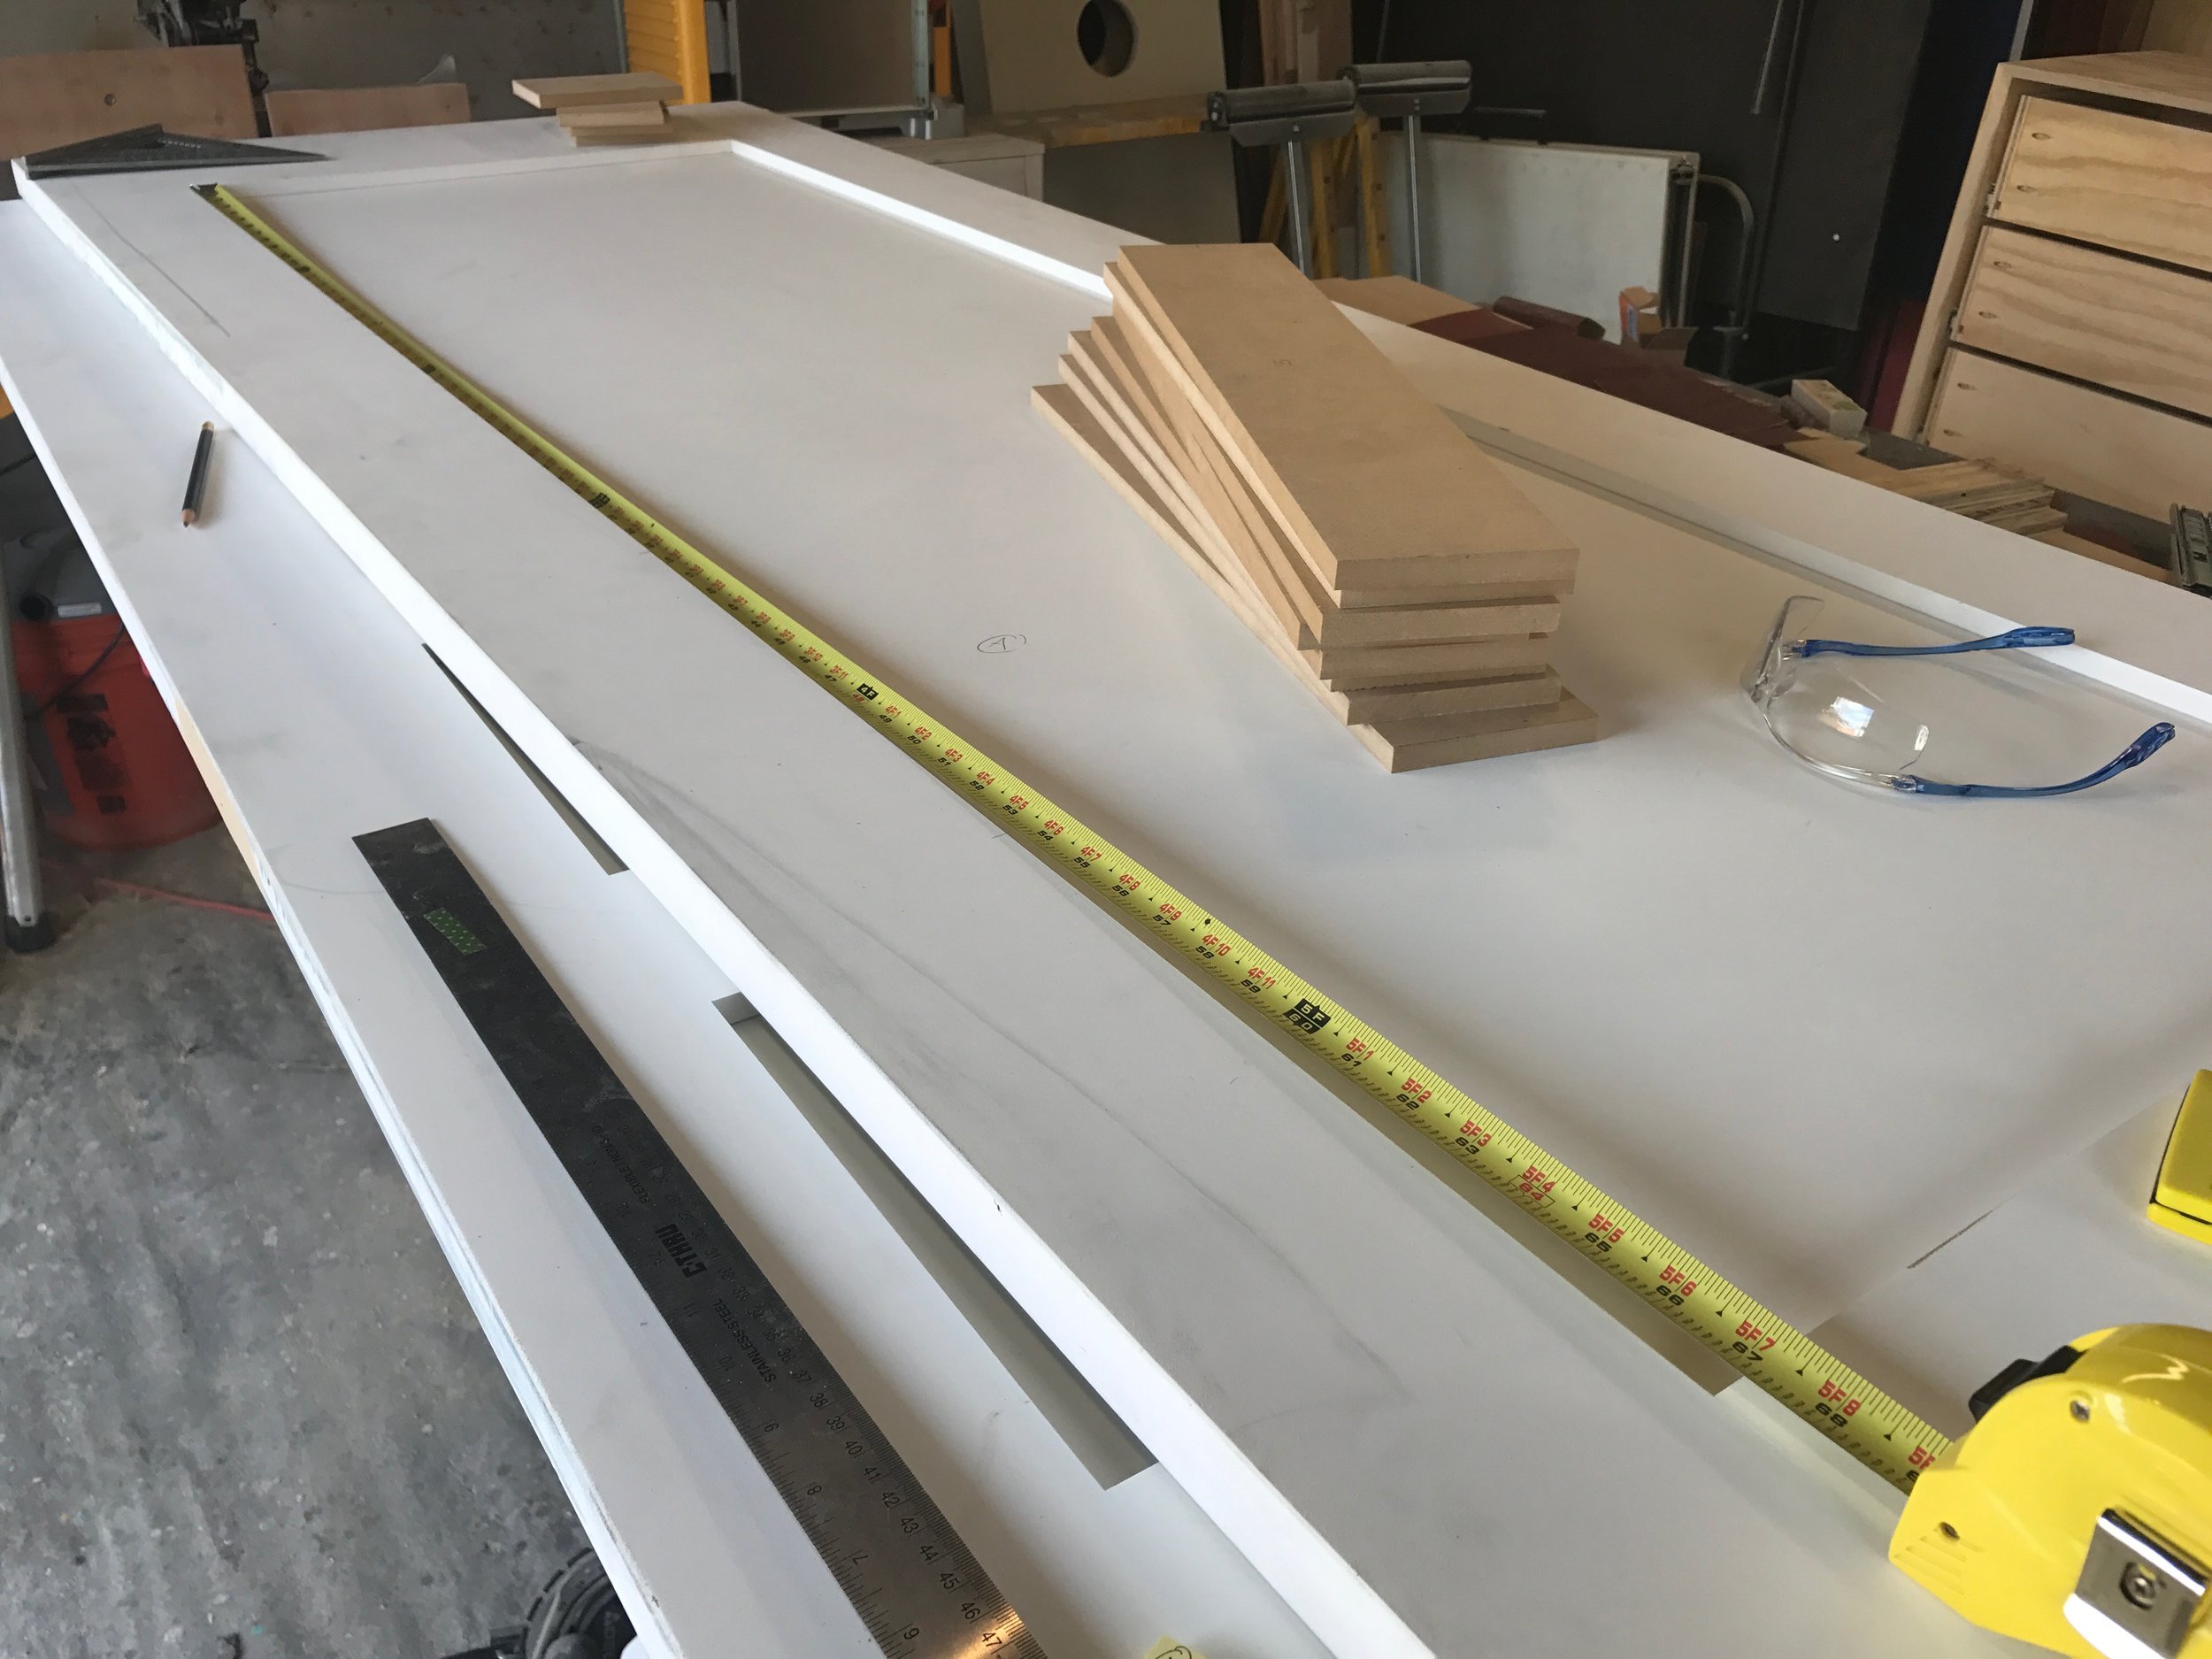
A few weeks later after going to our neighbors' house we saw that they had new beautiful 5-panel doors and we were all "where did you find these?" and they were all "we cheated". So after picking their brains a bit, they explained that they just bought single panel solid core doors from Habitat Restore and added in the horizontal slats to make their own 5 panel doors. Duh. So we headed over to Habitat Restore and picked up our own single panel doors in all of the sizes we needed. Luckily they already had two original 5 panel doors in our sizes, so those were ready to be painted. Phew! We somehow crammed them all into my very small SUV #innercityliving. 

IMG_6266.jpg
IMG_6274.jpg
IMG_6275.jpg

We grabbed some sheets of MDF from Home Depot and we were in business. I measured out each stile to be the same width as the stiles on the premade 5 panel doors so that they would all be consistant throughout the house, which ended up being 4". I had Derek cut the 4" stiles using the table saw, and then I used a Fine Finish blade and a chop saw to do the shorter cuts which would fit each door recess. I was sure to measure the widths of each recessed panel on every door front and back, as some varied from 1/8" - 1/4" on each side (go figure), and I wanted each stile to fit snug within the recess. 

IMG_6277.jpg
IMG_6279.jpg
IMG_6285.jpg

Then came the tricky part. I had to figure out the spacing of each of my stiles so that they were perfectly even and created 5 recessed panels. Rather than frogging around with the math, I used this website where I input the total length of the recess (67"), the length of each style (4"), how many stiles I had (4), and that there were no stiles at the top or bottom of my recess. 

IMG_6289.jpg

This gave me the exact distance for each stile's centerline which I marked on both verticle sides of the door front and back.

Screen Shot 2018-06-28 at 12.13.16 PM.png

I then measured the center line on both ends of each of my stiles and lined them up with the marks I made on my door.

IMG_6286.jpg
IMG_6287.jpg

I double checked the spacing for good measure before gluing them down. Once everything looked good I used liquid nails and a mallet to hammer everything into place. 

Then I used our collection of paint cans to keep everything in place and prevent the MDF from lifting or bowing while the liquid nails cured.

IMG_6294.jpg

Once all of my stiles were glued down on both sides of all of my doors, I filled in any blemishes with wood filler and then sanded the doors to prep them for paint. We love the look of black doors against our crisp white trim and light grey walls, so I went with my all time favorite black, Sherwin Williams Iron Ore. 

IMG_6337.jpg

Derek sprayed all of the doors for me because let's face it, I was pregnant at the time. In between each coat of paint I wet sanded the doors to create a nice smooth finish. 

While the doors were drying with their final coat of paint, we went ahead and prepped all of the door hardware. All of the original solid core doors in our house (bathroom, guest bedroom) had the original 1930 butterfly hinges, but were caked in decades of paint. We brought these back to their original patina (I'll do a whole blog post on this method). For the doors that either didn't have hinges (accordion) or had boring builder hinges, we replaced them with matching half mortise hinges that we picked up from our local architectural salvage store for about $20 a hinge. This way everything would look cohesive and true to the original character of our home. For the door handles, we originally thought about finding historic knobs true to the era of our home but in the end decided against it. First of all, they are about $100 a knob and its hard to find enough that match. Second of all, we want certain elements of our home to remain in the craftsman style, while other elements are more modern. I just love riding that line of balance. We picked up several of these Kwikset Halifax Square Door Levers in polished chrome, which bring these classic doors into the 21st century. 

Screen Shot 2018-06-28 at 12.38.21 PM.png
IMG_9576.jpg
IMG_9581.jpg

And where is the door to the kitchen for our midnight snacks? That's another post for another time. 

So funny story. After completing this project, now Home Depot sells pre-made 5 panel doors for about $99 a pop that are right off the shelf, no more custom orders. Whatever Home Depot we were tired of waiting on you to get in the shaker door game. We still saved a ton of money though going this route because our Habitat doors were only about $30 a piece. And what a difference they make!  Let's look at a little before and after just to really sell it. 

IMG_9576.jpg

Yes that is Derek's Architecture Lego collection. He is very proud.

What's Better Than an Accordion Door? Anything.

DIYCatharine KlepacComment

Considering we've made several updates on the exterior of our little Bungalow (read more about them here, here, here, and here), I thought it was about high time I shared some of the updates we've been making inside. Just to jog your memory a bit, let's take a look at how you all remember the laundry room looking. Are you sitting down? And not eating? You probably should have an empty stomach for this one.

Look at everything this room has to offer! We have blood (?) stained chevron carpet. It has a bit of a Missoni feel, don't you think? We also have burglar bars and a cat tapestry on our back door. I so wish that I had a photo of the front of the cat tapestry. Let's just say that it's needlepoint and has two ginger cats on it. One of a kind. We also have an even more unique textured vinyl accordion door from the laundry room to our office.

Why? Because clearly with a 30" wide door opening, a 1970s vinyl accordion door was the only answer. On the other side of the room was a random hollow-core builder door (complete with gold hardware) that led to the master bedroom. On the other side of that room was ANOTHER accordion door. Needless to say we knew we'd be replacing 90% of the doors in our house so that they would all match the look and style of our home (and each other for that matter). 

 We immediately took both accordion doors down, and went doorless for a while. It was just that bad. We went to Home Depot and Lowes to price out what an traditional 5-panel craftsman style door would cost and it was a whopping $200 per door. Ouch. With 10 doors to replace in our house, that was out of the question.

We thought about refurbishing an old door from our local architectural salvage, but those were about the same price and needed a LOT of love. So Derek decided that he would rebuild all of our interior doors one by one. 

The two accordion doors were first on the list (since we were currently doorless). They are also they same size so that made things a little easier.

Note: This is not a traditional door making method, this is just what we did with what we had, and it still resulted in a strong solid core door that fit what we needed for this house.

Derek started with a sheet of 1/2" plywood to make up the middle layer of the door, that was cut down to size. This particular door was 80" x 31". He then used 1x4's for the overall frame of the door. Each piece was milled down to 1/2" so that with the trim, plywood, and other side of trim the total thickness came out to 1-1/2" (the standard thickness of interior doors). 

He then used wood glue and finishing nails to attach the trim to one side of the door. He used clamping cauls to keep everything tight so that it could dry overnight. He then repeated this process for the other side. 

He then repeated this same process for the rails which created the look of a traditional 5-panel door. Once the rail pieces dried, he repeated this for the opposite side as well.

Once all of the trim had cured, he went around all of the edges and filled in any gaps with wood filler, and sanded down any imperfections to create a nice smooth edge around the entire door.

After the door was complete, it was time for paint. Derek primed and painted the door, sanding in between each coat in order to get a nice smooth finish. He ended up doing three finish coats when all was said and done.

With the office already having 3 door swings into the space, we didn't want to add another one, and we also didn't want to block one of the closets when this door was open. We thought about installing a pocket door, but our pantries and other office closet (that room has three closets) made a pocket door impossible. So we decided that a barn door would be the perfect solution. It would be able to perfectly slide against the laundry room and fit nicely behind the backdoor when it was open. Barn door hardware can be pretty pricey so we were pretty excited when we found this set from Home Depot, and the installation was pretty straight forward. We also picked up a nice linear satin nickel pull to match the barn door hardware.

And now for a little before and after-ness. 

I am kicking myself for not taking a photo of the beautiful accordion door from the laundry room side when we did our final walkthrough, but you can pretty much use your imagination on how awful it was.

IMG_9342 (1).jpg

And no, our tile isn't dirty, read more about that fiasco here

Having a door there really makes the laundry room / breakfast nook feel like an actual room. Now we just have 9 more doors to make and hang! ;)