made X modern

tile

The Kitchen Reveal: The Sink Wall

DIYCatharine KlepacComment

In case you missed Part IPart II, Part III, Part IV, Part V, Part VI, VII and Part VIII of our kitchen renovation saga be sure and check them out before we dive into the installation of unique subway tile pattern and our custom floating shelves.

With our old house and it's wonky walls, we decided to have our friend Max install the tile on the sink wall. We had him apply Mapei Aquadefense which is a waterproofing and crack isolation / decoupling membrane that we use on all of our residential projects. 

For the tile we wanted a subway tile, but we wanted to get a little jazzy with the overall look. We chose a traditional 3x6 tile but in a matte finish. The line we chose was Rittenhouse Square by Daltile in Arctic White. We also battled over what the installation pattern should be for a pretty ridiculous amount of time, but in the end settled on a vertical running bond. See? While most married couples argue about where to go for dinner. These are our arguemnts haha. 

IMG_3547.jpg

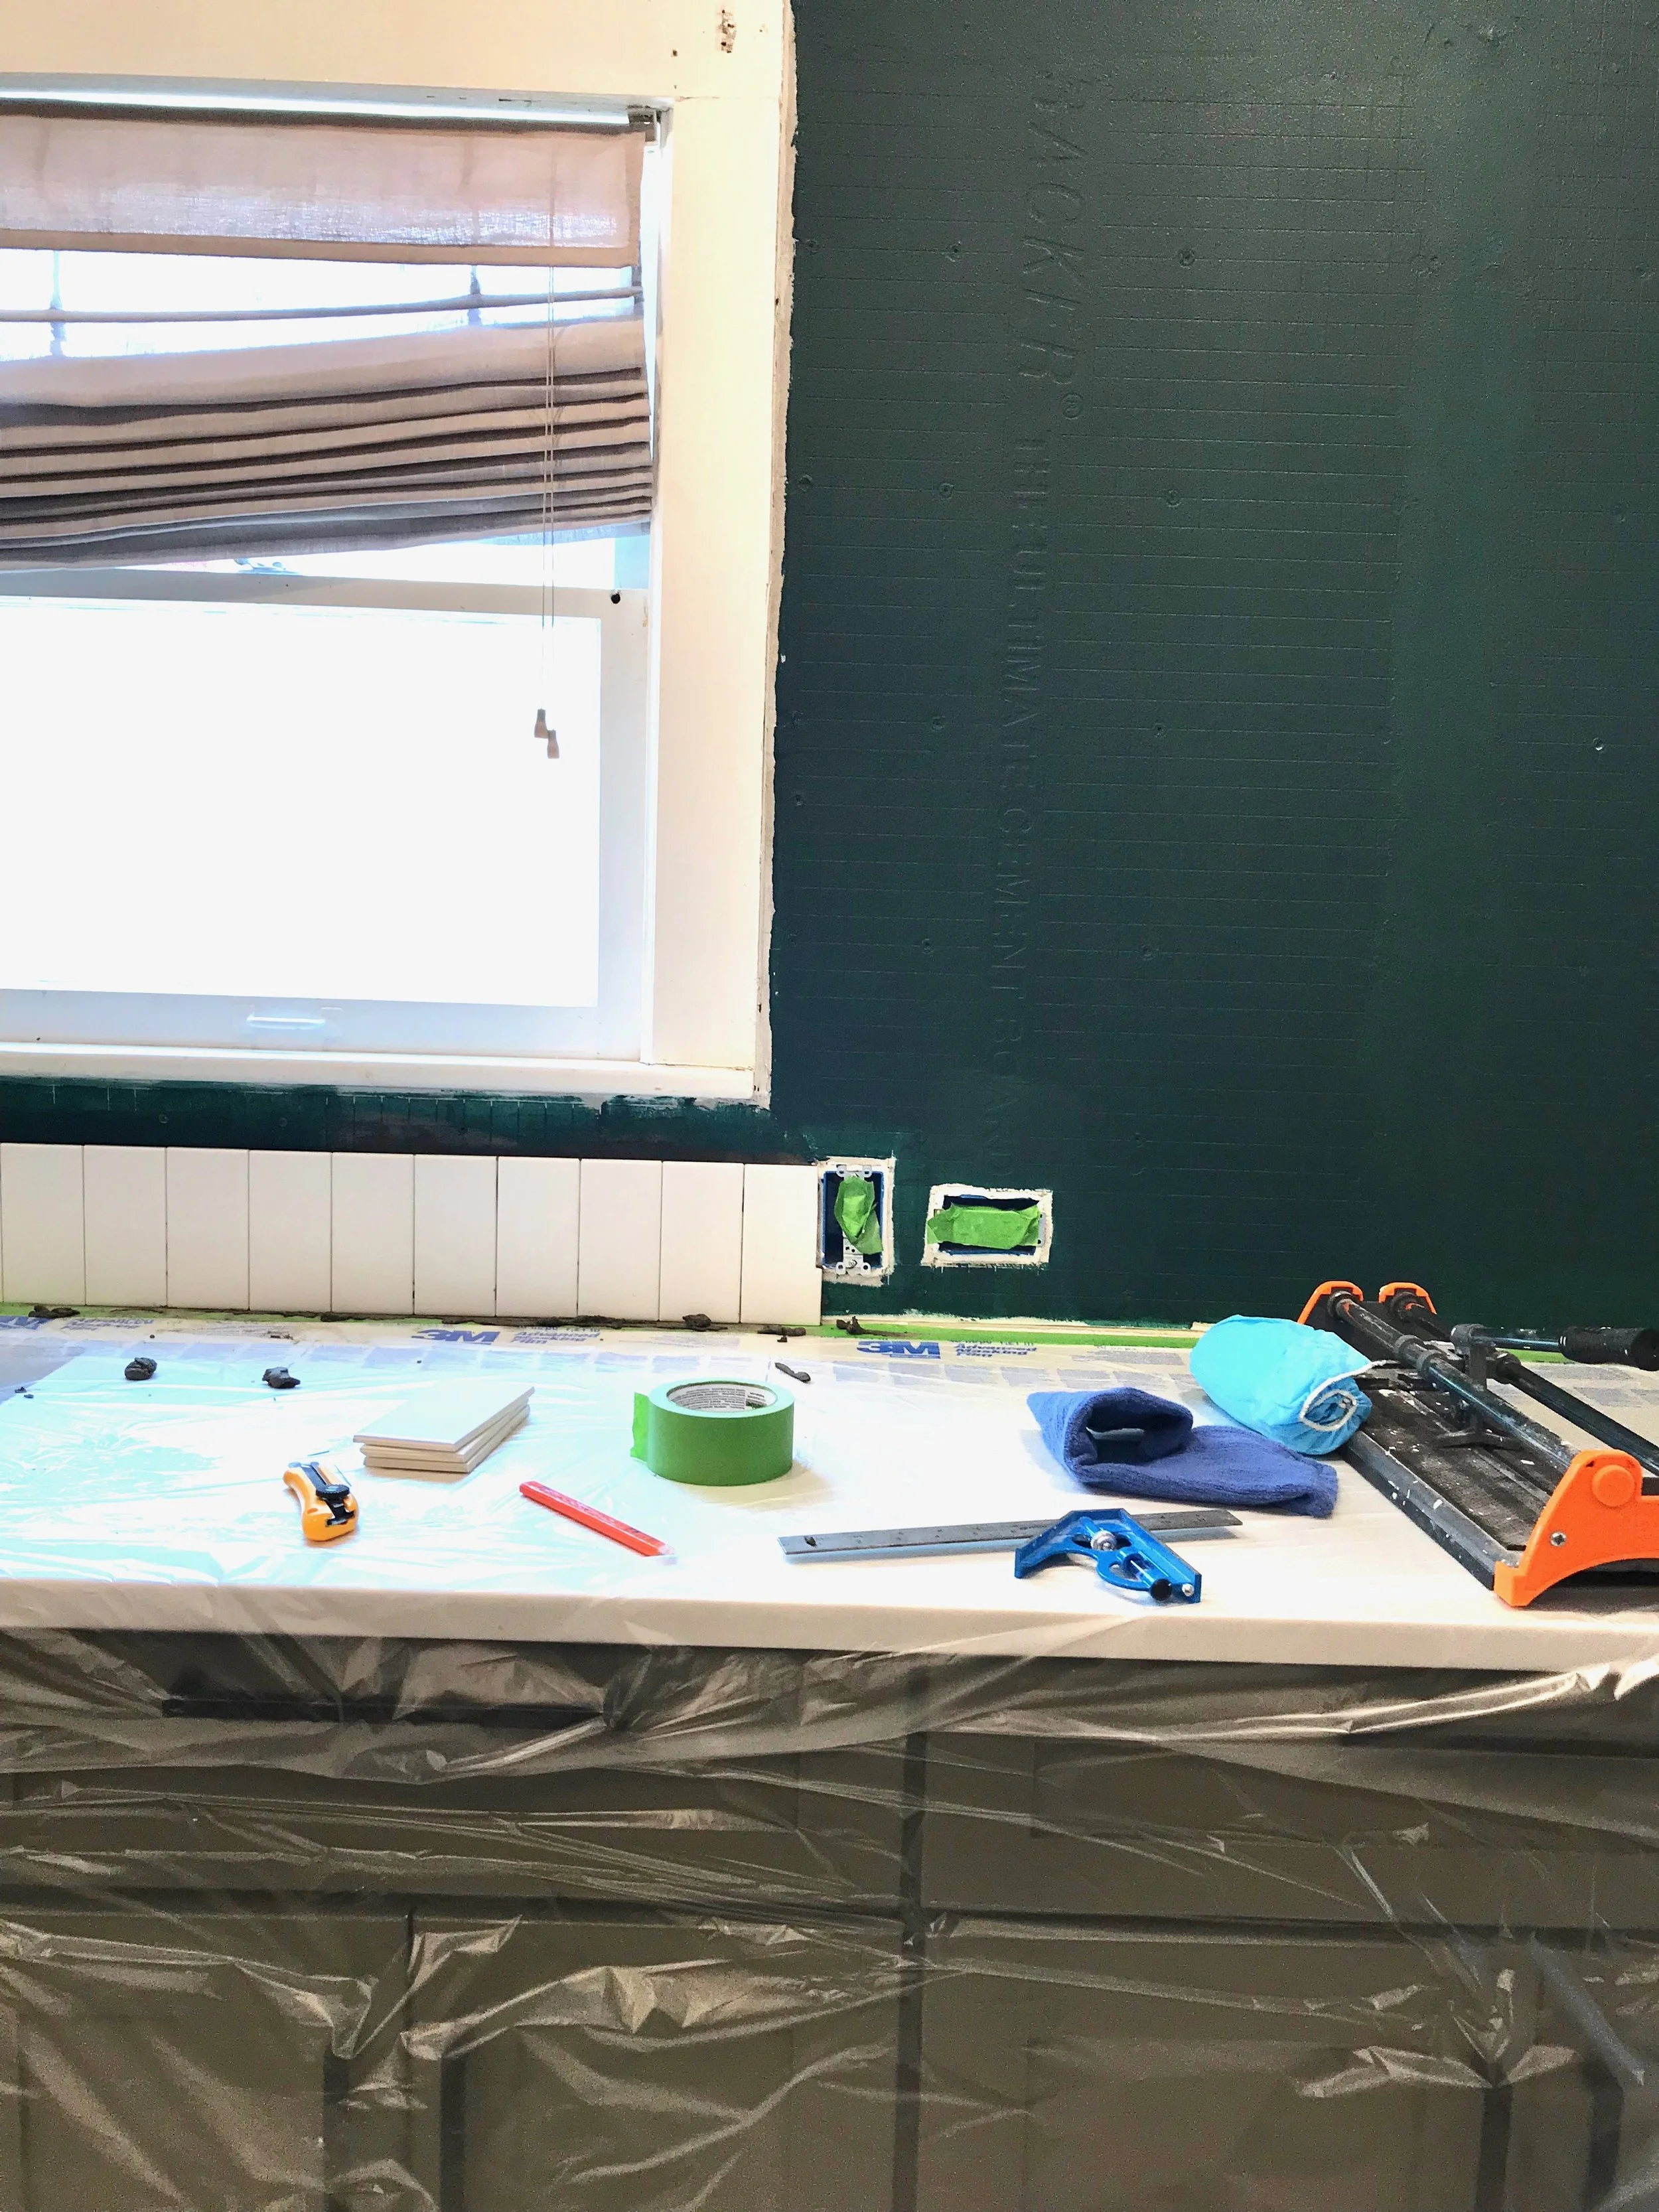
We wanted to use a darker grout, but not too dark, and ended up choosing Mapei Cobblestone. We had him tile right up to the window knowing that we would be adding new trim around the window for a nice clean look. The original window didn't have an apron which we just hated, so we had him start a solid row of tile along the counter and then the new window apron would conceal any gaps or cut tiles. 

IMG_4873.jpg
IMG_4874.jpg
IMG_4876.jpg

After the tile was grouted, Derek added 1x2 trim that he cut a rabbit out of so that it would sit nicely along the edge of the existing window frame.

IMG_4883.jpg

He then added a 1x6 apron that he cut down to a 1x5 size, and screwed it into place.

IMG_4885.jpg

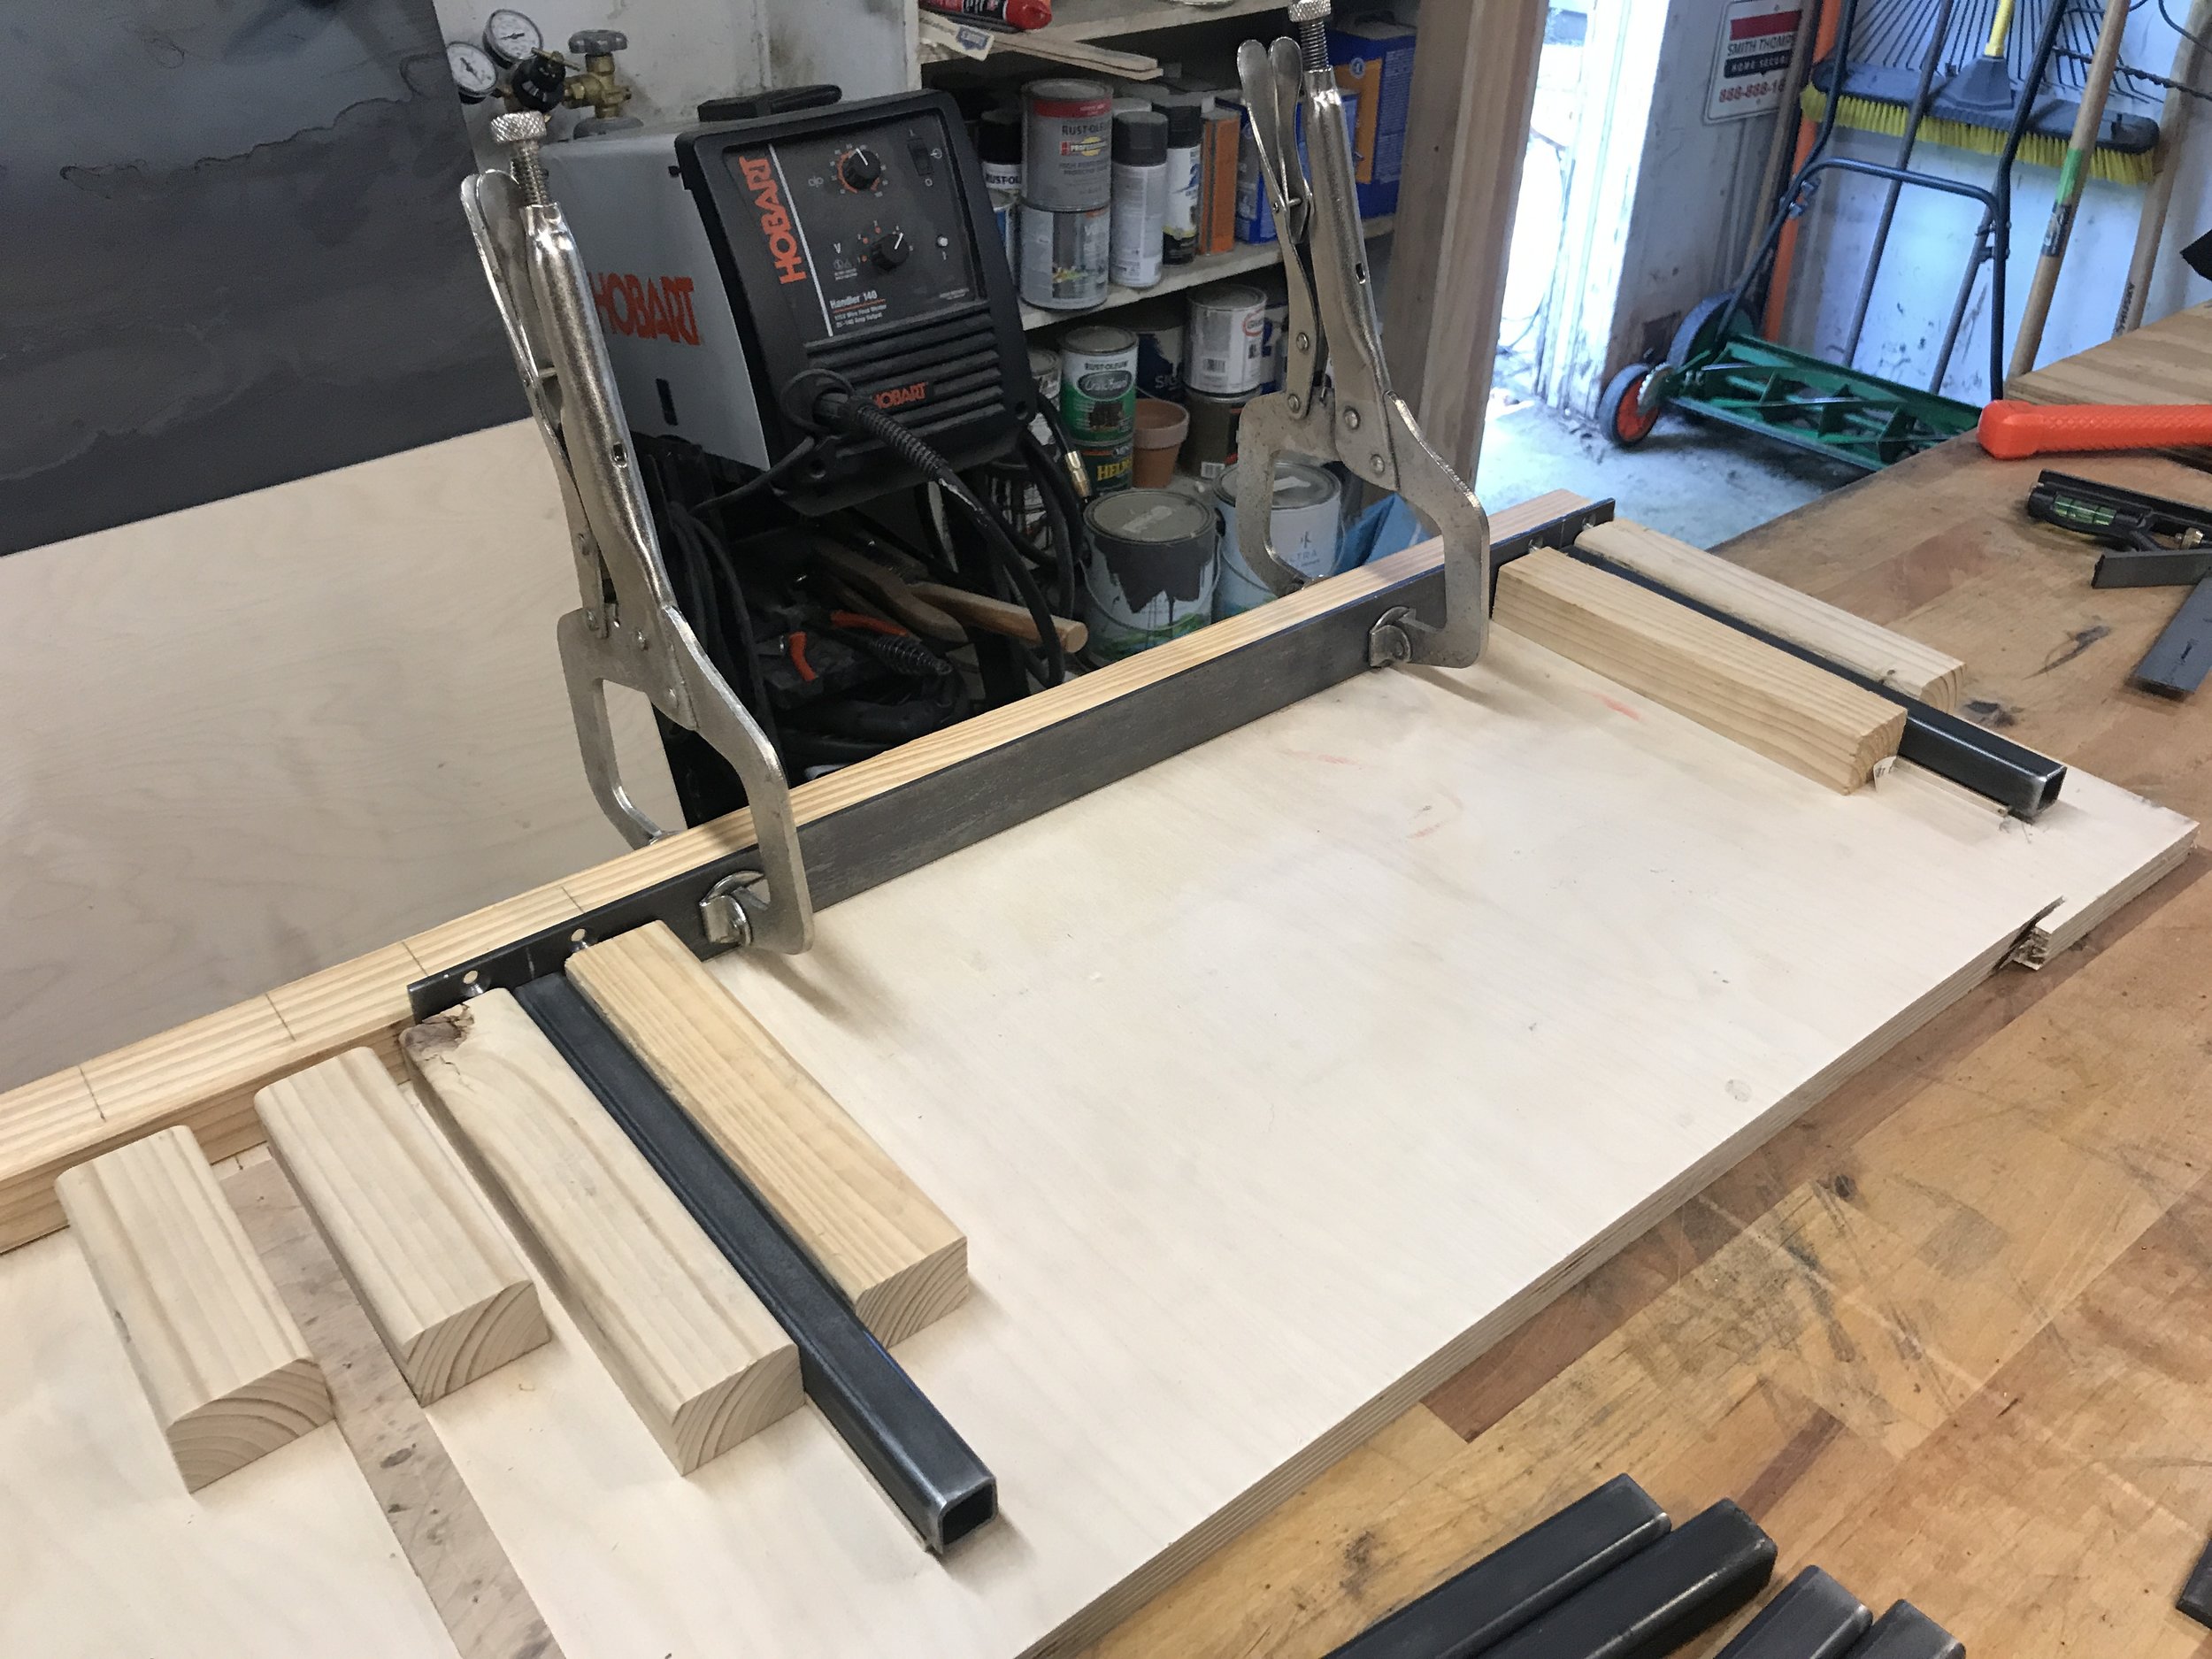
We wanted to have this side be much more open than the oven side, so we decided to have floating birch plywood shelves. However, we need to have really strong mounting hardware, but we didn't want to see it. So we sketched out a few different options and then basically settled on a really fancy (and much stronger) version of the Ikea Lack floating shelf system. So Derek welded together square tubing onto steel flat bar stock pieces that he had cut to size for each shelf.

He then created a jig to map out where he would be routing out the plywood for each piece of square tubing to slide into place. This also insured that the tubing was connected to the flat bars as square as possible.

IMG_6008.JPG
IMG_6010.JPG
IMG_6011.JPG

He used a router to hollow out each area where the square tubing would reside to create a nice and snug fit.

IMG_6075.JPG
IMG_6072.JPG
IMG_6108.JPG
IMG_6107.JPG

He then repeated this process on each 3/4" piece of plywood that would then be laminated together to create one thick 1.5" shelf. 

IMG_6106.JPG

Weight was a big concern because we would not only be mounting the shelves themselves, but also what would be sitting on them. So to take some of the weight out, Derek routed out several rows of material on each shelf which in the end saved about 5lbs per shelf.

IMG_6110.JPG

After all of the shelves were hollowed out, he then laminated each side together to create one solid shelf. Clamps much?

IMG_6113.JPG

Once the shelves were laminated together, he then sanded and finished all of the shelf edges and applied a couple coats of Minwax Wipe On Poly in satin finish. 

In order to mount each of the shelf brackets we used painters tape as a template to place each piece and mark where the holes would be drilled into the tile. Which was basically the moment my heart stopped beating.

IMG_4890.jpg
IMG_4891.jpg
IMG_4892.jpg

After each of the brackets were mounted to the wall all we had to do was slide each shelf into place. I then painted all of the window trim and the new apron white while giving a little pop of eyeliner with some black paint on the window sash. Hubba hubbah.

_5.jpg
_1.jpg
_3.jpg
_8.jpg
_b 2.jpg

Stay tuned for Part X of our kitchen renovation saga for the moment you've all been waiting for in this painfully long 10 part series. THE BIG REVEAL!

How To: Refresh Your Hazy Tile

DIYCatharine KlepacComment

So you probably remember me bellyaching about how poorly our kitchen tile was installed when we first moved into our house. AKA lessons learned. So here is a little knowledge bomb about how tile and sealer work according to my manufacturer's rep. When tile is sealed the installer is supposed to wipe away any sealer that gets on the tile because it will literally act like a magnet for dirt, and you will NEVER be able to fully clean it. I mean it will be clean, but it will look filthy. So then what's the point amiright?

That being said, our sealer had been aplied with a mop (and several coats) that not only sat on the tile, but also trapped any grout haze, dirt, footprints (I'm not even joking), and debris that wasn't properly cleaned unerneath the layers of sealer. So in our situation it was a losing battle because 1. the floor actually was filthy (yet preserved under layers of sealer) and 2. it was then coated in sealer which was an unstoppable dirt magnet. 

This is what it looked like fresh after installation and sealer. Notice the grey splotches and general haziness. I know I know its not that bad, but I mean when you want white tile you should have white tile. Oh and this was just the beginning.

tile floor before.jpg

After telling my grout rep about our situation he gave us some crazy intense chemical strippers and cleaners which we still haven't tried because the back label is filled with terrifying warnings. Highly flammable, skin irritant, eye irritant, must wear gloves, googles, and a respirator. I'm like whoa buddy this is a scary project. AND we were going to be on our hands and knees with a tiny toothbrush scrubbing each tile. Fun right?

So we kept putting it off, and kept apologizing to guests for how filthy our floor looked assuring them it actually was clean. This went on for two years. You think we're exaggerating like when you go to someone's house and there is a throw blanket haphazardly tossed on their sofa and they are all "oh pardon our mess" and you're all "whatever this place is immaculate", but this is how much dirt had accumulated over these 2 years.

tile before.jpg

I'll pause while you go and throw up. This tile was WHITE when we bought it. AND this photo was taken after cleaning and steam mopping. 

A few weeks ago I saw an Insta Story where they used vinegar and water to strip sealer and remove grout haze and I was like what.

You guys. This method is no joke.

AND you can breathe it and touch it and eat it (if you want). It's that natural.

File_000.jpeg

Supplies:

  • Spray bottle of Vinegar + Water mix (1 part vinegar 3 parts water)
  • All purpose cleaner (we barely had to use this)
  • Scotch Brite pads
  • Paper towels or rags
  • Orbital sander

The overall process is pretty simple. You just vacuum and spot clean your floors using an all purpose cleaner to remove any loose dirt and debris. Then you generously spray your floors with the vinegar water mix working in small 2'x2' areas. Place your Scotch Brite pad on your orbital sander and work work around your freshly sprayed area and you will instantly see the dirt and stripper come up like magic. Wipe away the dirty water and voila! sparkling clean floors that look just like they did when you first laid eyes on them. You may have to touch up a few areas once you wipe away the dirty water and can see if there are any stubborn spots that need a little more scrubbing. 

We (Derek) continued this process in rows all around the room and overall it took about an hour. Not too shabby. AND no masks or ventilation were required. And the house just smelled like a salad bar for a while. 

File_000.jpeg
File_002.jpeg
File_006.jpeg
File_004.png

I still can't believe what a difference this method made. You can also do this on the walls or anywhere else you have tile that is either covered in haze or just looking dull in general. I can't wait to try it on our bathroom. Even the texture of the stripped tile feels totally different. 

You're probably wondering how it has been holding up, and I'm here to tell you that we've been living in a construction zone with people coming in with gross shoes and debris falling from walls and they still look brand new sparkly white. Scouts honor!

Replacing Floors Asbestos We Can

DIYCatharine KlepacComment

Well if you follow me on Instagram, you have probably seen a few little hints of our new kitchen floors. And if you don’t well then you’re missing out on a lot of photos of baby Geoffrey. So. Your loss. Okay let’s rewind to a week before we moved in and decided to pull up the (oh so beautiful) carpet in the utility room.

I mean. It had to go. This photo isn't even edited. It's au naturel. 

We were hoping to uncover some original wood floors that just needed a bit of love, but sadly we uncovered this mess.

Womp womp. It turned out it was a vinyl that was probably added in the 70s, so we peeled up a bit of the linoleum in the kitchen and guess what? More vinyl. It’s hard to tell, but if you look closely you will see that this is actually a fancy gold glitter vinyl. SO fancy.

The problem with this fancy pants vinyl, was that it had been laid with asbestos mastic. I mean. We just can’t get away from this stuff.

We knew we wanted to replace the floors in the kitchen down the road, but we also knew that if we were doing the utility room, we’d have to do the kitchen at the same time so it would all look consistent. After doing a lot of research we learned that the safest option was to just lay new flooring over it. Scraping it up is virtually impossible, it will never be level, who knows what we would have uncovered, and it is super dangerous to breathe. We only had a week before we moved in and we needed to address the situation ASAP considering we didn’t want to walk on this vinyl let alone let Geoffrey walk on it. So we had to act fast. Normally this is the type of project we would have tackled ourselves, but because we were still in the middle of refinishing our floors, still had some packing to do, and had to move at the end of the week, we were clearly running out of time. So we made the executive decision to call in the pros.

Since hardwood wasn’t an option, I knew that I definitely wanted to go in with tile. And because I’m absolutely smitten with our original bathroom floors, I wanted to have a charming porcelain hex in the kitchen and utility room as well.

I contacted my Daltile Rep to see how quickly I could get 130sf of this tile (in 2" hex), and she said she could have it shipped from Dallas and ready to pick up in 2 days. Sold. I struggled with the grout color a bit, and ended up going with Dove Gray (on the left) so that it wasn’t so contrast-y (that’s an industry term).

Our tile contractor laid sheets of HardieBacker board to cover the vinyl mess and allow for the tile to be nice and level.

They applied the mortar onto the HardiBacker and laid out each sheet of hexagons, letting the mortar set for 24 hours.

Then they applied the grout and let it set over the weekend before sealing it.

Yes, I know that the grout looks really thick around the edges, but that is because the tile was left uncut around the perimeter of the room since we knew we'd be going back in with a more substantial base board and shoe moulding, which would end up covering it anyway. So we saved a few dollars there. 

Geoffrey was very upset that he couldn’t walk on it yet.

And now for the truth: I ended up making the mistake of approving the installation before I was able to walk on it (while the sealer was still drying). The next day we ended up finding a lot of issues with some residual grout that wasn’t cleaned properly before the sealer was applied (which you can see the inconsistencies in the photos below).

If you aren't familiar with the process, once the sealer is applied it is to be immediately wiped away so that it only soaks into the grout and not the surface of the tile (per the sealer instructions). That was not done in our case. The sealer dried to the face of the tile and has permanently ruined the surface and cleanability of the tile. Also, anything left on the face of the tile is now trapped under the sealer. So grout haze, dirt, dust, etc. are now permanent. I even had my Rep come and look at it, and she was absolutely shocked at the improper installation. She gave me some tips and chemicals to use to fix it as much as possible.

So now Derek and I are going to have to strip the sealer, clean the tile, and then reseal it ourselves, which basically means we'll be on the floor with tiny toothbrushes scrubbing the floor until the water runs clear again. We haven't done it yet because let's face it, we'd need a long weekend and will lose the use of our kitchen and laundry room (and have to move some major appliances), so it's been a bit of a back burner item.

It was a very expensive mistake, and I have been dreading sharing this (not so glamorous) detail with you guys. But hey. You live and learn right? I don’t like sharing not so great projects, but I wanted to be honest and up front with why I haven’t shared our floors with you yet, or really anything for a couple of weeks. I have just been really upset with myself over the whole situation, but I’m moving on. The utility room is really the worst part, but I can’t show you the kitchen side yet because that is an exciting post for another day. So here is a snippet..

Screen Shot 2015-11-15 at 10.30.38 PM.png

I think it’s safe to say we’ll be sticking to DIY for a while. Lesson learned.