
In case you missed Part I, Part II, Part III, Part IV, Part V, Part VI, VII and Part VIII of our kitchen renovation saga be sure and check them out before we dive into the installation of unique subway tile pattern and our custom floating shelves.
With our old house and it's wonky walls, we decided to have our friend Max install the tile on the sink wall. We had him apply Mapei Aquadefense which is a waterproofing and crack isolation / decoupling membrane that we use on all of our residential projects.
For the tile we wanted a subway tile, but we wanted to get a little jazzy with the overall look. We chose a traditional 3x6 tile but in a matte finish. The line we chose was Rittenhouse Square by Daltile in Arctic White. We also battled over what the installation pattern should be for a pretty ridiculous amount of time, but in the end settled on a vertical running bond. See? While most married couples argue about where to go for dinner. These are our arguemnts haha.
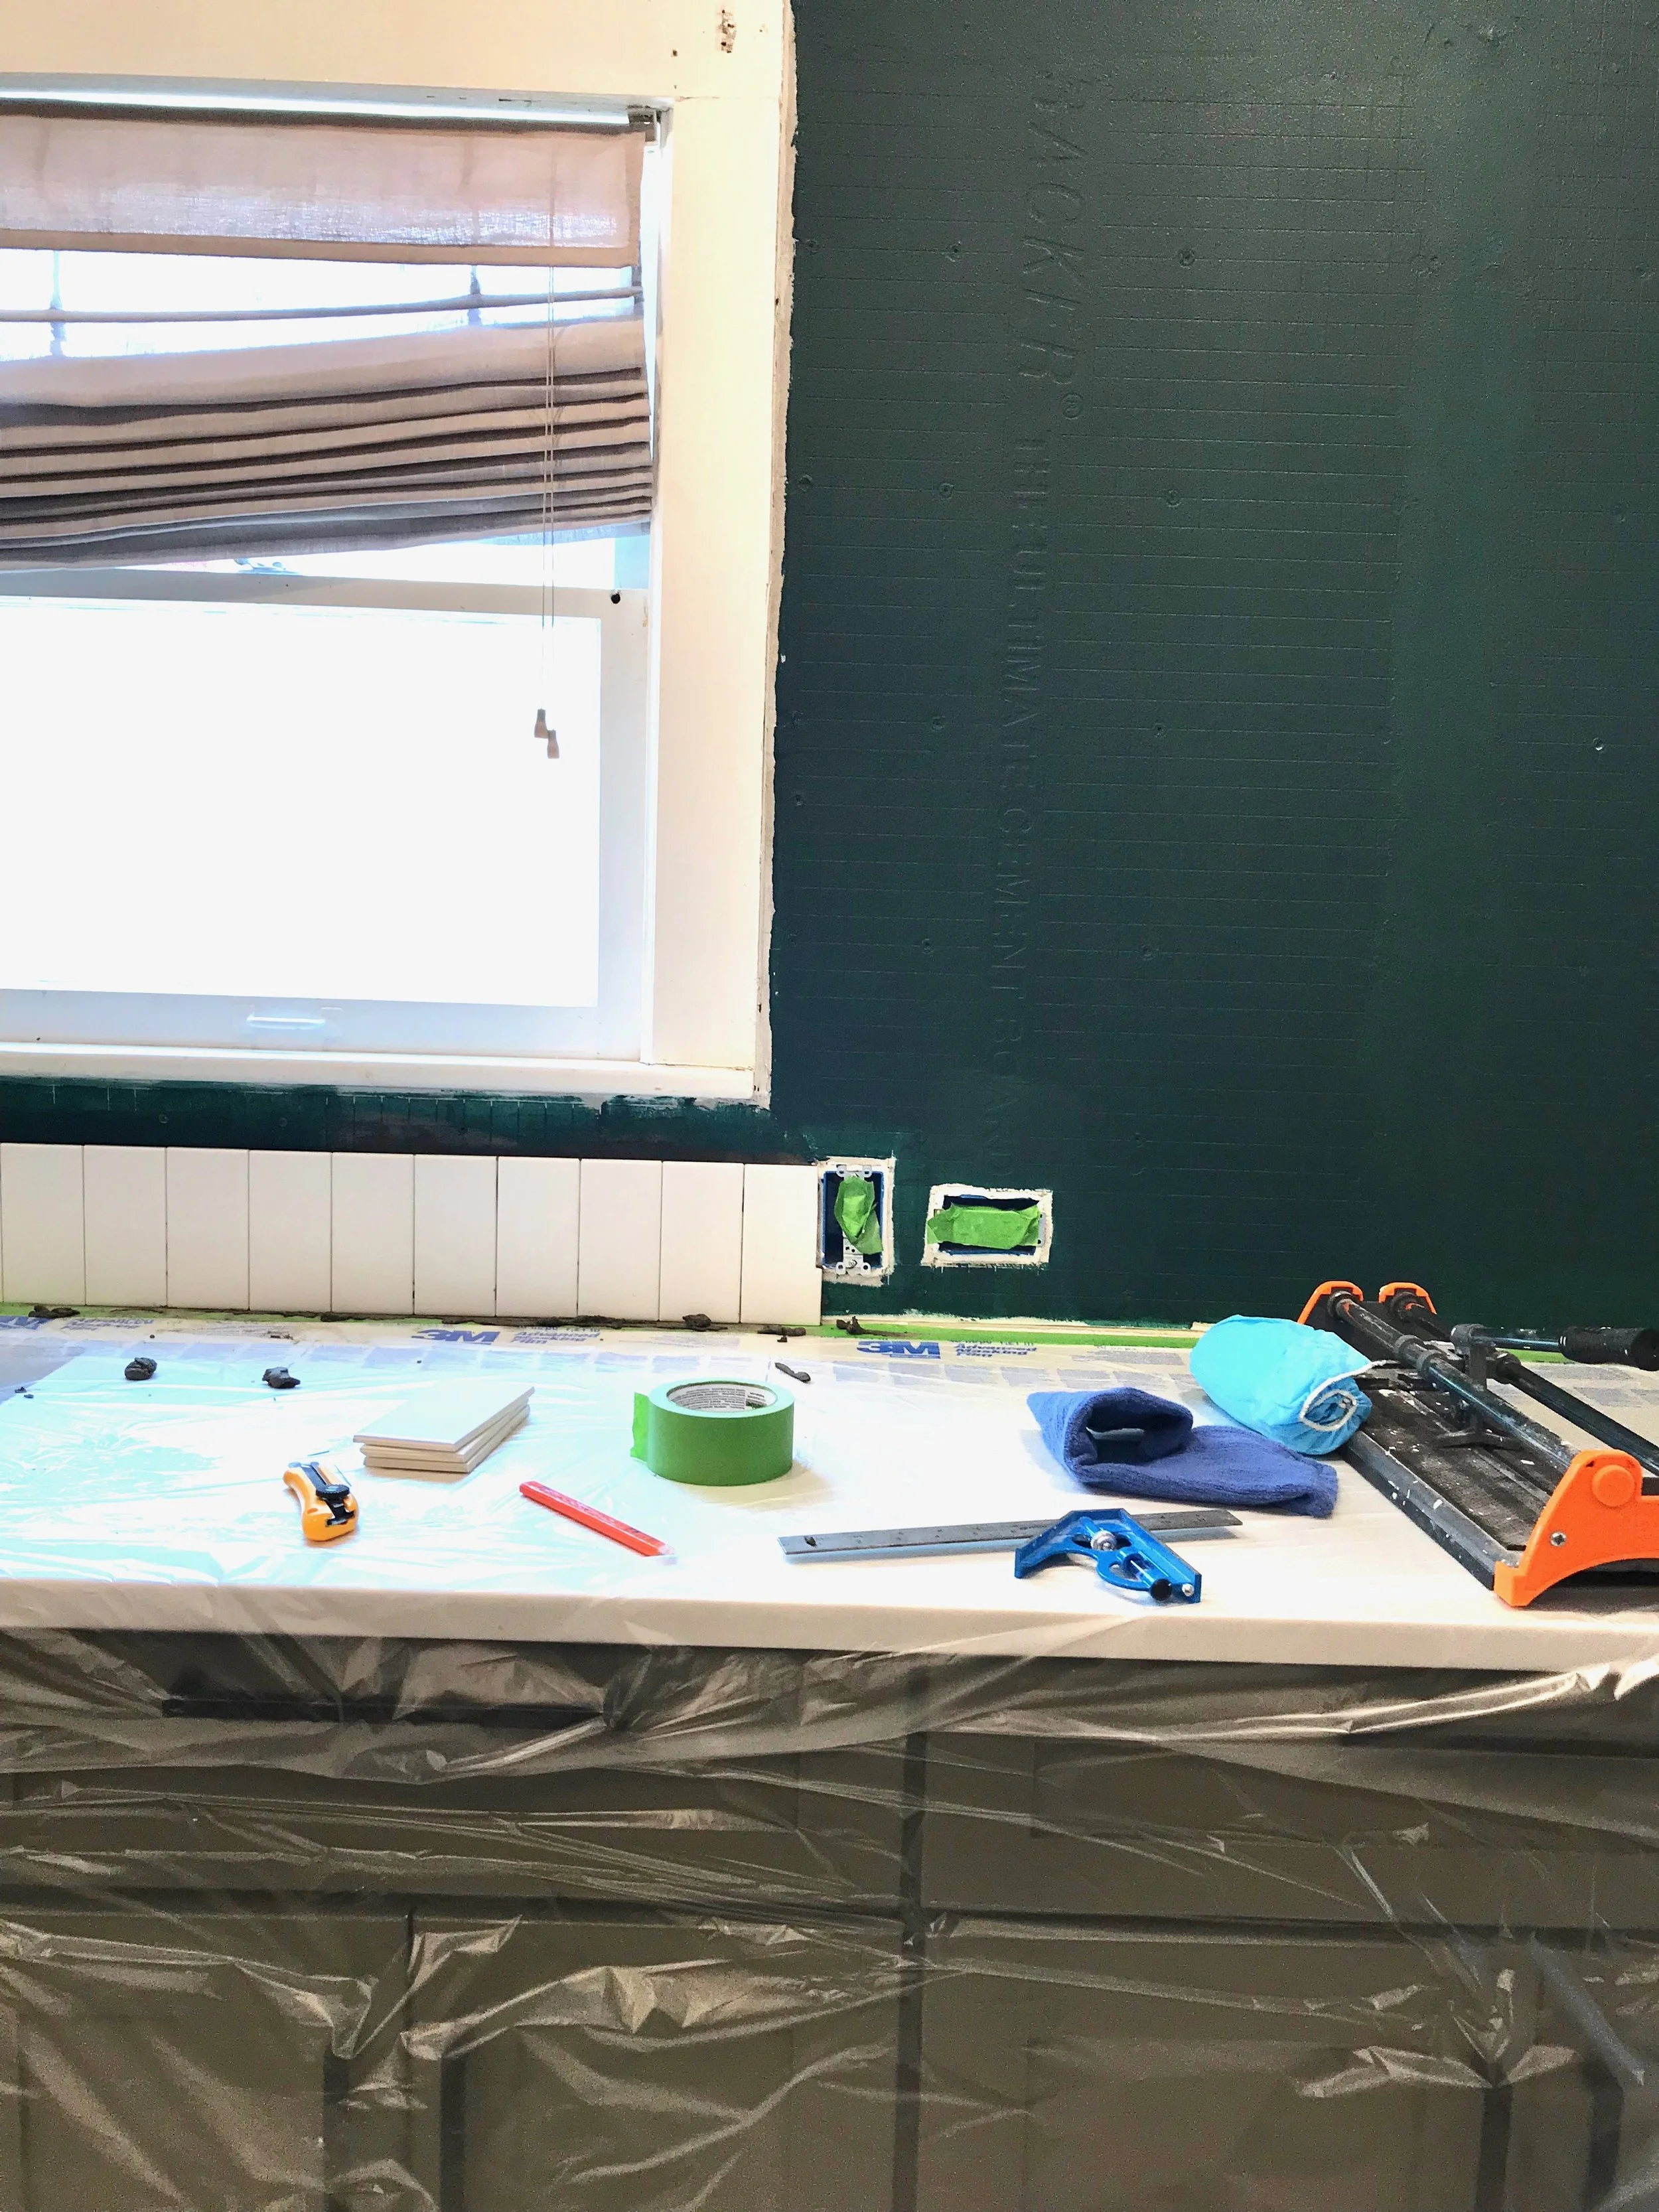
We wanted to use a darker grout, but not too dark, and ended up choosing Mapei Cobblestone. We had him tile right up to the window knowing that we would be adding new trim around the window for a nice clean look. The original window didn't have an apron which we just hated, so we had him start a solid row of tile along the counter and then the new window apron would conceal any gaps or cut tiles.


After the tile was grouted, Derek added 1x2 trim that he cut a rabbit out of so that it would sit nicely along the edge of the existing window frame.

He then added a 1x6 apron that he cut down to a 1x5 size, and screwed it into place.

We wanted to have this side be much more open than the oven side, so we decided to have floating birch plywood shelves. However, we need to have really strong mounting hardware, but we didn't want to see it. So we sketched out a few different options and then basically settled on a really fancy (and much stronger) version of the Ikea Lack floating shelf system. So Derek welded together square tubing onto steel flat bar stock pieces that he had cut to size for each shelf.
He then created a jig to map out where he would be routing out the plywood for each piece of square tubing to slide into place. This also insured that the tubing was connected to the flat bars as square as possible.
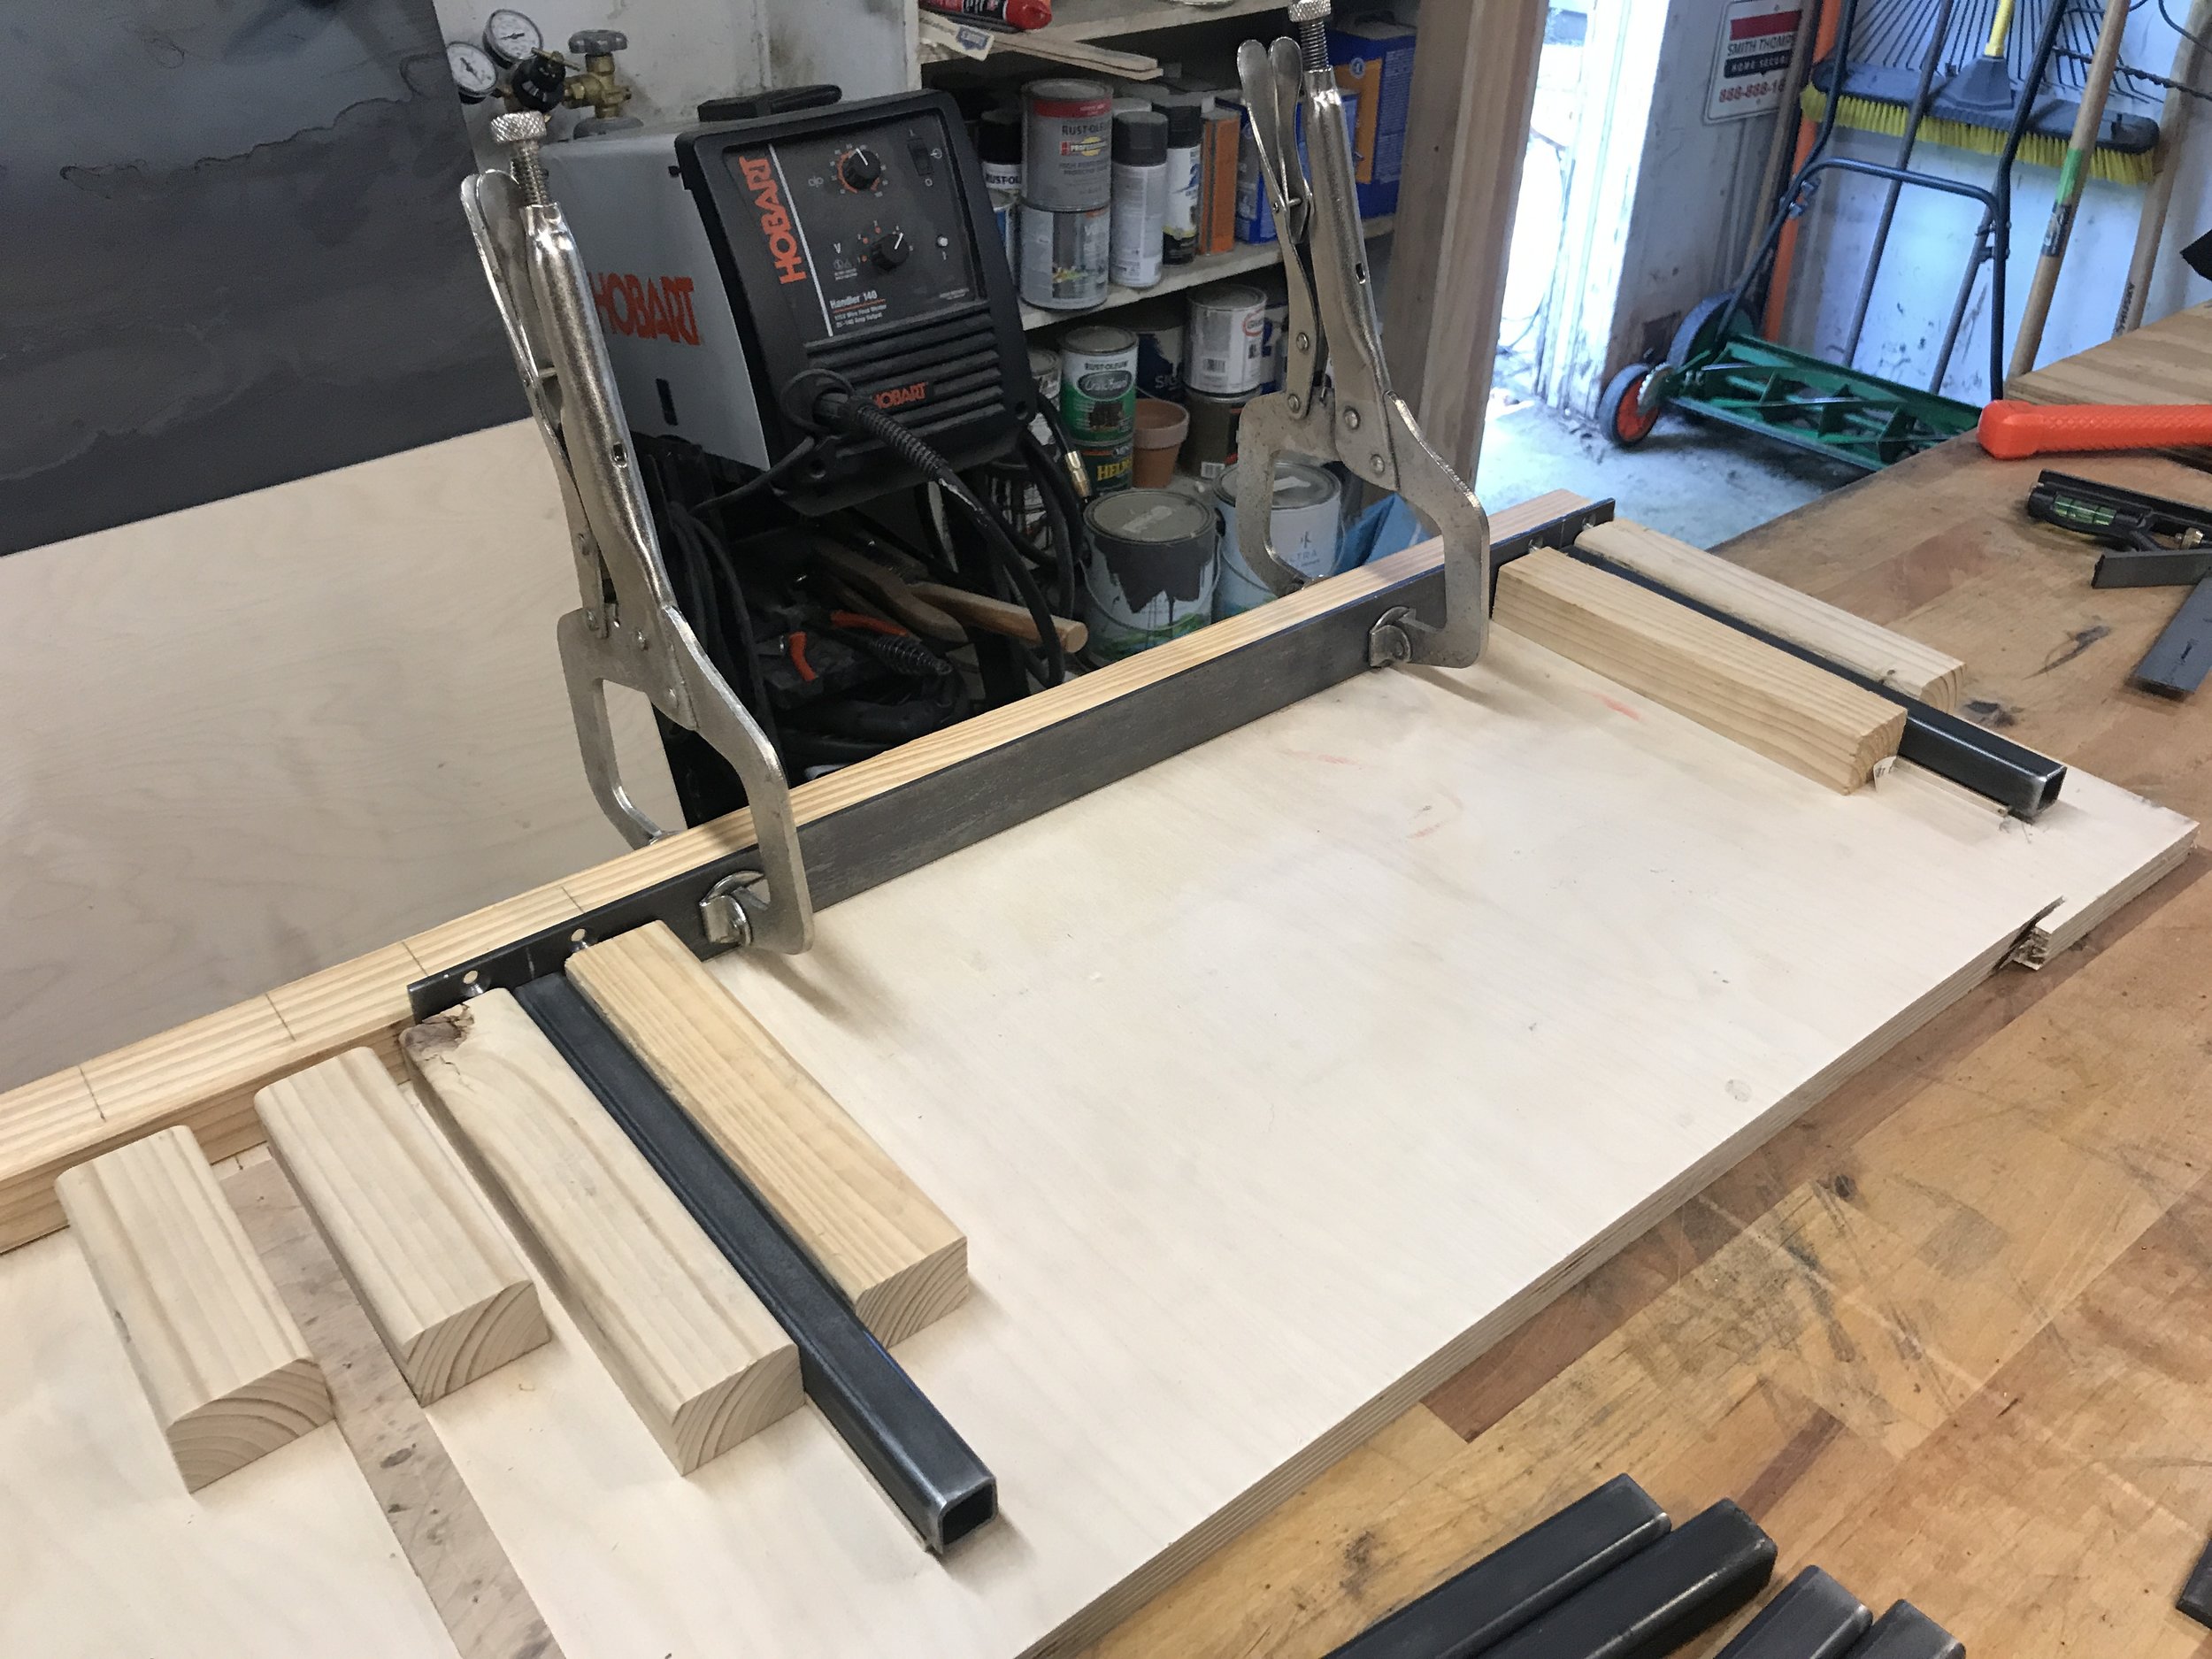


He used a router to hollow out each area where the square tubing would reside to create a nice and snug fit.


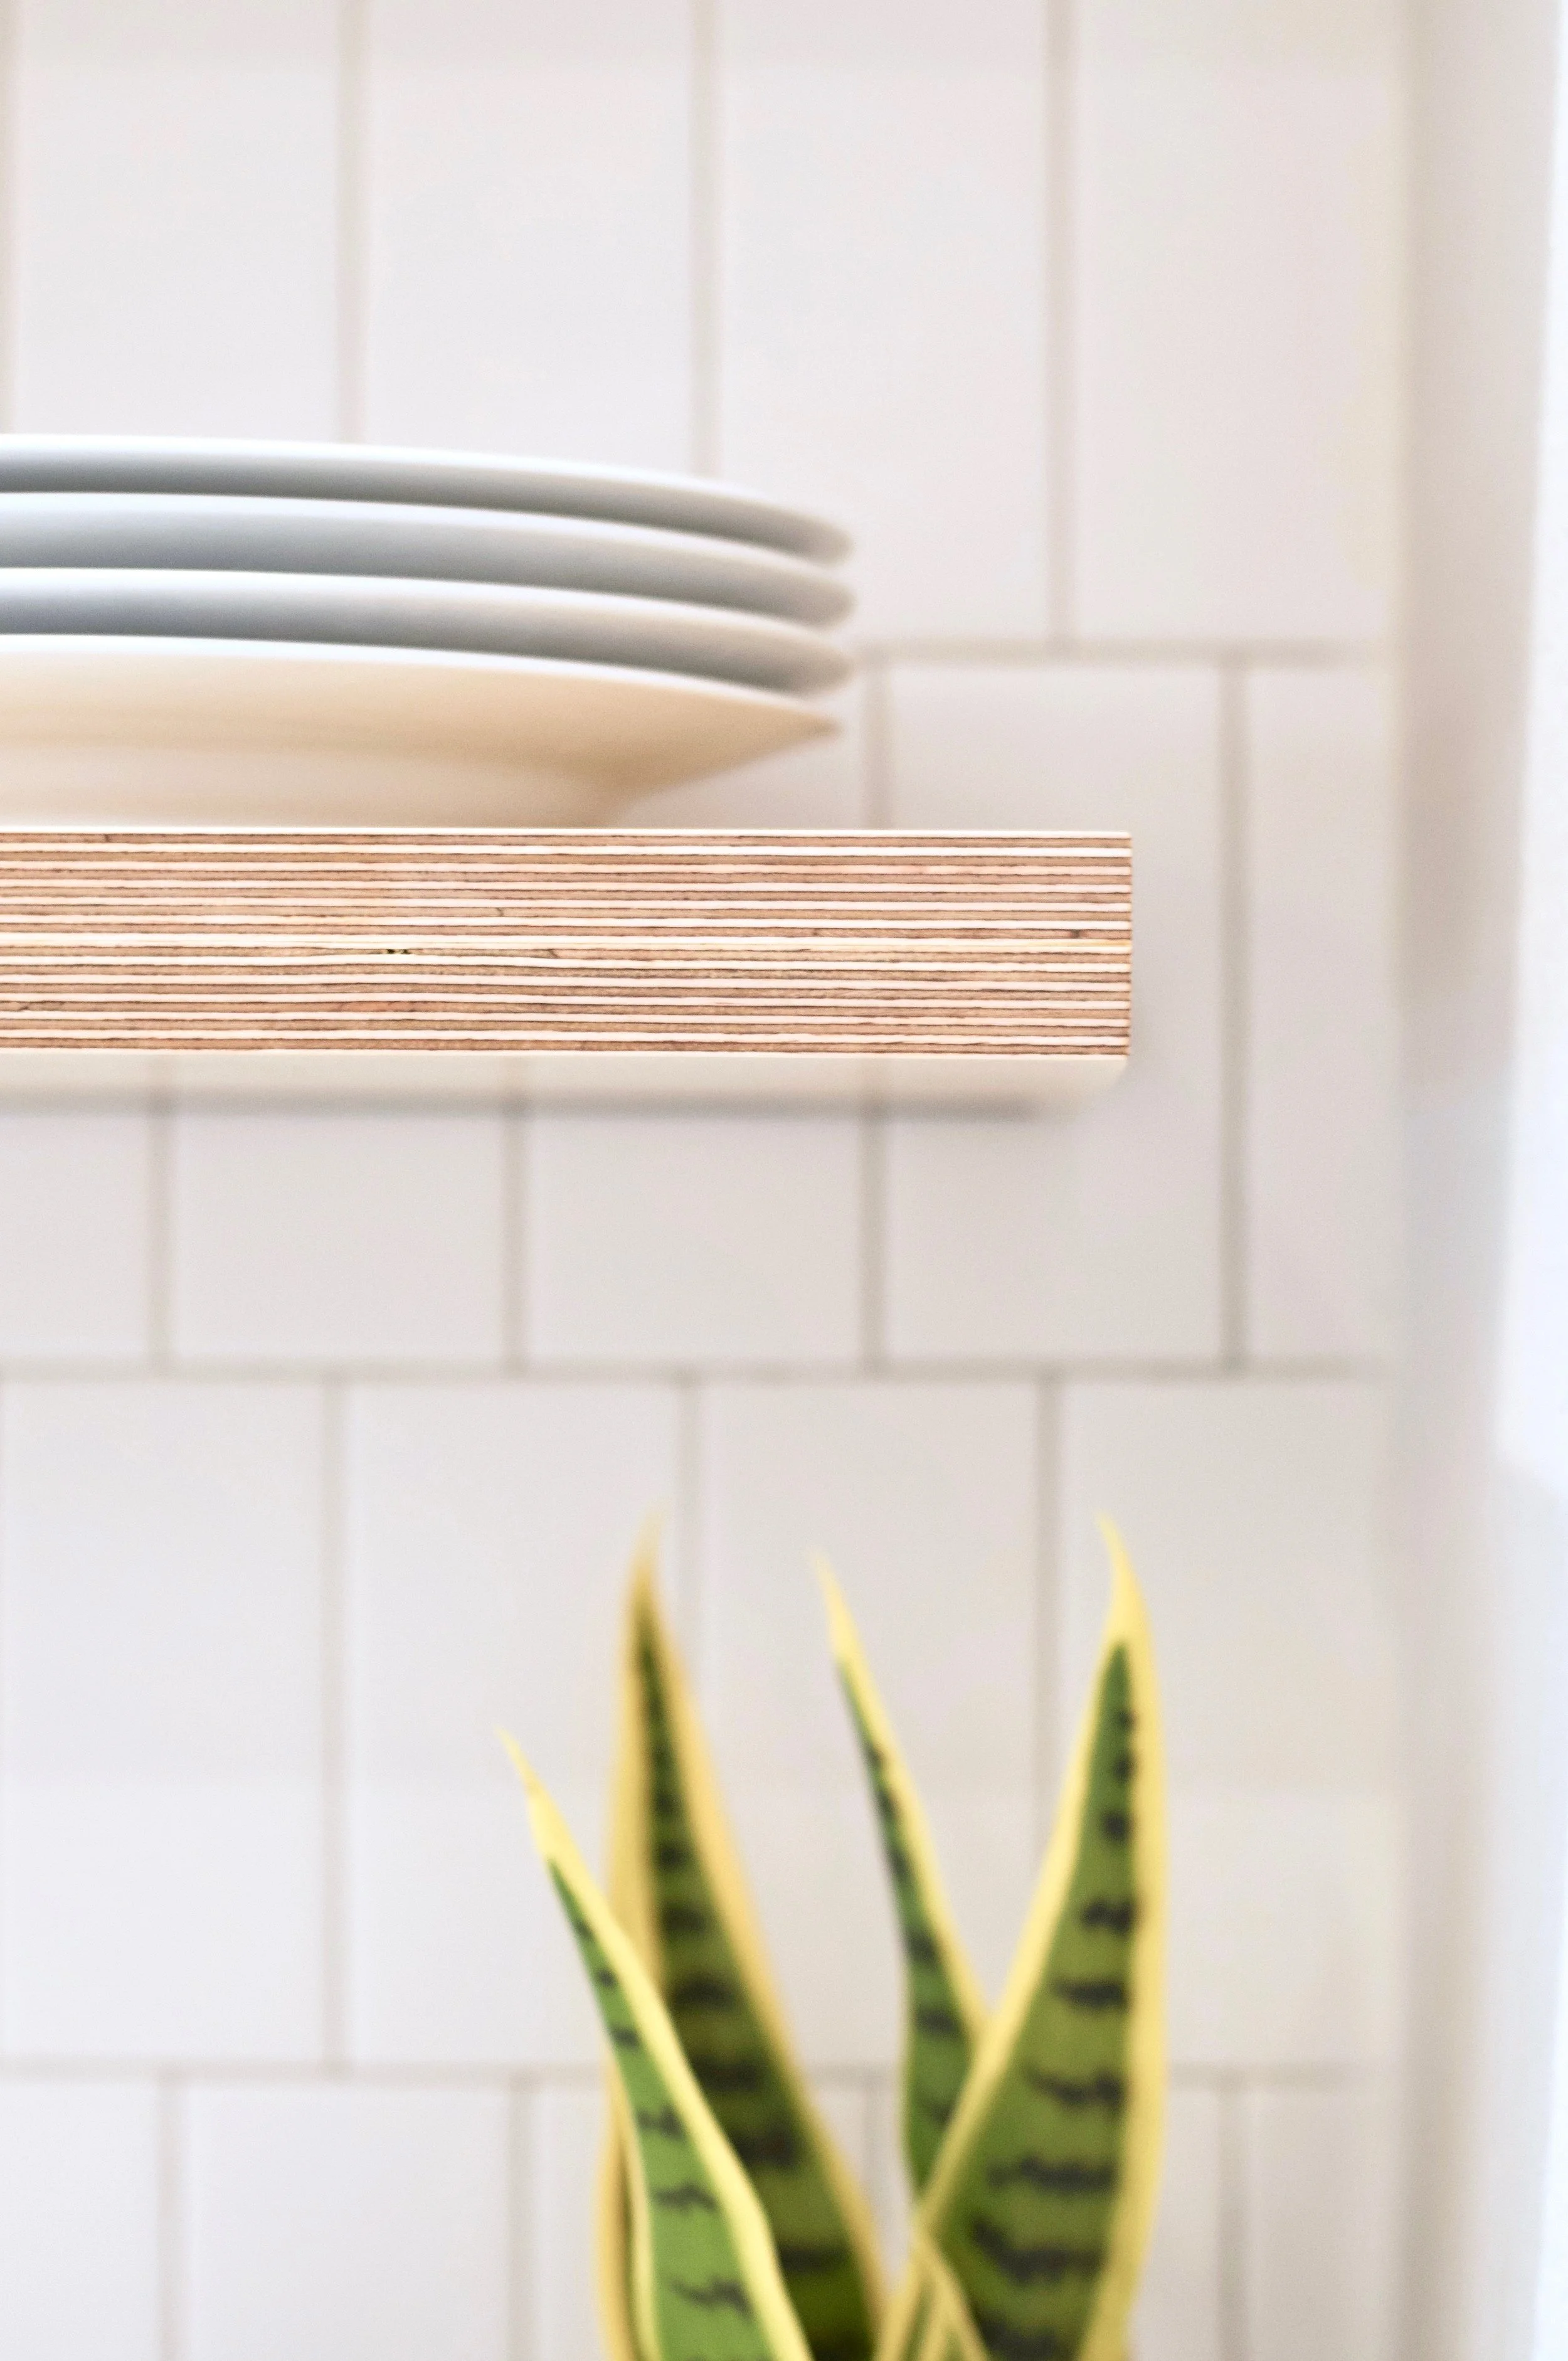
He then repeated this process on each 3/4" piece of plywood that would then be laminated together to create one thick 1.5" shelf.

Weight was a big concern because we would not only be mounting the shelves themselves, but also what would be sitting on them. So to take some of the weight out, Derek routed out several rows of material on each shelf which in the end saved about 5lbs per shelf.

After all of the shelves were hollowed out, he then laminated each side together to create one solid shelf. Clamps much?

Once the shelves were laminated together, he then sanded and finished all of the shelf edges and applied a couple coats of Minwax Wipe On Poly in satin finish.
In order to mount each of the shelf brackets we used painters tape as a template to place each piece and mark where the holes would be drilled into the tile. Which was basically the moment my heart stopped beating.


After each of the brackets were mounted to the wall all we had to do was slide each shelf into place. I then painted all of the window trim and the new apron white while giving a little pop of eyeliner with some black paint on the window sash. Hubba hubbah.


Stay tuned for Part X of our kitchen renovation saga for the moment you've all been waiting for in this painfully long 10 part series. THE BIG REVEAL!