
The first project that we tackled once we closed on our house, was to refinish our 80 year old floors. We had a week of overlap before our lease ran out at our apartment, and we figured that it was now or never. For anyone that has refinished their floors while living in your home (furniture and all) I commend you. We just knew that was not an option. Once we got the keys to in our grubby little hands, we immediately went to town hand sanding all of the borders of each room. But don’t worry. We took all the proper safety precautions.
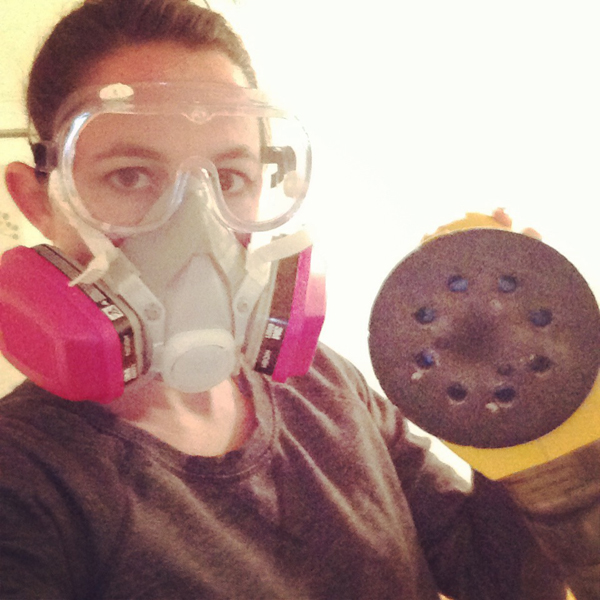
Or maybe we were just cooking the blue.
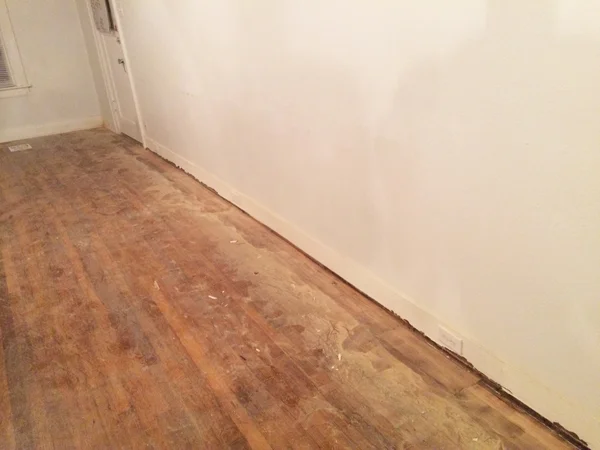
Every night after work until the wee hours of the morning, we went around every single room using a palm sander with 60 grit sandpaper. Which took forever. I mean literally four days of just sanding the borders.


Luckily we hand a handful of friends helping us with all of the detail work. Shout out Max, Chris, and Carrie! Without you guys, this would have seriously taken twice as long.
Sand. Vacuum. Repeat. And Repeat.

We started in the living/dining room since it is by far the largest room and we wanted to get it out of the way. Once a majority of the border sanding was done we headed to Home Depot to rent a random-orbit floor sander/buffer. We went this route over using a drum sander due to the fact that our floors were installed in 1930, and we had no idea how many times they had been sanded over the past 80 years. If we used too aggressive of a machine to start, we could have literally sanded right through our floors. It’s a thing.
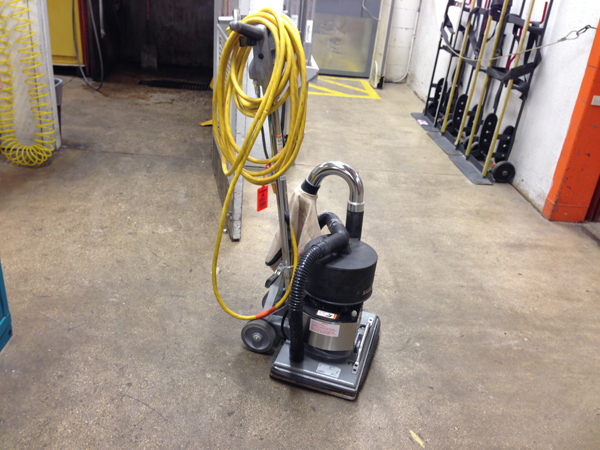
So we decided to approach ours in stages. We started it out using 20 grit paper and it started making great progress right away!

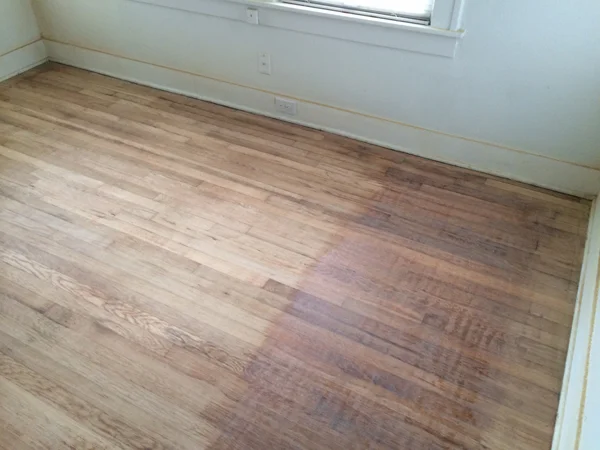
This was after one full pass.


We were starting to rough things up and get to bare wood. Or so we thought. Pass 2-8 pretty much looked like this.

Passes 9-18 were starting to get a little better, but we still weren’t down to bare wood all the way. And there was still a LOT of polyurethane showing, which the stain wouldn’t stick to so we kept going. Apparently the previous refinishers really liked to glop on that poly. It was a mess.

If you’ve ever used a floor sander before, you know how easily they can get away from you. So you really have to hold them steady. My arms were SORE. Forget Bikram. I’ll just sand floors all day. Wait.
After pass 35 (you think I’m kidding), I thought we were pretty much there. I was starting to say silly things like “you know.. this is probably good enough. Right?” I figured, maybe the original floors just have a natural cherry hue?


Derek was not convinced. He was determined to get all the way down to the original wood 100%. So we decided to take our safety-first-easy-does-it sander back and swap it out for this beast.

We chose an American Sanders Belt Sander. This baby showed results. Fast. We started it out on 36 grit paper and man. It was like night and day.


Okay okay. I get how bare it needed to be now.
We did one pass with the 36 grit, two passes with 80, and one pass 120 for each room. And we were done.


△ B E F O R E △

△ P R O G R E S S △
We went back through with the palm sanders to touch up the borders where the floor sander couldn’t reach and had left a ring. The floors were also a little uneven in texture, so there were still a few patches of polyurethane to sand off here and there.


△ B E F O R E △

△ P R O G R E S S △

△ B E F O R E △

△ P R O G R E S S △
Derek felt really bad that we didn’t use the more powerful sander to begin with. But since this was our first time, and we didn’t know the strength of the floor, we had a bit of a learning curve. An expensive learning curve. But hey. Now we’ve saved you the trouble ;)