
Well. After burning the midnight oil for a week straight, the floors were finally done. And we were T-I-R-E-D. But honestly, they were totally worth all of the sweat, back aching, hunching over, being covered in dust from head to toe, 40 rounds of vacuuming, and wearing crazy respirators which got a lot of stares from our new neighbors. Seriously. They look SO much better.
Last week, I shared with you guys our sanding process (and mistakes), but now for the fun part. The stain!

We knew we wanted to go dark, but not too dark that you wouldn’t be able to see the grain of the wood. I didn’t want them to look painted, you know? We originally wanted to use a water-based stain, but unfortunately they didn’t have enough quarts in the color we wanted so we had to opt for Plan B: oil-based stain. So we picked up 1 quart per 275sf, and two gallons of oil-based polyurethane.

Before applying the stain, I went through each room thoroughly vacuuming the floors (and walls!!) and dusting every surface with a microfiber cloth (several times). We didn’t want a single spec of dust to mix in with the stain. I even wore towels over my shoes so that I didn’t track anything onto the floors.

Classy.
We were a little nervous about applying the stain, and how long to let it sit, so we tested it out in a closet first. We took turns brushing it on with a 3″ brush in small 3ft sections. We made sure that the entire area was thoroughly covered with stain, then let it sit for 1 minute.

We told you it was dark.
Just kidding. After the 1 minute mark was up we took a t-shirt (from a huge bulk bag we picked up.. and definitely went through the entire pack of 100 cut up shirts) and wiped it up with the direction of the grain, revealing this loveliness.

It was a little lighter that we had hoped so on the second run we let it sit for 2 minutes.

Perfection.
We continued this method following each patch of fresh stain along the grain of the wood, that way we could blend it better, and as it dried the new row would start along the planks of wood creating nice straight rows that blended seamlessly. It took forever.

You can see how we worked our way back toward the exit of the room. No one stains baby in the corner.


As you can see it’s a little rough looking without having the polyurethane, very rustic. The wood had some previous damage that we just couldn’t sand out, like that dark spot on the right side of the guest room (below). There were also several boards that just appeared darker, which was completely out of our control.

But we really like how it sort of just adds to the charm and character of an older home.

Once all of the stain was laid down, and we let it cure for 24 hours, I went back through and thoroughly cleaned each room using my same method (and my same cool towel shoes).


And no, that isn’t stain on the walls, we had pulled up the quarter-round trim before sanding, and it peeled the paint up on the baseboards. But we aren’t really worried about it since we definitely plan to paint all of the trim with a fresh coat of white ASAP.
After cleaning, it was time for the part that we dreaded the most. The polyurethane. This part just made me so nervous because once it’s down, there is no turning back. We decided to choose a satin finish so that it wasn’t too glossy and wet looking (like a basketball court). The satin has a nice subtle sort of waxy sheen that really warms up the room.

We poured the poly into a watering can, and used a lambskin applicator working it in row by row the full length of each room. We used a pretty OCD method for each row: zigzag to the right, zigzag to the left, squeegee at a 45 degree angle to the right, then squeegee to the left, then squeegee back and forth along the grain of the wood to finish before moving onto the next row. This really helped to work the poly into the floor nice and even and thin. You don’t want it too thick because it will never dry, or dry inconsistently creating bumps and bubbles. The beauty of this poly is that it self levels as it dries, creating a nice even coat (like nail polish or oil-based paint).


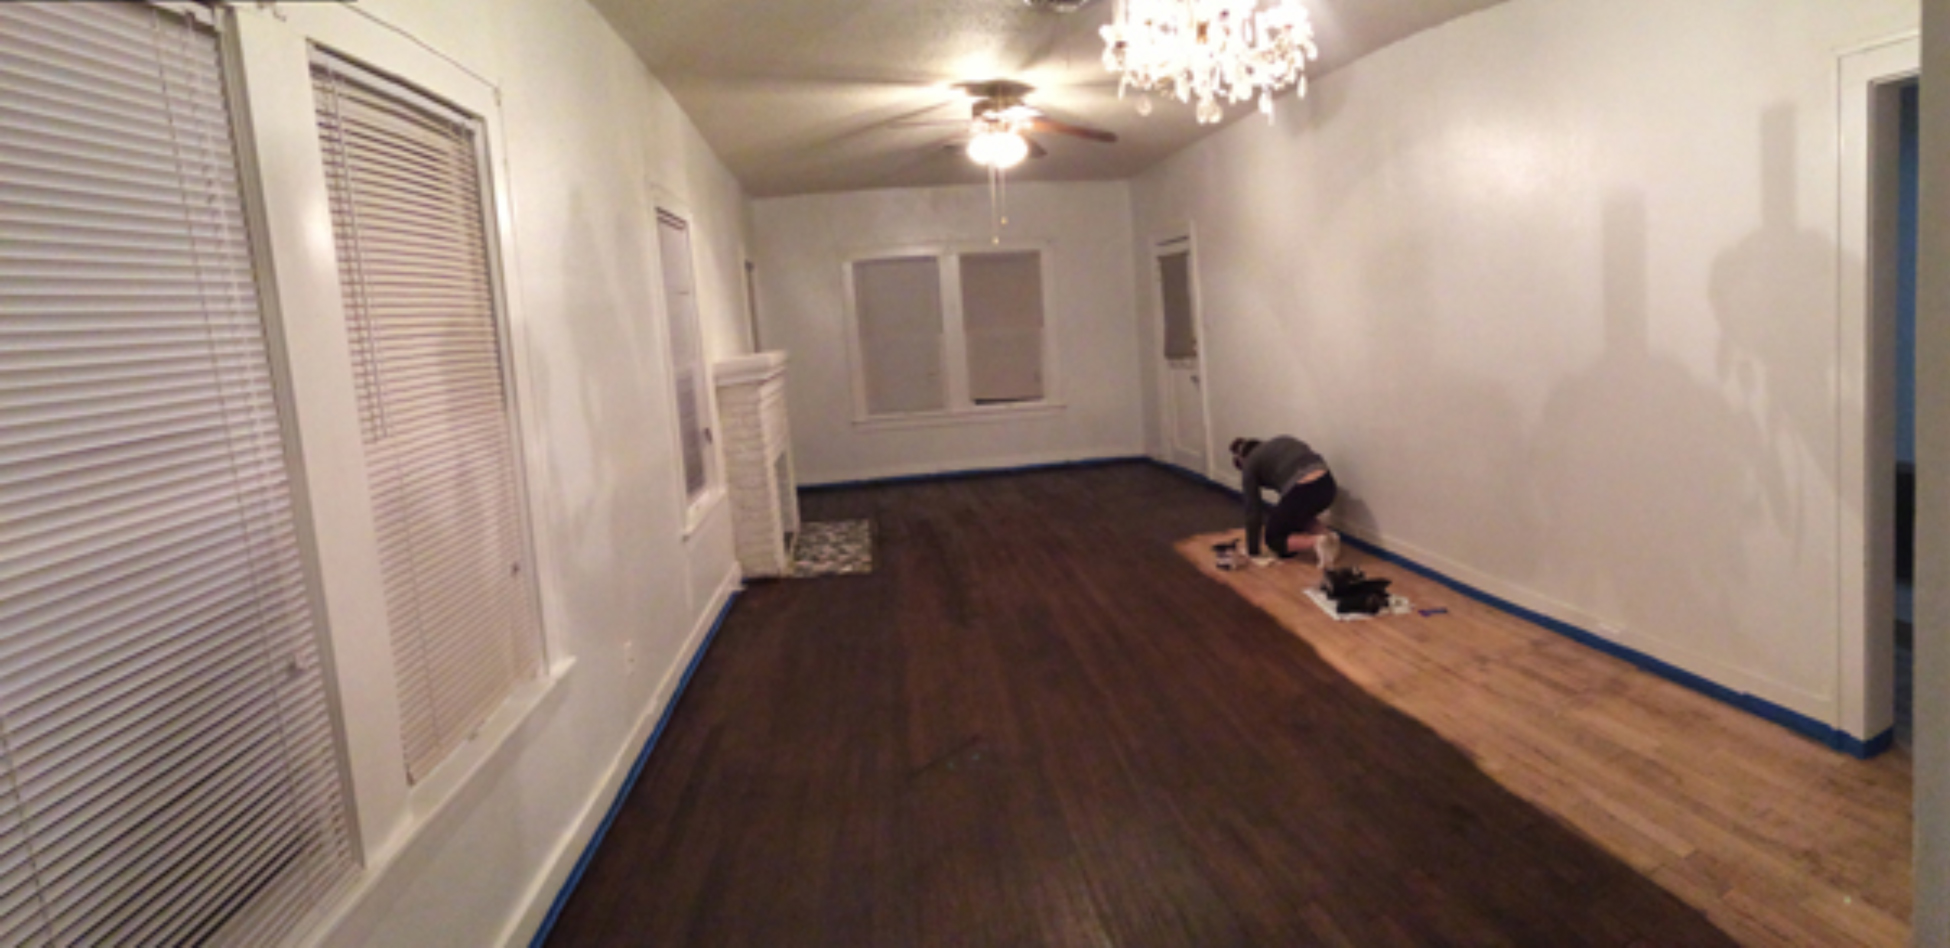
Above you can see the difference between the side with poly and the side with just stain.

Obviously the poly is still wet in the above photos, it won't be that shiny once it dries. Once we finished one room (making sure to have a safe exit) we moved to the next, repeating the same method for each room.

We let the first coat cure for 8 hours before applying the second (using the same exact method).

Above you can see the nice satin finish (on the right) once the poly has cured vs. the freshly applied second coat of poly (on the left). See how much softer it is? So smooth!
We let the second coat dry for 6 hours and then applied the third and final coat to each room.

I realized that there are a lot of photos of Derek doing the dirty work, but I promise I did just as much poly-ing. So. Let that be on the record.

△ B E F O R E △

△ A F T E R △

△ B E F O R E △

△ A F T E R △
Although this was probably (by far) the hardest project I’ve ever taken on, there is no feeling like having that sense of accomplishment after taking on a new adventure neither of us had any experience in, and finishing it through together. Even though we did stay up until 3am more than once during the work week, and spent two entire weekends breaking our backs. It was very much worth it in the end. This place quickly started to feel like our home.