
In case you missed Part I, Part II, and Part III of our kitchen renovation saga be sure and check them out before we dive into #demoday.
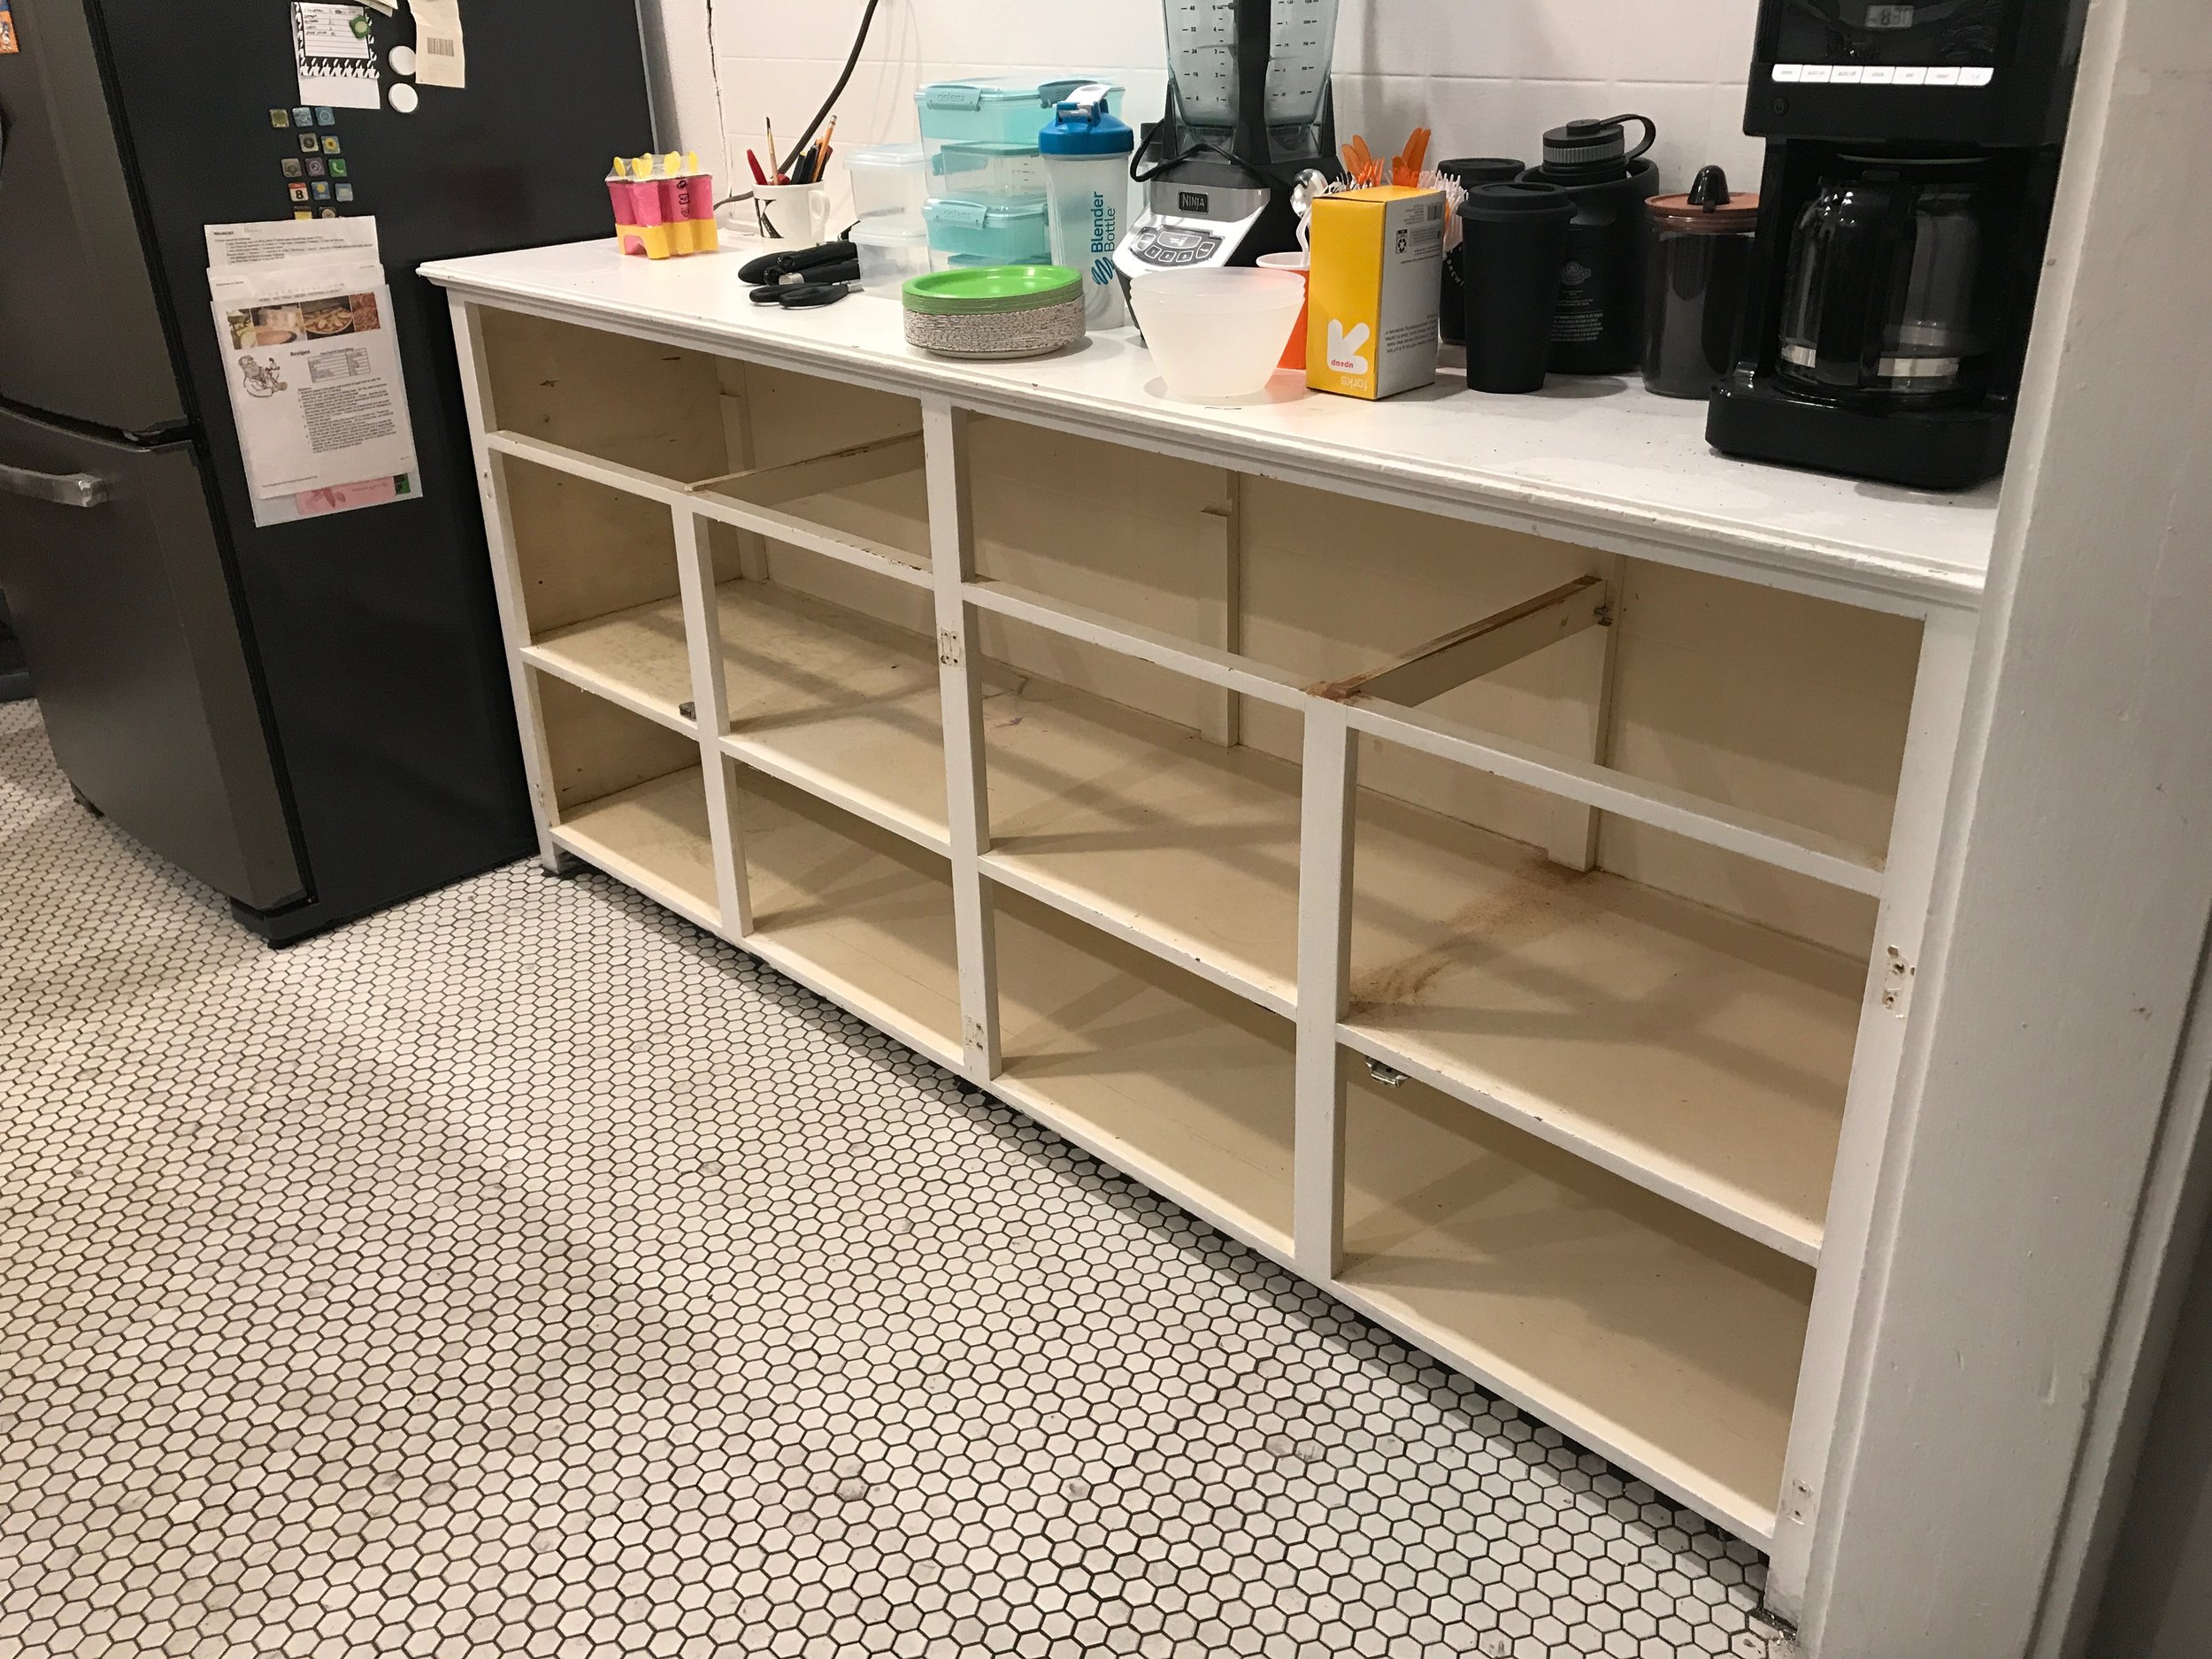
So now that the plans were well underway, it was time to get the sledgehammer out and basically gut the entire space so that we could start with a clean slate. A shoutout to our friend Max who helped with a lot of the demo as payback for when Derek helped demo their kitchen. What are friends for right? As we removed all of the doors and drawers you can see some more of the quirky custom details, and the previous vinyl flooring as a shelf liner under the sink. Why?
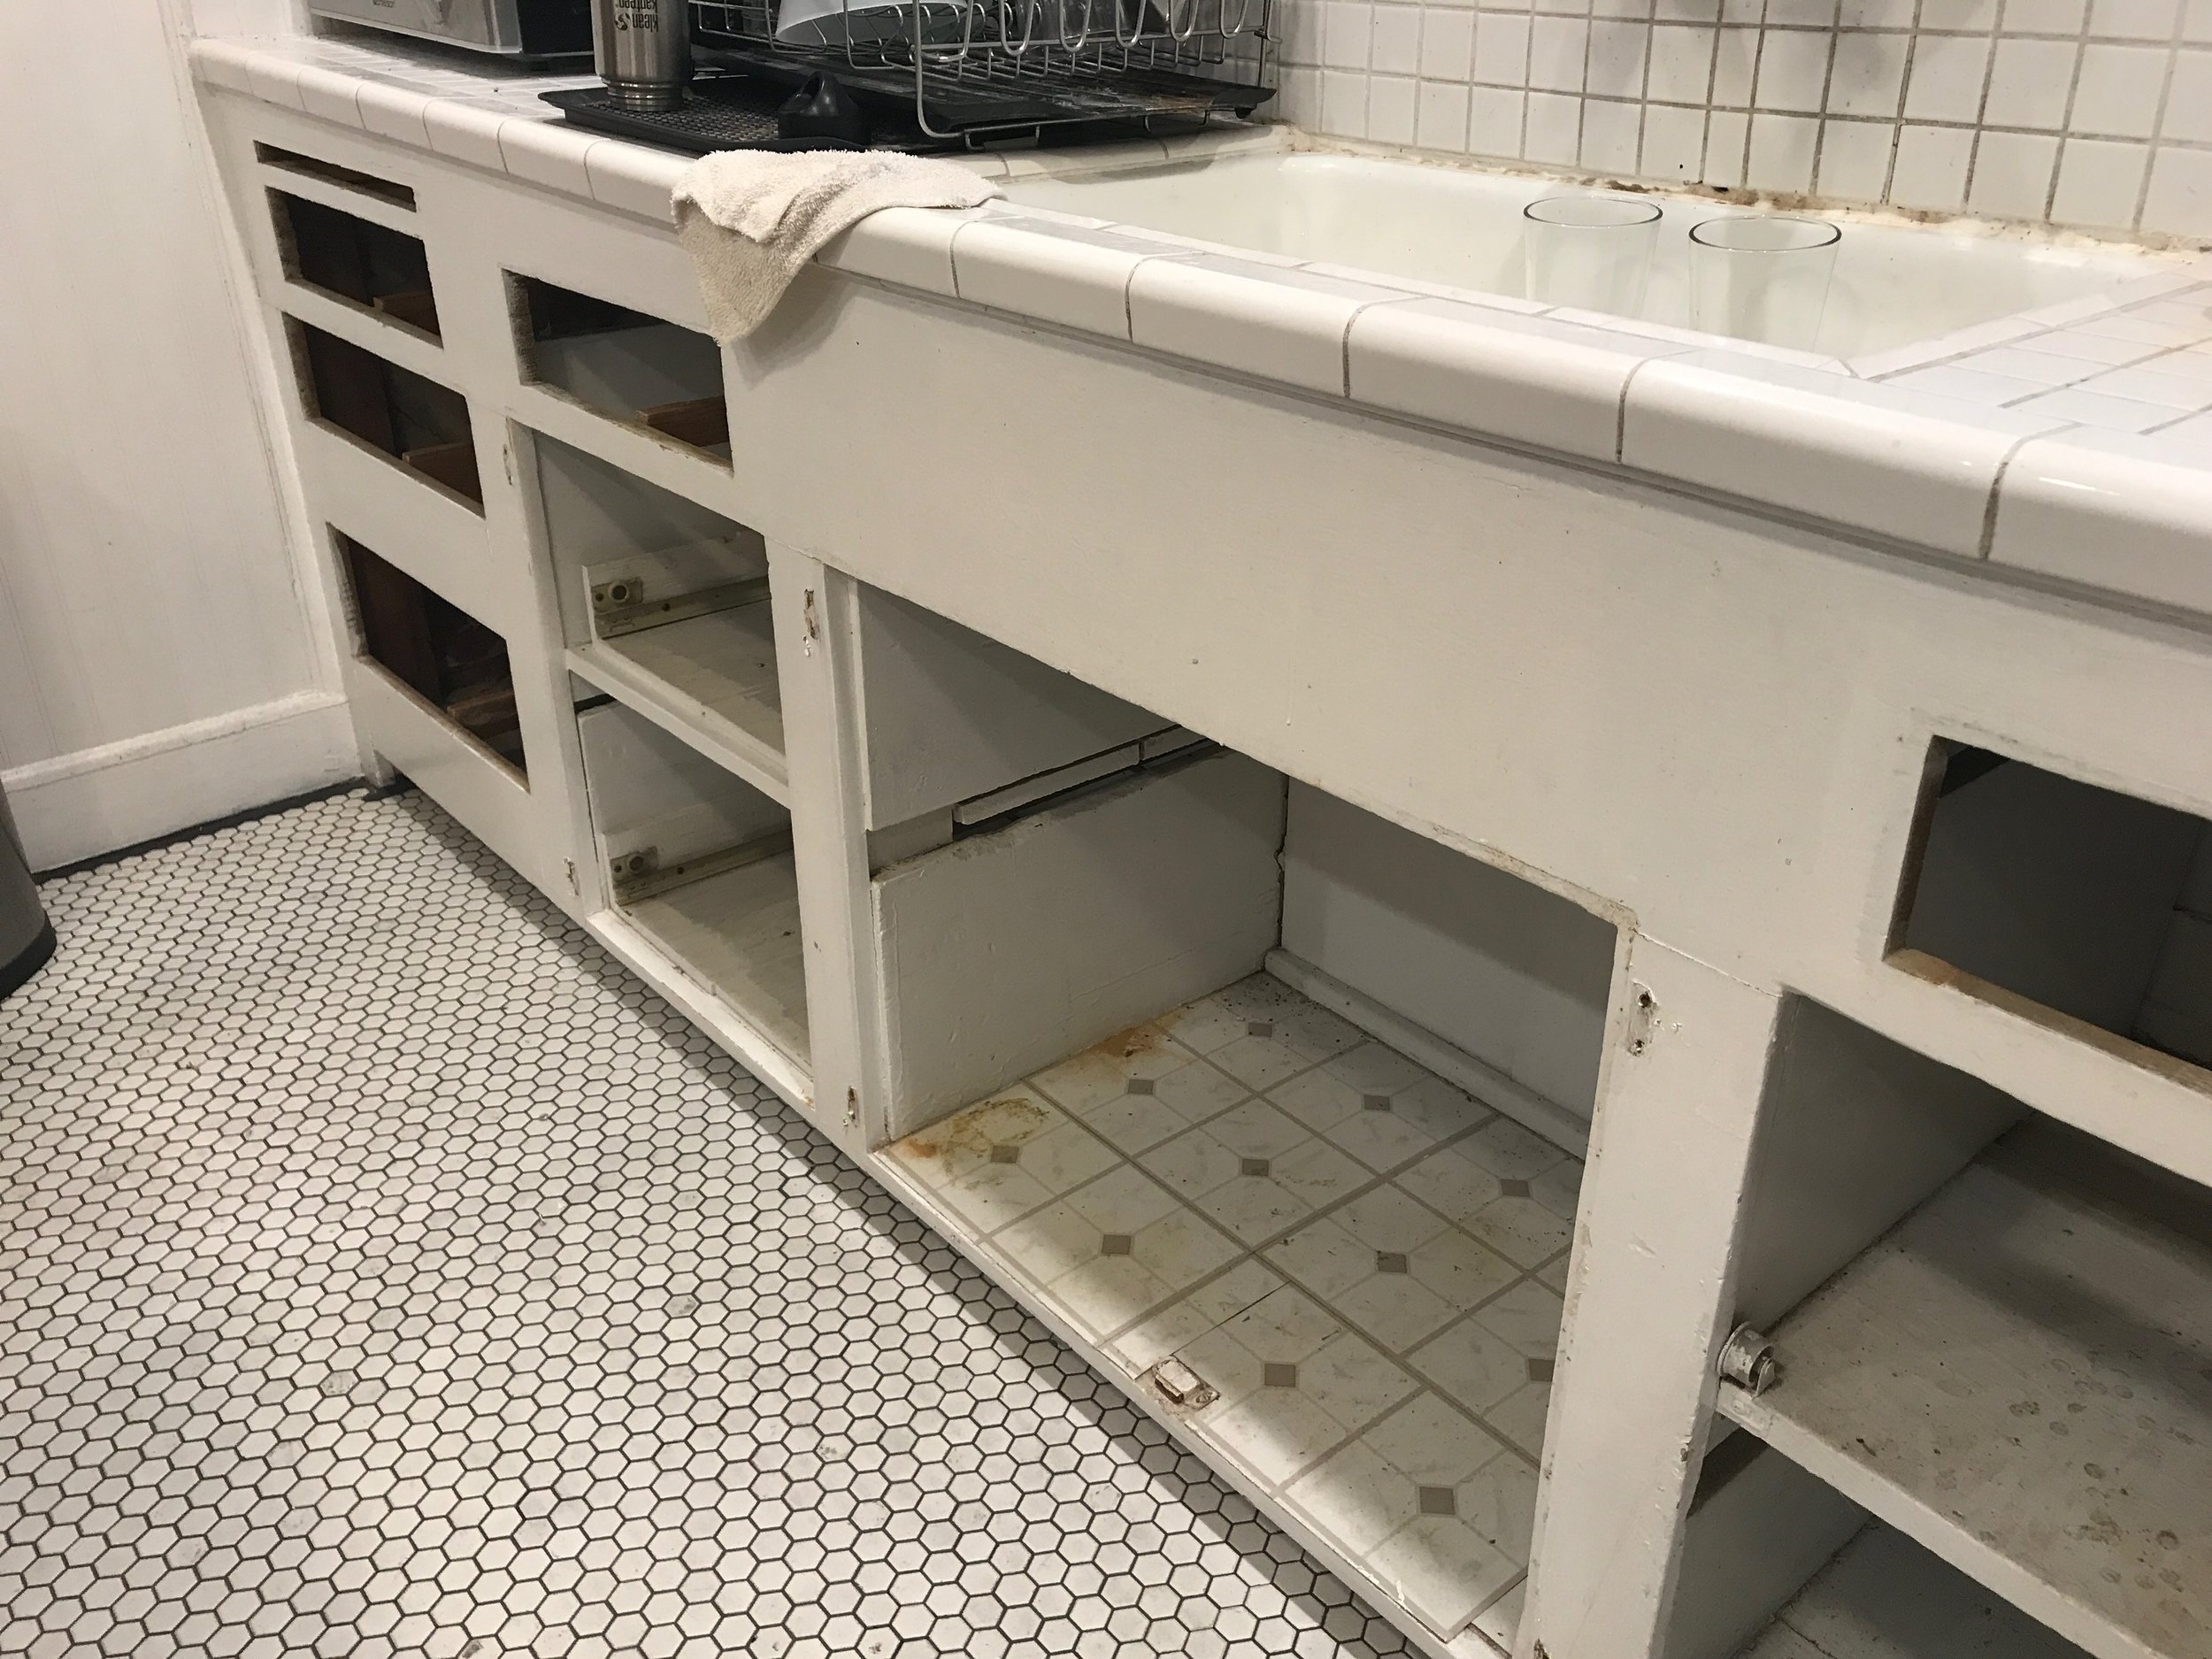
See? Literally no backs to any of the cabinets. And that is an exterior wall. So many opportunities for critters ugh.

We finally opened the top upper cabinets where we uncovered some water damage and luckily no dead bodies.

And more water damage.


As we pulled off the gyp we uncovered some retro wallpaper that was backed with fabric. It almost turned to dust as I scraped it off and it was nailed into place, not glued. Nailed.


We've actually uncovered a lot of areas of our house that used to be this green color. Apparently all of the door and window trim was green at one time. Wow.
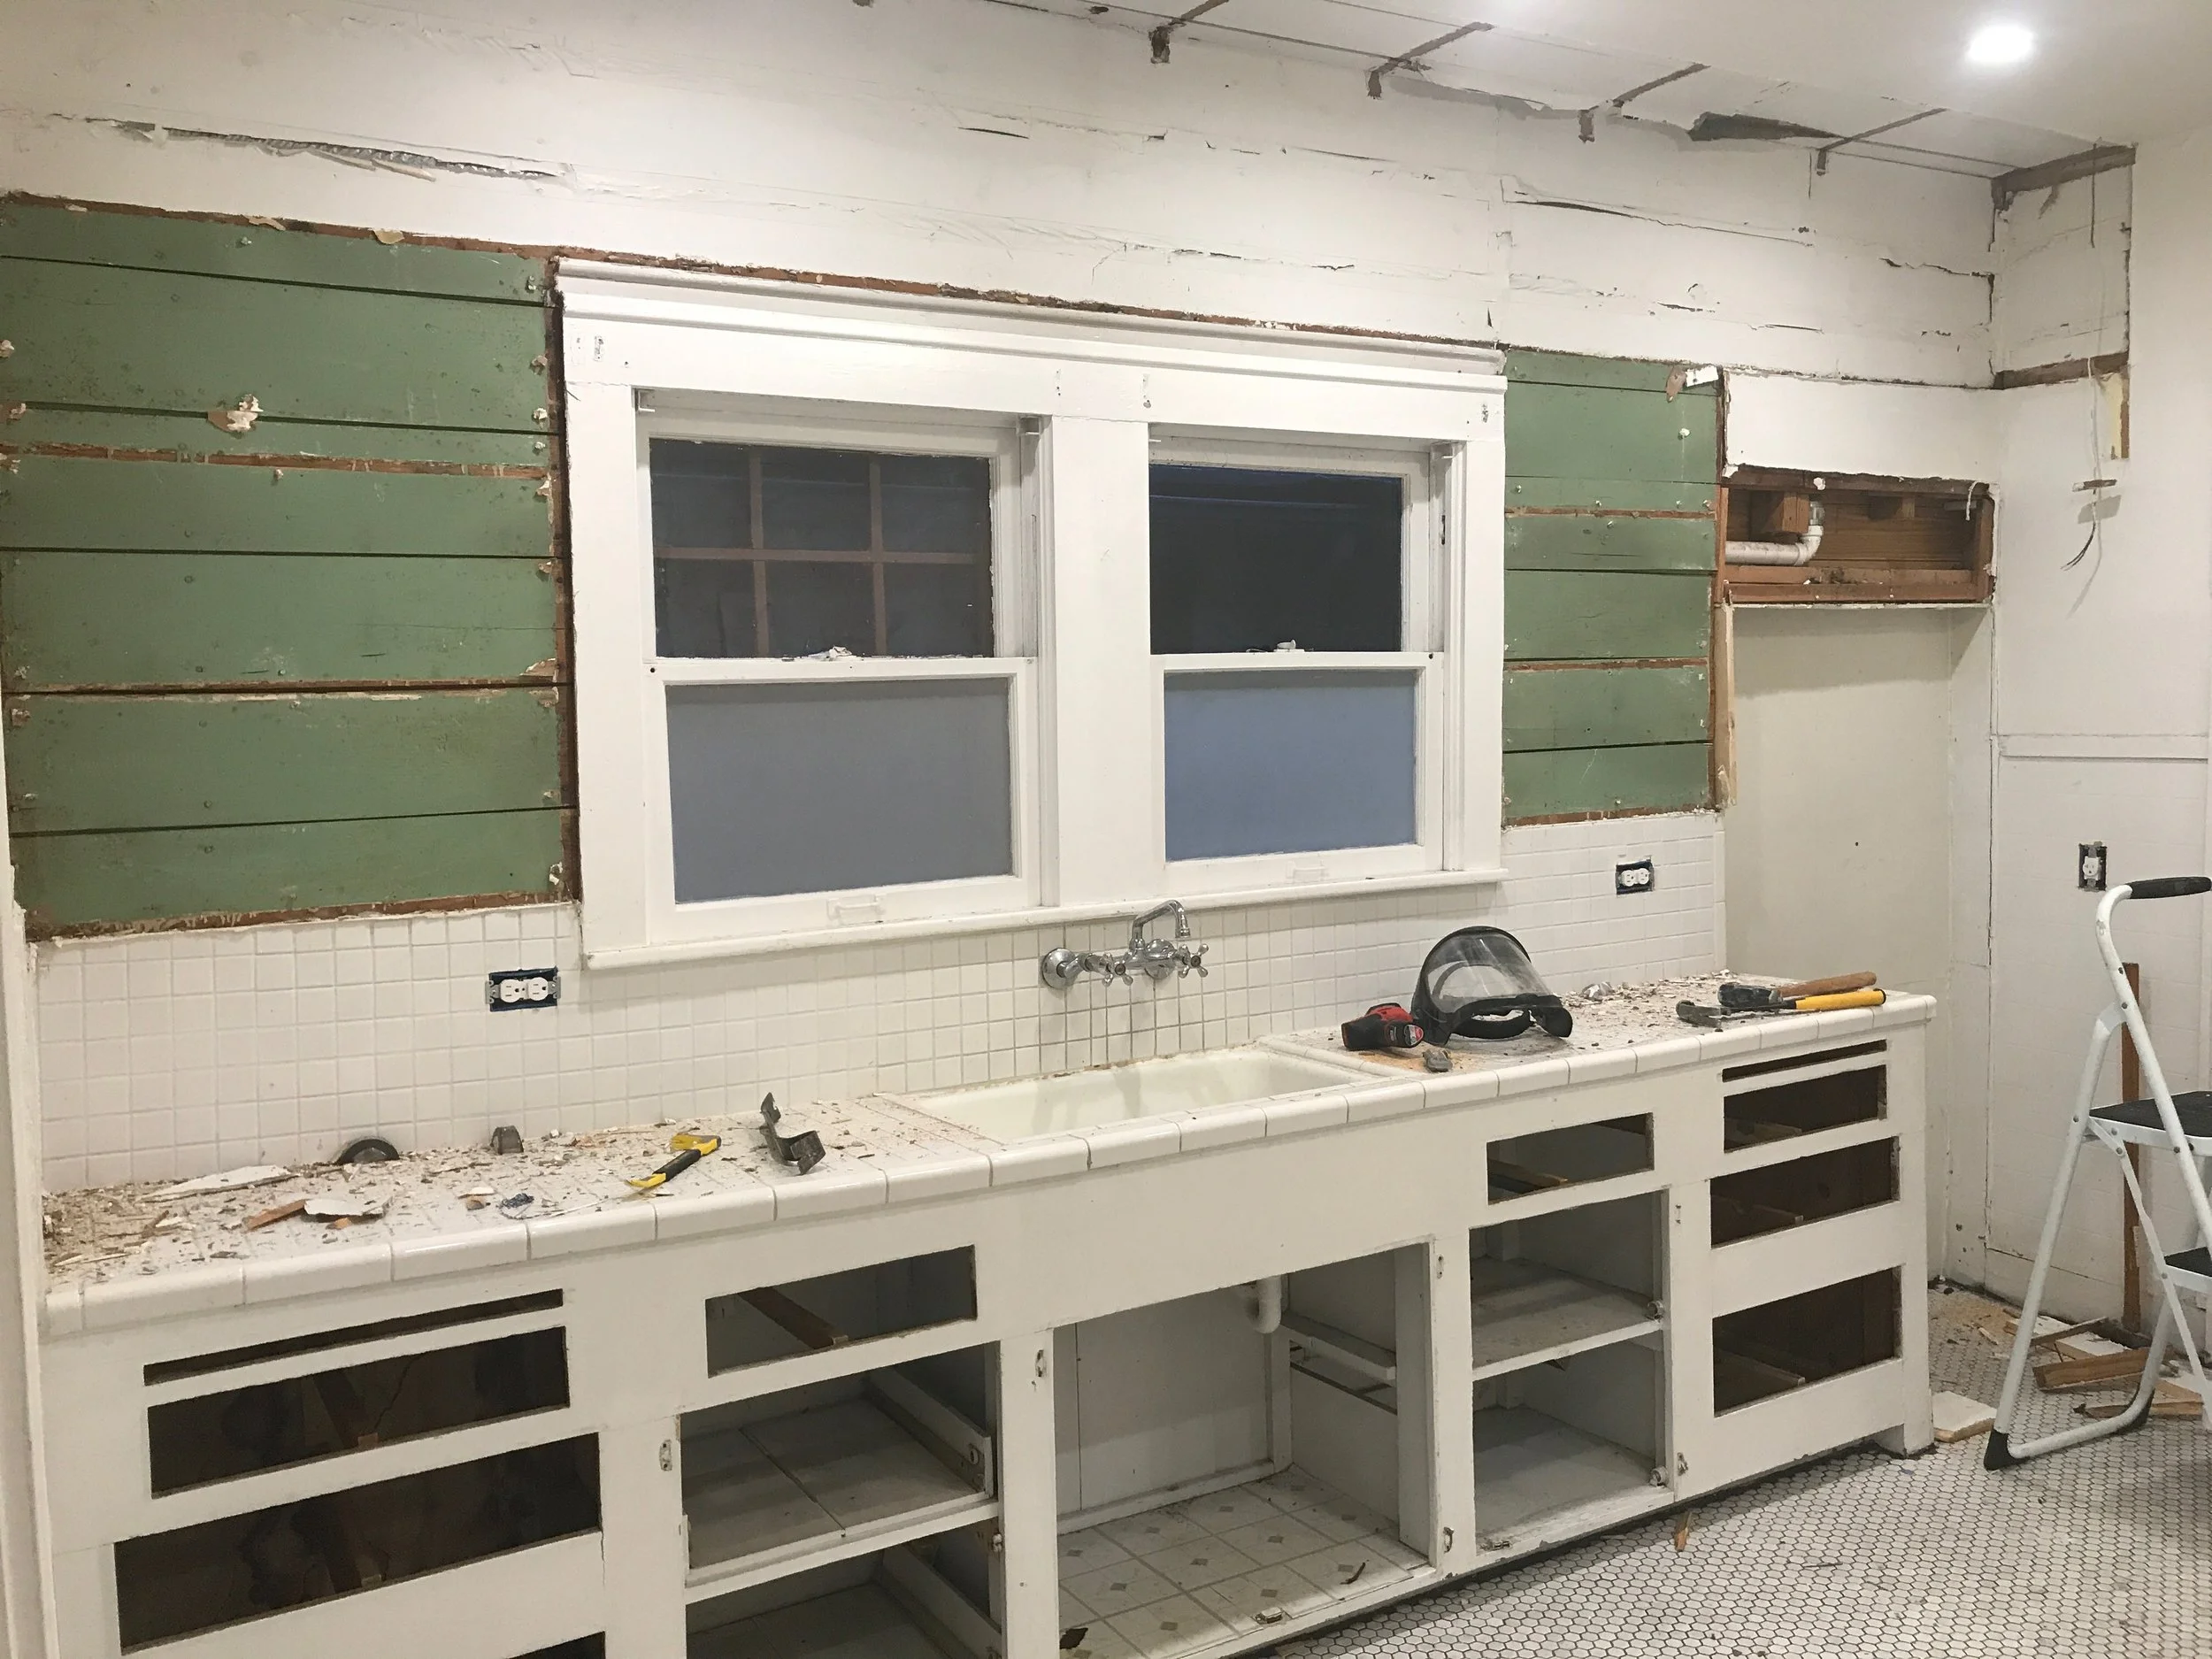


That water damage on the far left made us wonder if the original 1930 kitchen had a freestanding sink in the corner like this guy.
So once we uncovered this portion of the kitchen, things got a little scary.

Do you see the light from outside? Its like everything was just puzzle-pieced together in this house. And yes. That debris all over the floor was a bunch of pecan shells and rats nests. Awesome.
Speaking of awesome. Look at what a great job our previous contractor did when closing in the bedroom door. This was all gyp'd over by the time we came home and saw it (and signed off on it) so we had no idea. That is literally a 2x4 post with three 2x4s nailed to it. None of which were attached to any framing. It was all just loosey goosey hanging out behind the gyp. No wonder there was a huge crack and wall buckling when the foundation was replaced. This was so scary to find.

Because the tile installer tiled up to the old cabinets there was a big recess in the floor where the cabinets once were. Derek filled in that gap with pressure treated plywood to bring it up to the same level as the tile. We had to do this on both sides where the lower cabinets used to be.

Originally we thought it might be cool to just paint the lath (shiplap) once we started seeing how great of condition it was in. That is until we got to this wall where it was again just puzzle-pieced together. What a shame. Also on the sink wall most of it was missing so we'd have to replace it which would make it look even more hodgepodge. Also from a air conditioning / insect control standpoint, leaving exposed lath on an exterior wall is never a great idea. The more layers of insulation the better.

Once all of the walls were down to lath, we had our electrician come in and add outlets where we wanted them and then Derek removed the ones we didn't need anymore. We also had them add a junction box for the barn light above the sink and converted the boob light to a quad outlet for our pendant lights over the island. We had them switch everything so that the pendants and barn light were separate from the can lights. You know. Mood lighting. We also had them add an outlet for the new fridge and oven location. We had our plumber come in and add a water line for the dishwasher and relocate the gas line for the oven. Both of those trades were probably the most expensive parts of this whole renovation.

Derek added more lath pieces and properly filled in the previous door to our bedroom. He focused mostly on making sure there was lath along the top half of it, as that would be where all the strength would come from for holding the upper cabinets.

Once each wall was structurally sound (as much as it could be) we installed fresh new gyp on all walls.

Okay do you see how the PVC vent pipe for the sink comes up from the ground and then elbows to the right and then up again? Whenever this update was made and the sink was relocated to under the window, the previous owner cut out all of the vertical studs to run the PVC tubing. Which meant that you could push on the wall and it would wiggle. A lot.

So our friend Max helped Derek remove the PVC vent and our plumber rerouted it straight out the side of the house rather than snaking it through the wall. You can see where the original studs were cut and just hanging out. Attached to nothing. So freaky.

Derek and Max then went in and installed all new studs to add strength back on this side of the kitchen, and then covered them with new lath.


Once all of the new lath was added, we started adding gyp along the bottom half where the lower cabinets would be, and then hardi backerboard along the top half where the tile backsplash would be. By "we" I mean Derek. I was 3 months pregnant.


Once gyp was installed and pieced together, Derek went around and taped and floated all of the gyp.


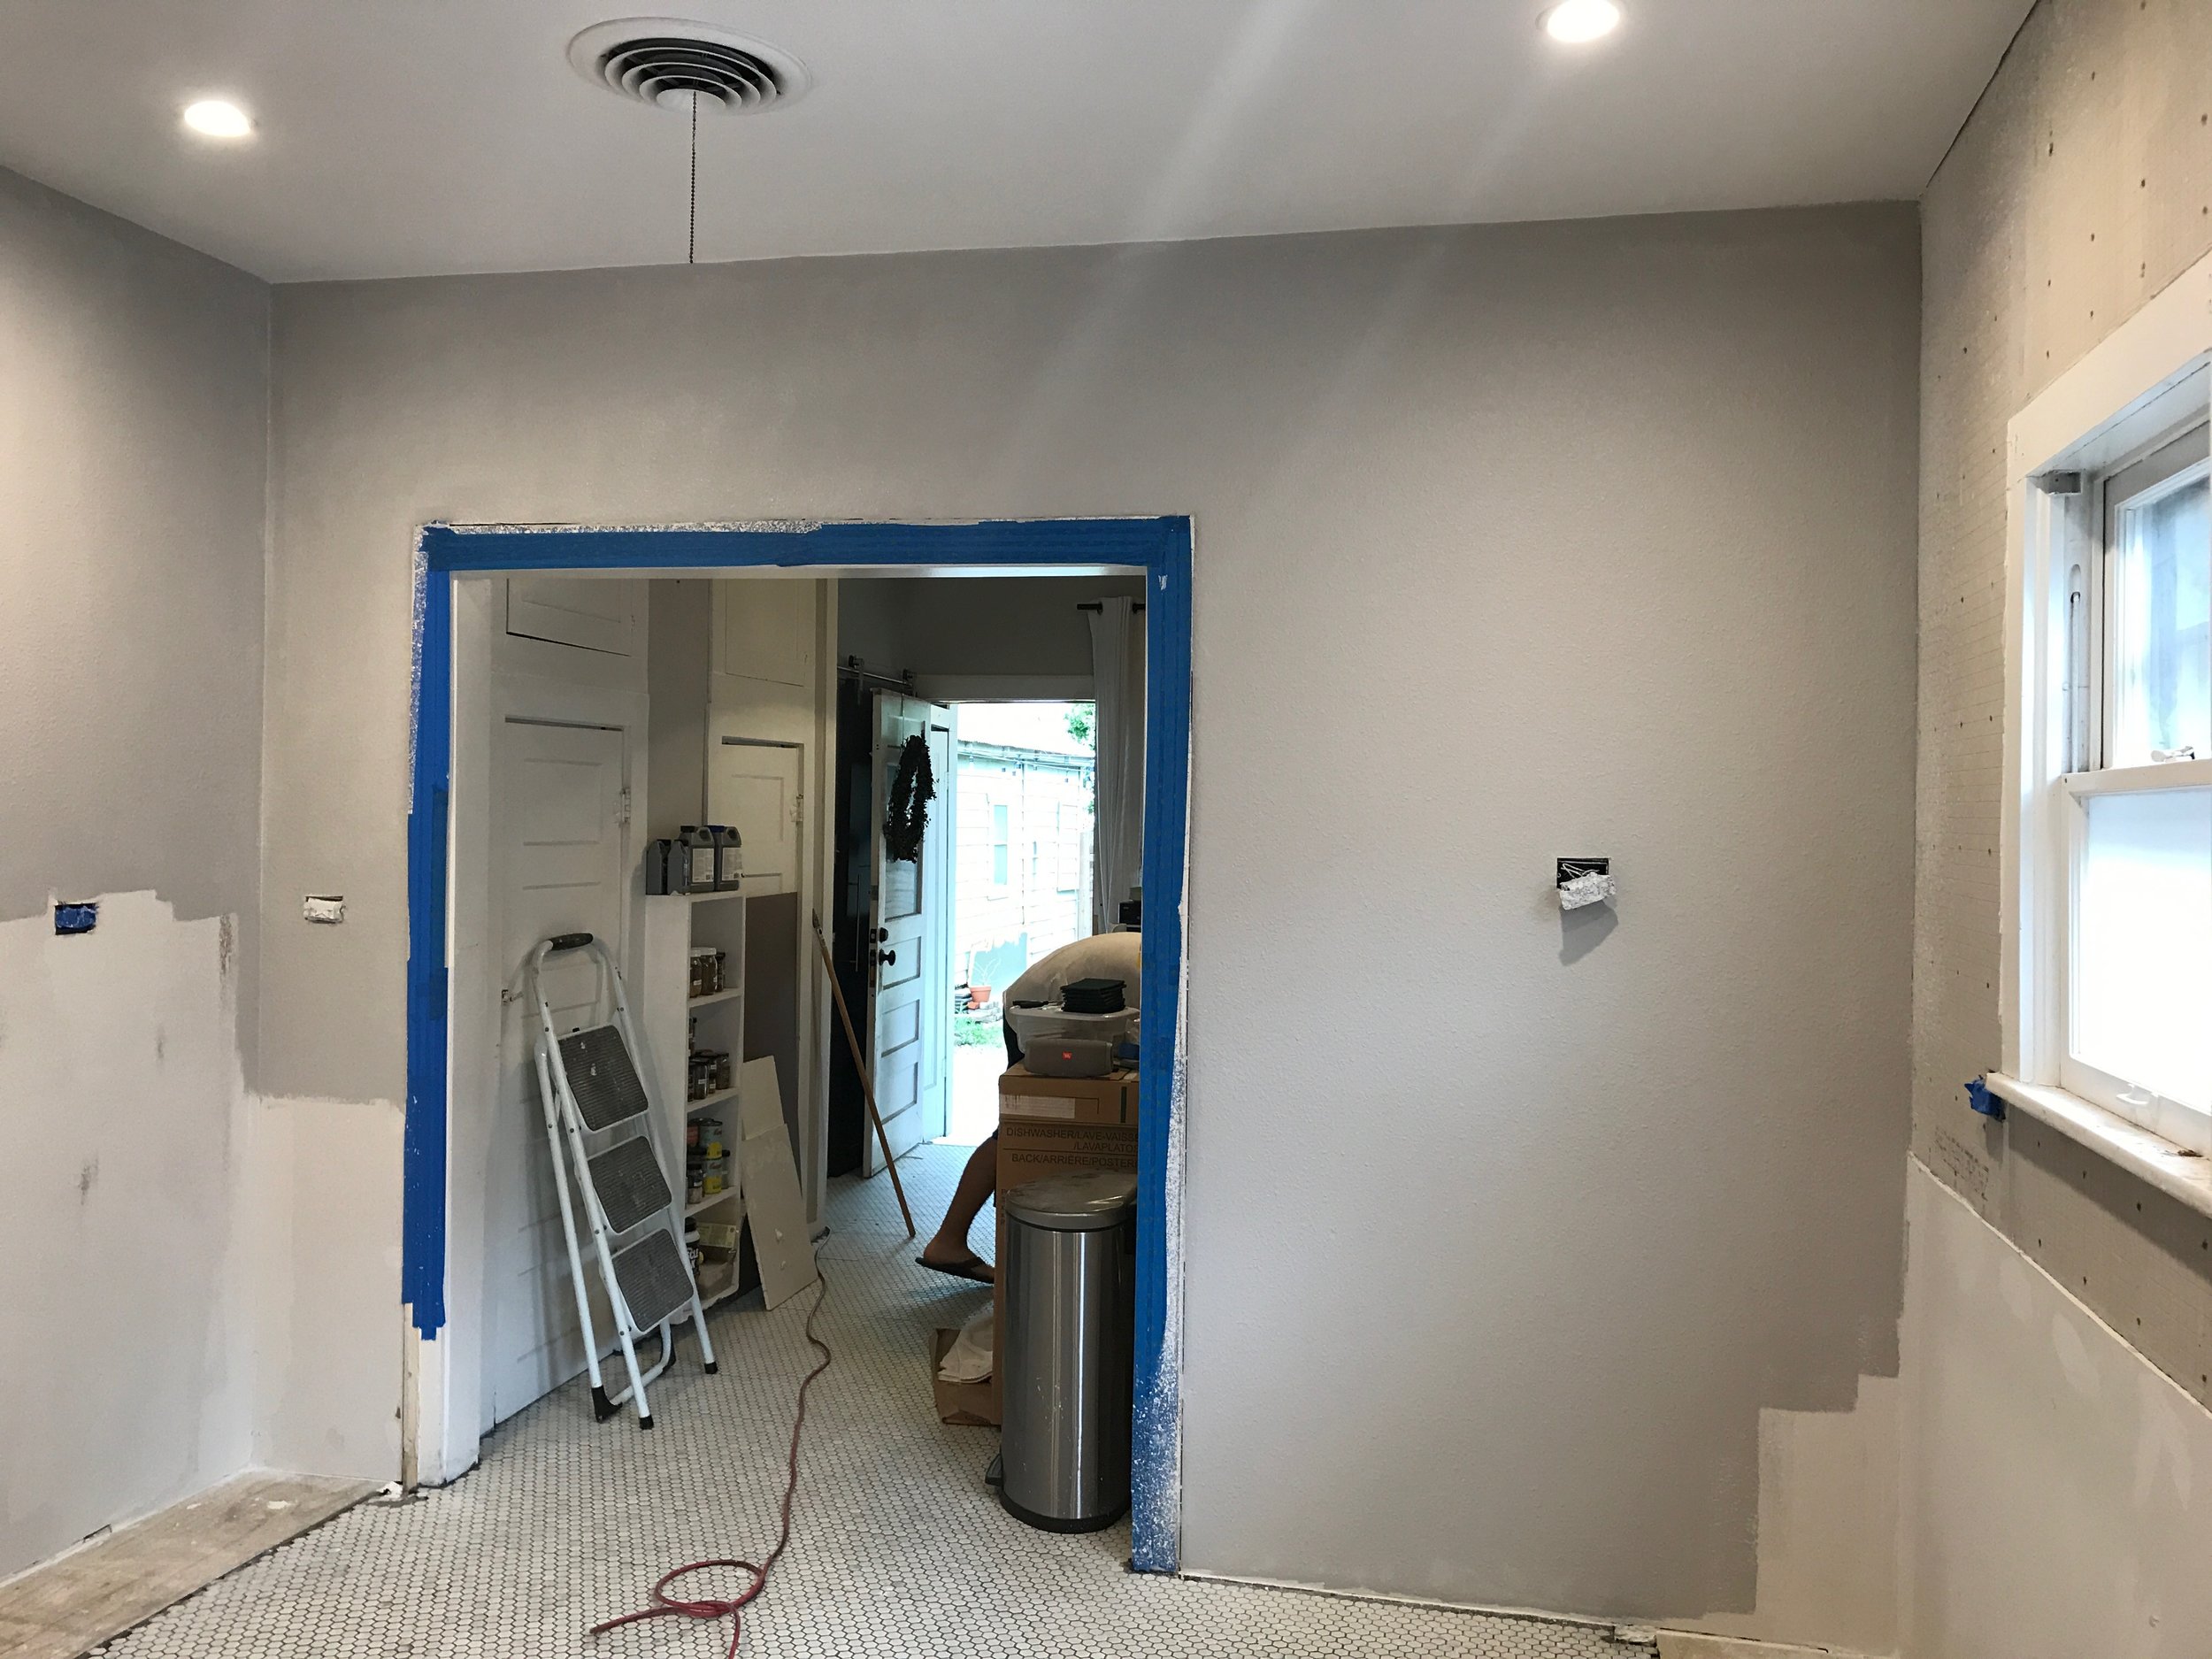
He then textured all of the new gyp (which I don't have a photo of because it was very messy), and we painted all of the walls our favorite Passive by Sherwin Williams.


Stay tuned for Part V of our kitchen renovation saga where I'll share the cabinets we scored for a steal of a deal and how we made them fit into our design.