In case you missed Part I, Part II, Part III, and Part IV of our kitchen renovation saga be sure and check them out before we dive into our not so custom (but customized) cabinets.
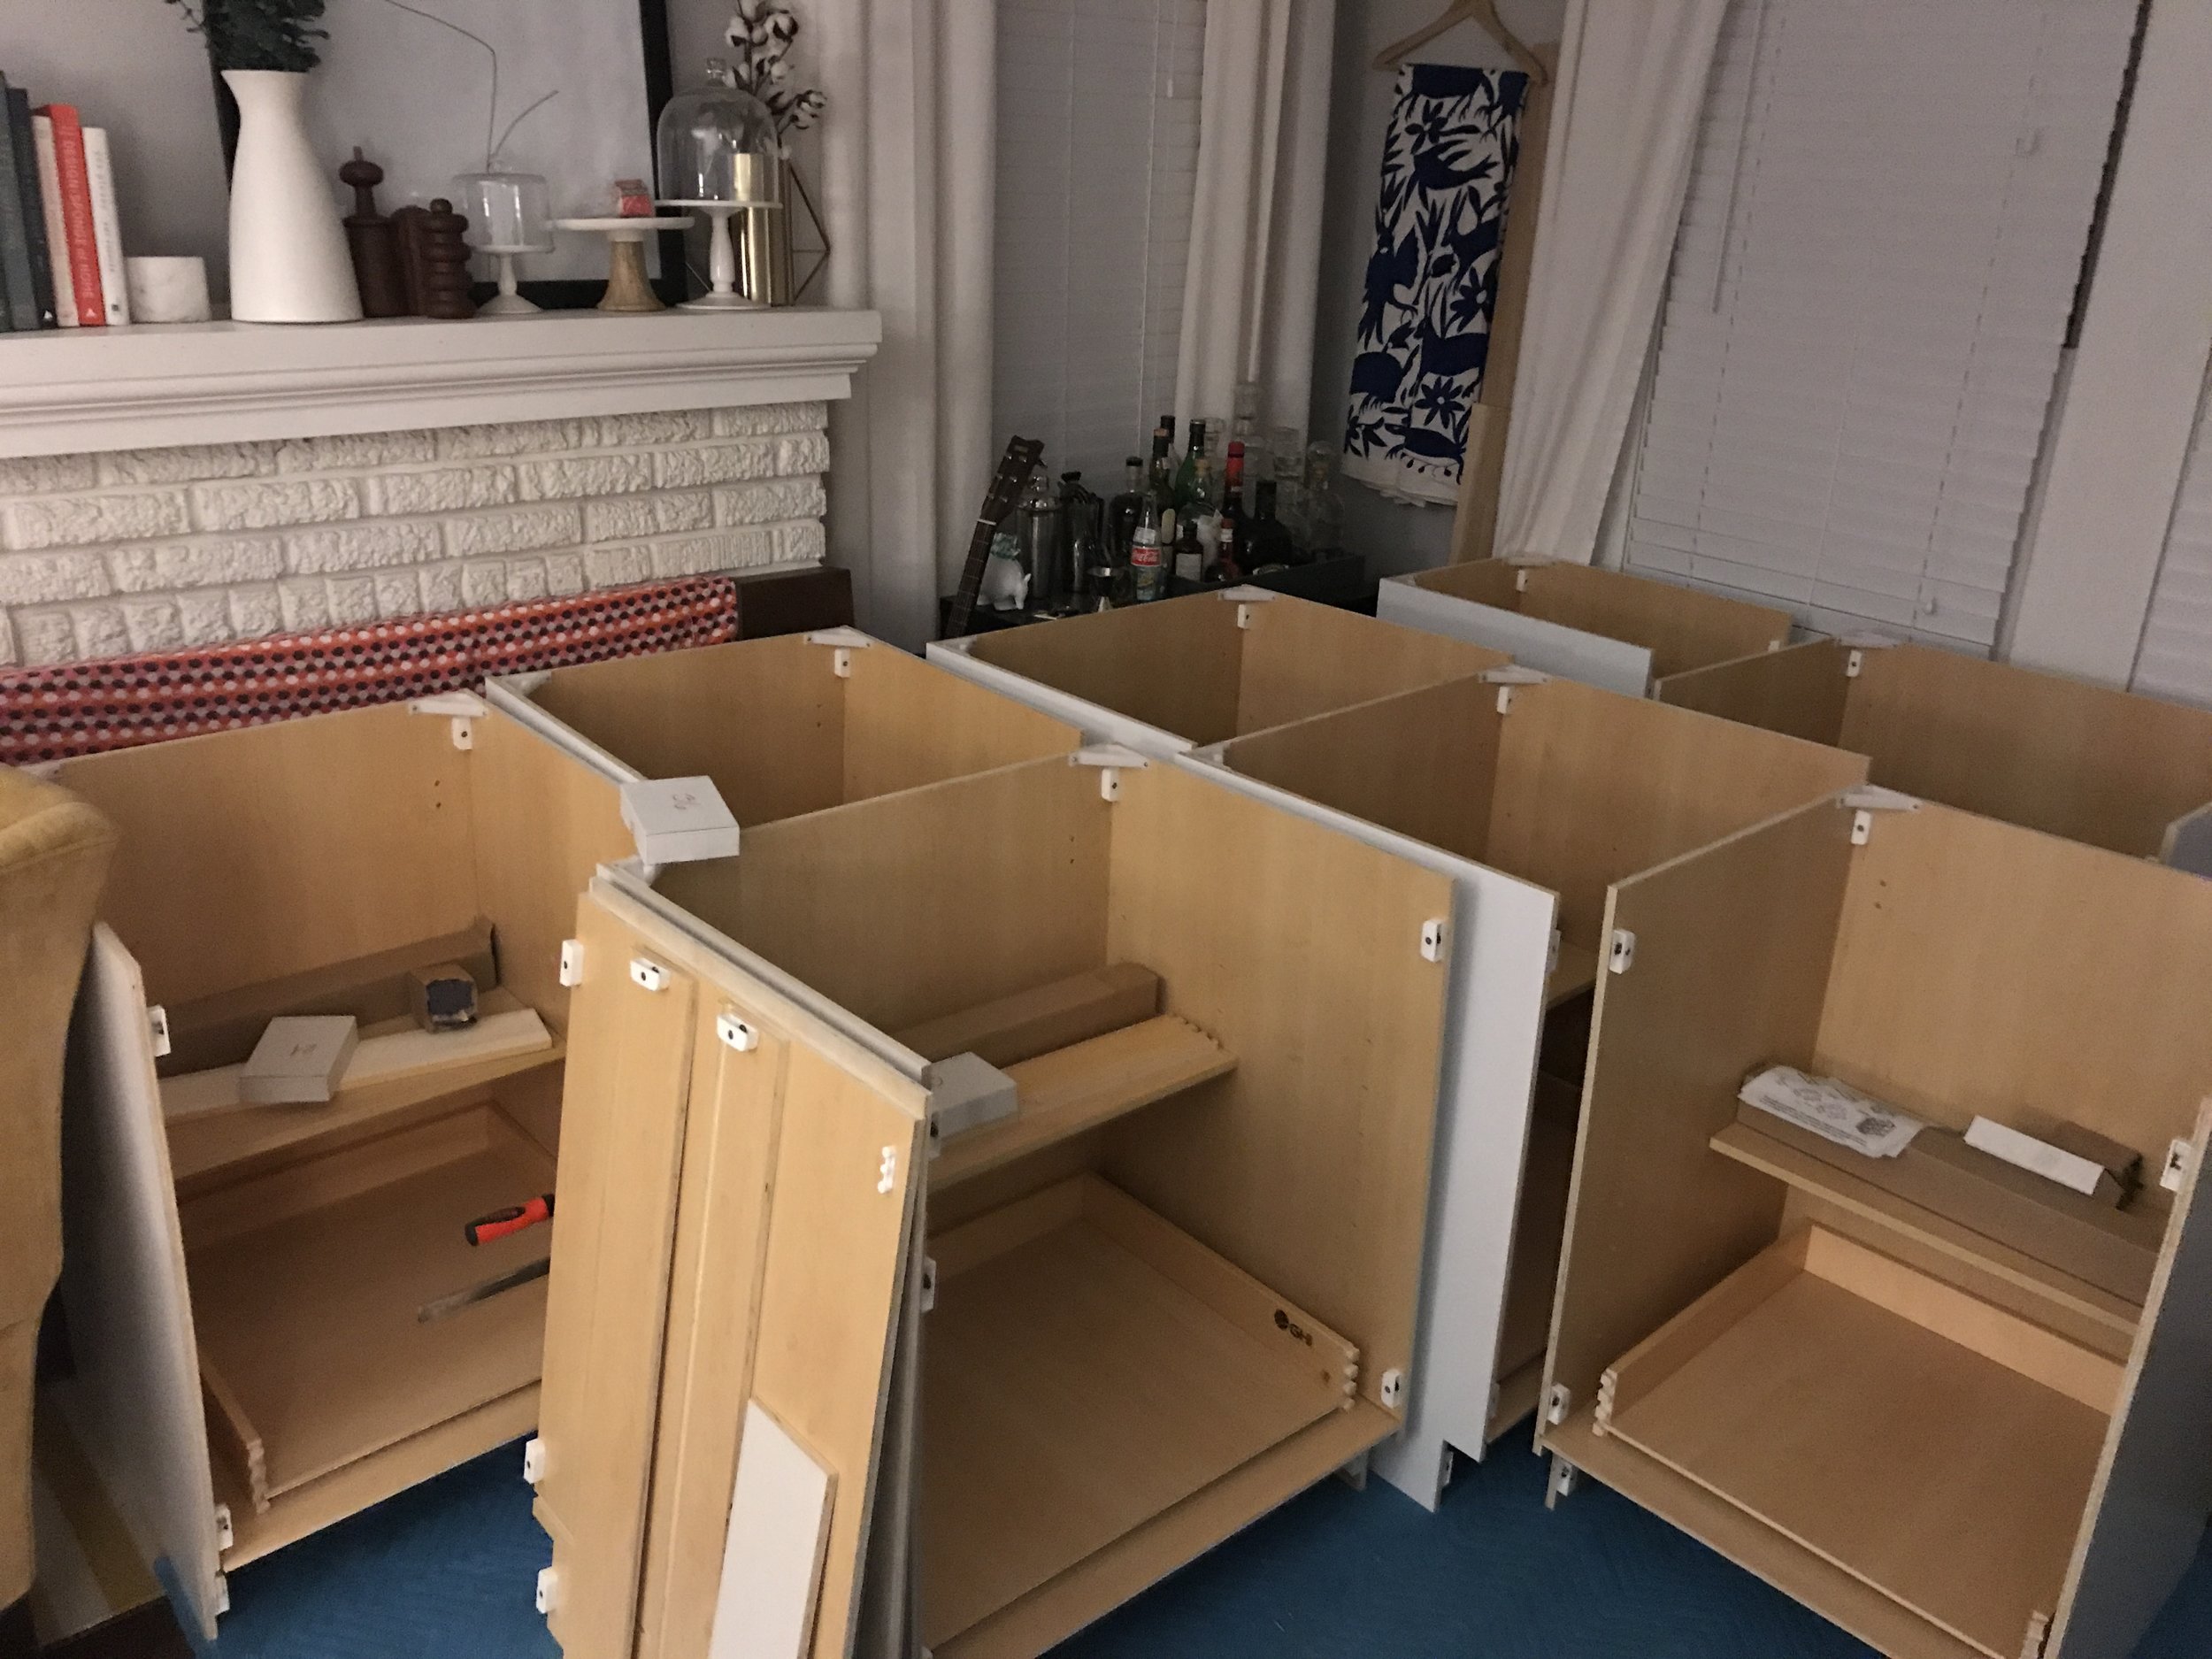
We had been vacilating over Ikea cabinets or Home Depot / Lowes custom cabinets for our new kitchen. We knew we wanted shaker style doors and drawers with soft close hinges and glides. This pretty much only left some pretty pricey options. Even the off the shelf cabinets from the big box stores didn't have soft close hardware, and the Ikea ones were still made of particle board. We were starting to feel pretty defeated that we were going to have to shell out a lot of dough for our cabinets. Until one weekend when we went to our local Habitat Restore to pick up our interior doors for this project. We came across white shaker kitchen cabinets that were solid wood, dovetail joinery, had soft close hardware, and came already painted. I know what you're thinking "um used cabinets?" No. These were still in their original boxes unassembled and they had every size imaginable for a fraction of what we thought we were going to have to spend.
While these were already painted white and had a nice finish coat on them, we still wanted to paint them our olive color. So after doing a little inventory we figured out that we would need the following: five 32" base cabinets with two doors and a single drawer, one 30" base cabinet with two doors and a single drawer, one 36" sink base cabinet with two doors a false drawer and an open back for plumbing, and one 18" set of three drawers.
Then we loaded up the car and were on our way. The cabinets all together came out to be around $1000.
We spent the next few days assembling the cabinet carcasses and leaving off the doors and drawers (which we planned to paint). We glued each piece in place to make them even stronger. No turning back now!
I mean check out my form. Professional cabinet builder right here. And 3 months pregnant ha.
We were so pleased with the quality of these cabinets and their ease of assembly. And for the price we paid we seriously couldn't be happier.
Then came the hard part. Now had we chosen to stay with white cabinets we could have saved all of this time and effort, but we both still think it was worth it in the end to get our beautiful olive color.
We laid out all of the doors, drawer faces, toe kicks, and front frames and sanded them with 100 grit sandpaper to roughen up the finished coat that had been applied to them at the factory. This part was the most tedious. After we sanded we used tack clothes to remove any dust from sanding. Even the smallest spec would ruin our paint job.
We used our (favorite) Graco sprayer to spray each of the doors, drawer faces, toe kicks, and frames.
We ended up doing three coats of paint, and in between each coat we sanded and used the tack cloth. This method helped us build up a nice and durable finish, which is so important in a high use area like a kitchen.
It seriously looks exactly like the white that was painted at the factory, but olive ha.
Once all of the doors, drawer faces, toe kicks, and frames were dry we installed them onto their corresponding base cabinets, and glued each piece into place.
Once all of our base cabinets were ready, we moved our appliances into place and started placing each cabinet where it would be.
We left the toe kicks off for the time being because we knew how unlevel our floors and walls are (88 year old house), so we wanted to be able to shim any of the gaps in order to create a level enough surface for our countertops.
We left a space where the dishwasher would be located because we weren't going to install it until the countertops were in and the plumbing was wrapped up. I was so excited to have kitchen storage again that I started unpacking as much of the kitchen as I could (hence the toaster and lunchbox you see) so that as soon as the counters and sink went in we could use our kitchen again.
Stay tuned for Part VI of our kitchen renovation saga where I'll share how we scored free quartz countertops (designer perks) and installed our cabinet hardware.


