In case you missed Part I, Part II, Part III, Part IV, Part V, Part VI, and Part VII of our kitchen renovation saga be sure and check them out before we dive into the installation of our custom upper cabinets and vent hood wrap.
We tossed around the idea of having a more industrial looking exposed vent hood over our stove, but in the end decided to integrate it into our upper cabinets. We bought a Broan Range Hood Insert and a coordinating Hood Liner that were 30" wide to line up perfectly with the stove below.
Derek fabricated a birch plywood surround that extends all the way to the ceiling for a nice seamless look. I'm sure a lot of people are thinking "plywood?" But this isn't the cheap-o stuff you use to line your shed with. This is 13 ply furniture grade birch plywood. We love the light birch color and seeing the layers of ply along the edges. It's a little nod to our love of case study house architects, and it's another detail found throughout our home.
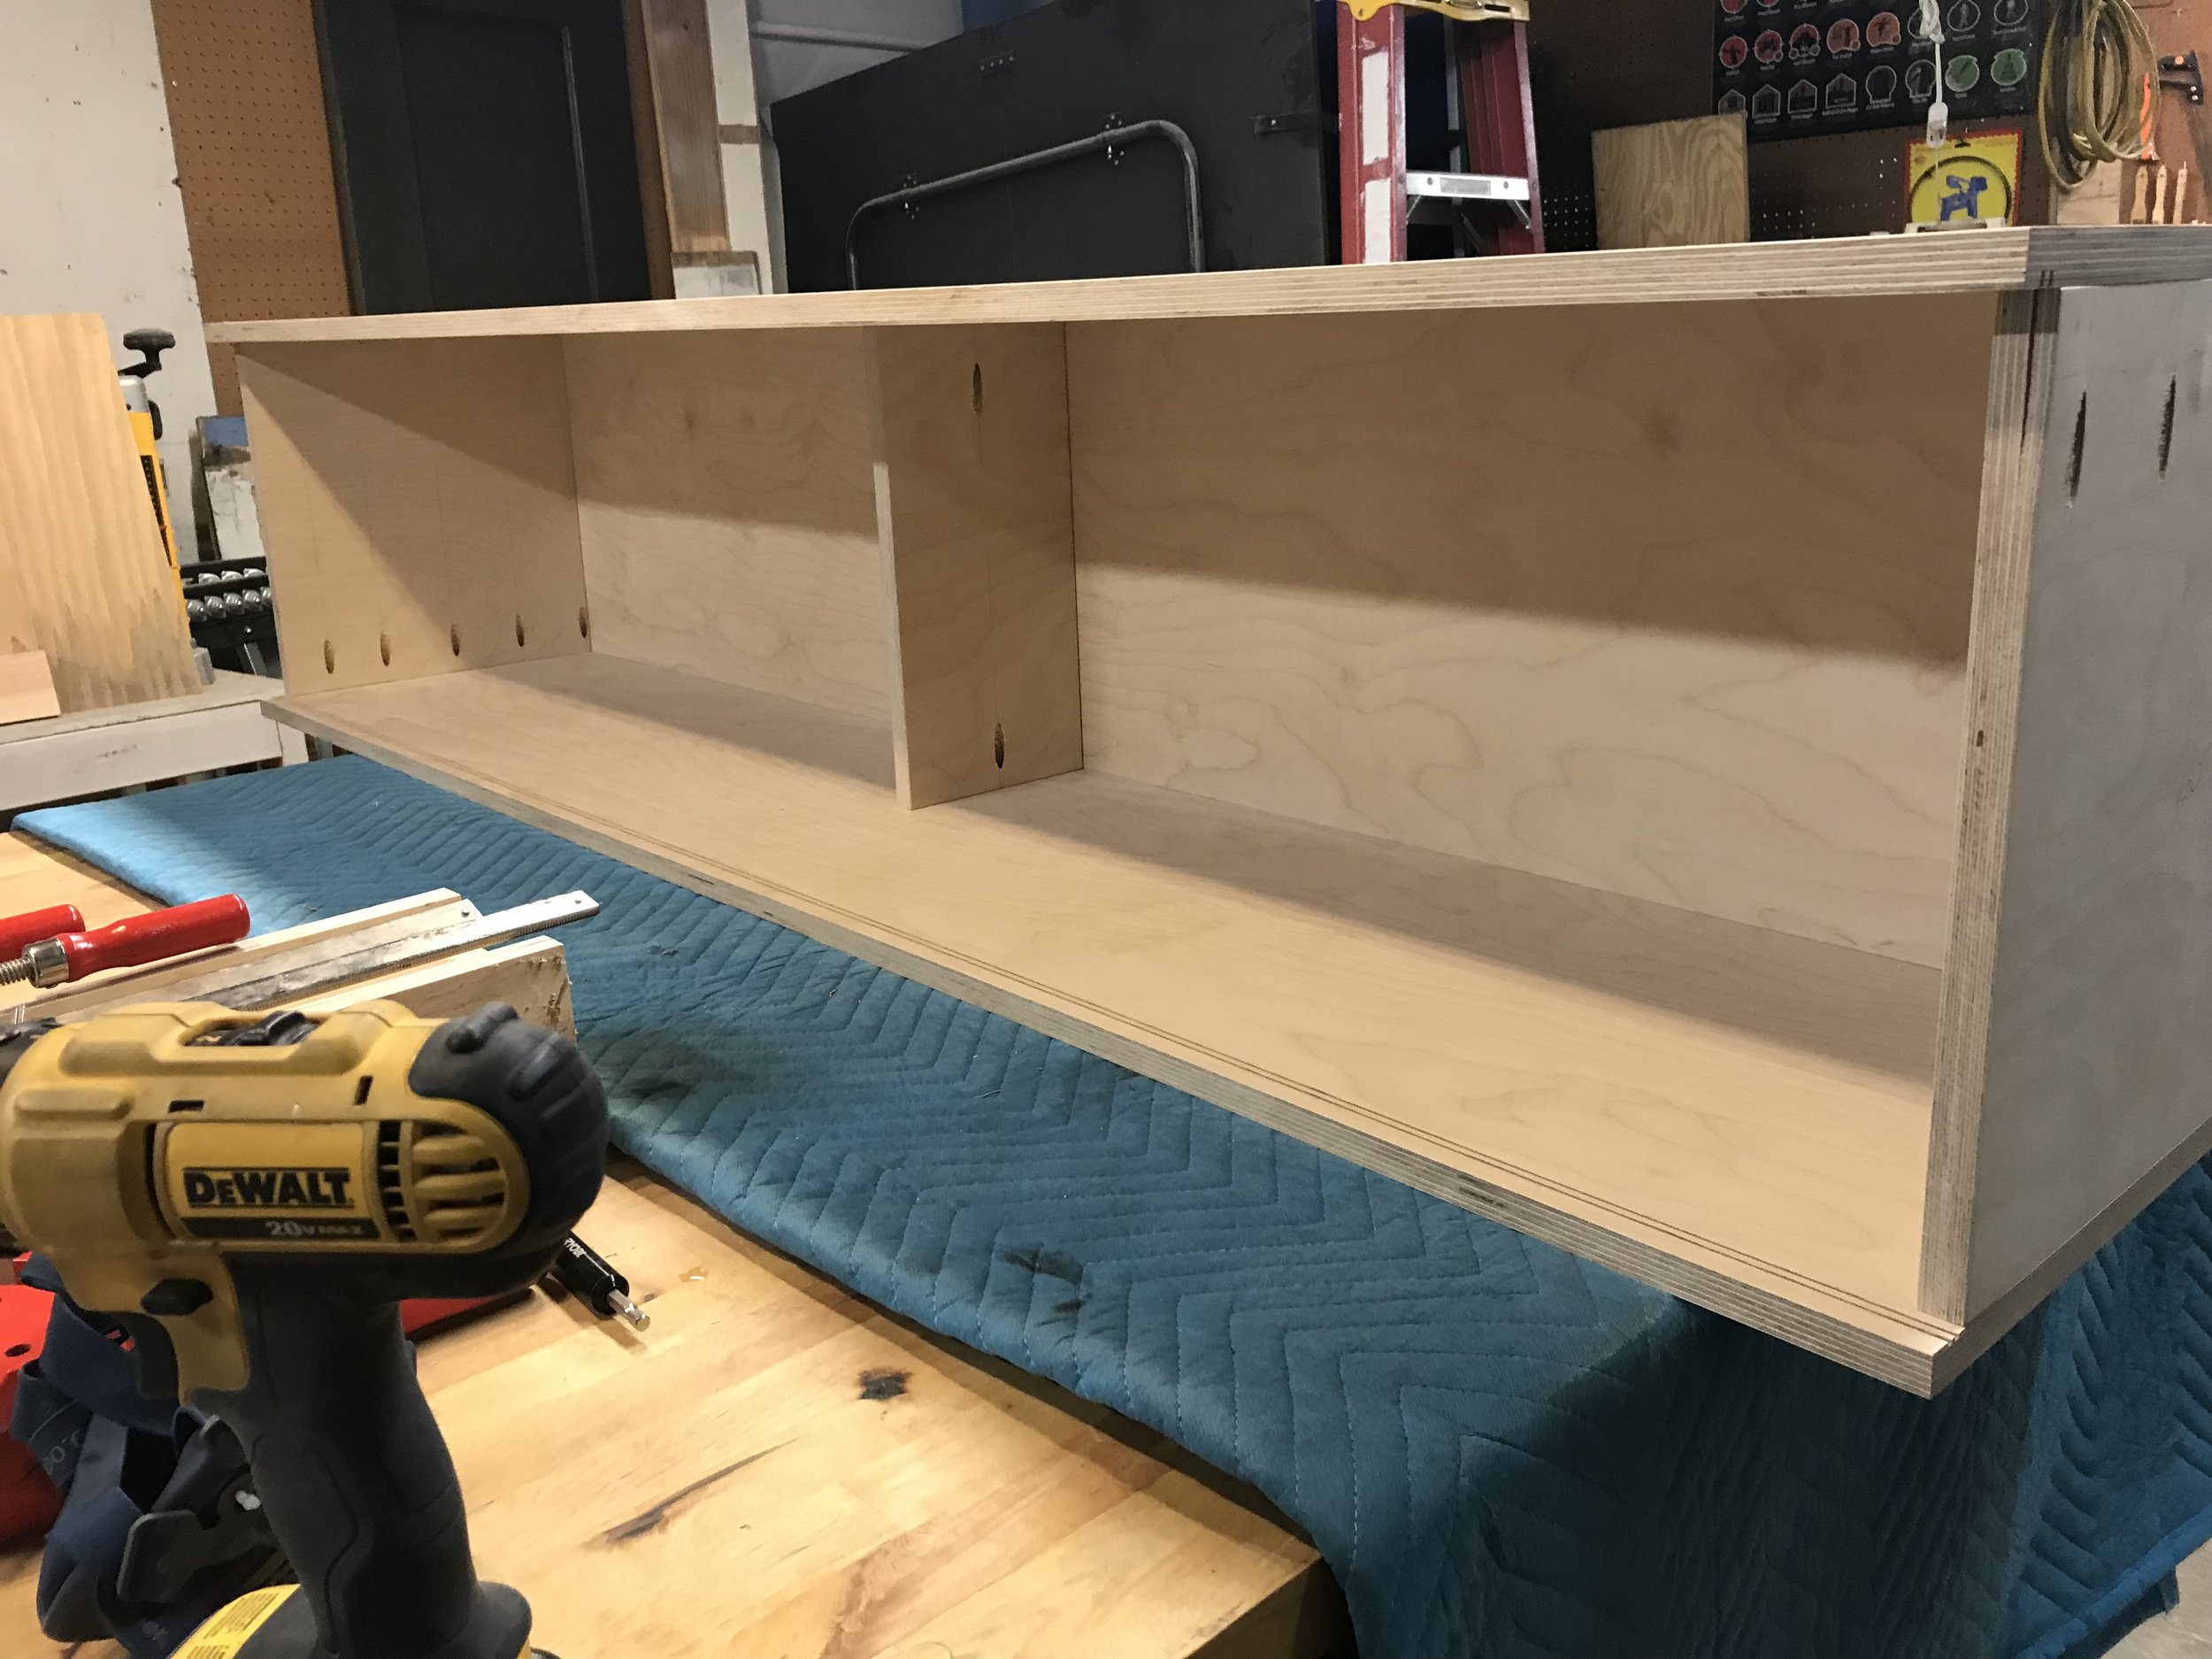
For the upper cabinets, Derek fabricated two long 15" x 15" rectangular birch plywood boxes to sit on either side of the vent hood wrap. We hate the idea of not being able to reach everything in your upper cabinets so we kept these long and skinny for a more modern twist. The 15" depth was determined by the depth of our turkey pan so I could finally have a place to store it haha.
For the doors we wanted to have sliders in lieu of traditional cabinet doors. Derek made the sliding doors out of masonite which he painted a high gloss white, and cut out a large 2" diameter finger hole on each end. He routed out a grooved track along the top and bottom of each upper cabinet for the masonite to glide seamlessly, and purposely exposing the plywood edges along all sides of the cabinet fronts.
Derek and our friend Max installed the upper cabinet boxes on each side of the vent hood wrap, and they fit perfectly.
Then they slid the glossy white doors into place and everything started to come together.
We wanted to have concealed upper cabinet storage on this wall for more unsightly items like the turkey pan, my hoarding of cake stands, Derek's hoarding of pint glasses, etc. because we will be having floating open shelves on the sink side of the kitchen.
Stay tuned for Part IX of our kitchen renovation saga where I'll share our (not so common) tile installation and custom floating shelves.


