
In case you missed Part I, Part II, Part III, Part IV, Part V, Part VI, and Part VII of our kitchen renovation saga be sure and check them out before we dive into the installation of our custom hot rolled sheet steel backsplash. I know it sounds crazy.
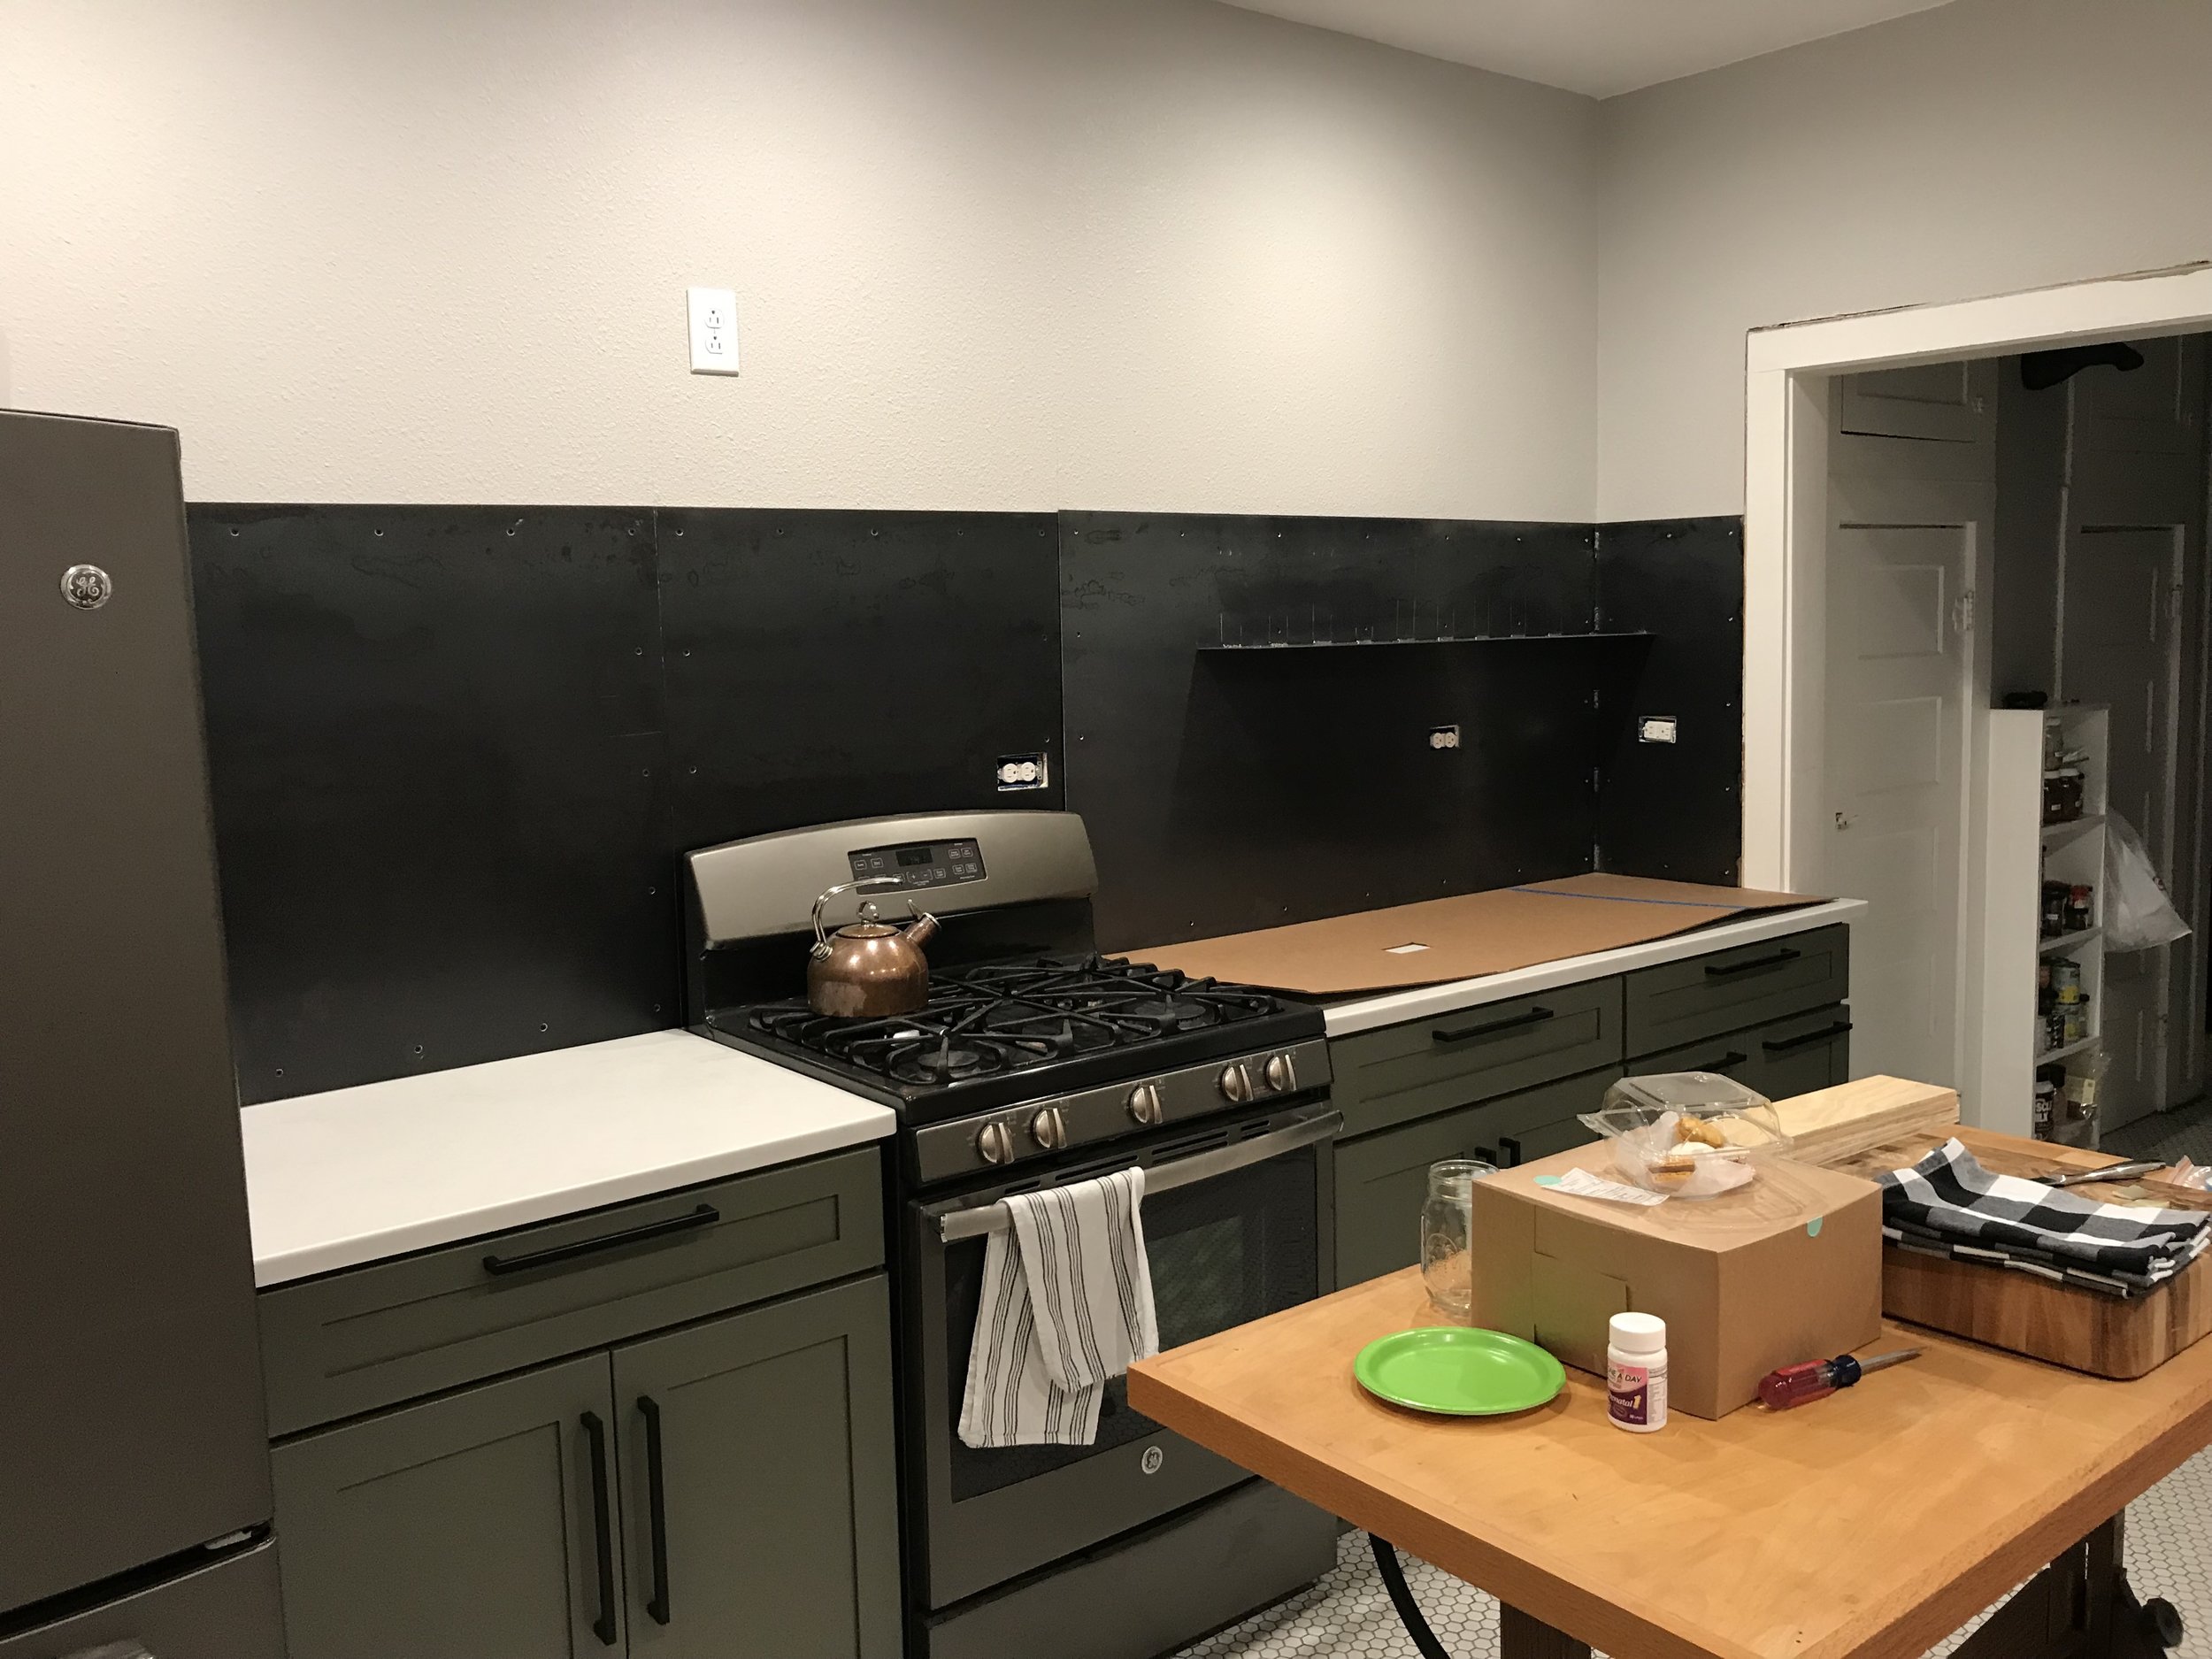
On the oven side of the kitchen we wanted to have a unique backsplash other than your typical tile. This isn't a wet area where tile is a necessity, so we wanted to have a little fun with it. We both love the look of hot rolled sheet steel with its natural mill scale and deep black color swirls. Also, the fact that it is magnetic was a fun bonus so that we could pin up recipes while we cook.
That shelf line you see to the right will be a thin piece of sheet steel welded in place so that it sort of creates an integral blade thin shelf that will hold spices and grains. With it all just being the same material it kind of just goes away and melds into the backsplash. You'll see!

The first step was to make templates out of cardboard for each piece of sheet steel that would be installed. This allowed derek to see where all of the outlet holes were and how everything would line up. Sheet steel isn't something you want to have to keep hauling around and trimming down if it doesn't fit.


He used 4x8 sheets of 14 gauge sheet steel that he cut down using a shear to match each template that he had created. Then he used a plasma cutter to cut out the finer details like the outlet holes.

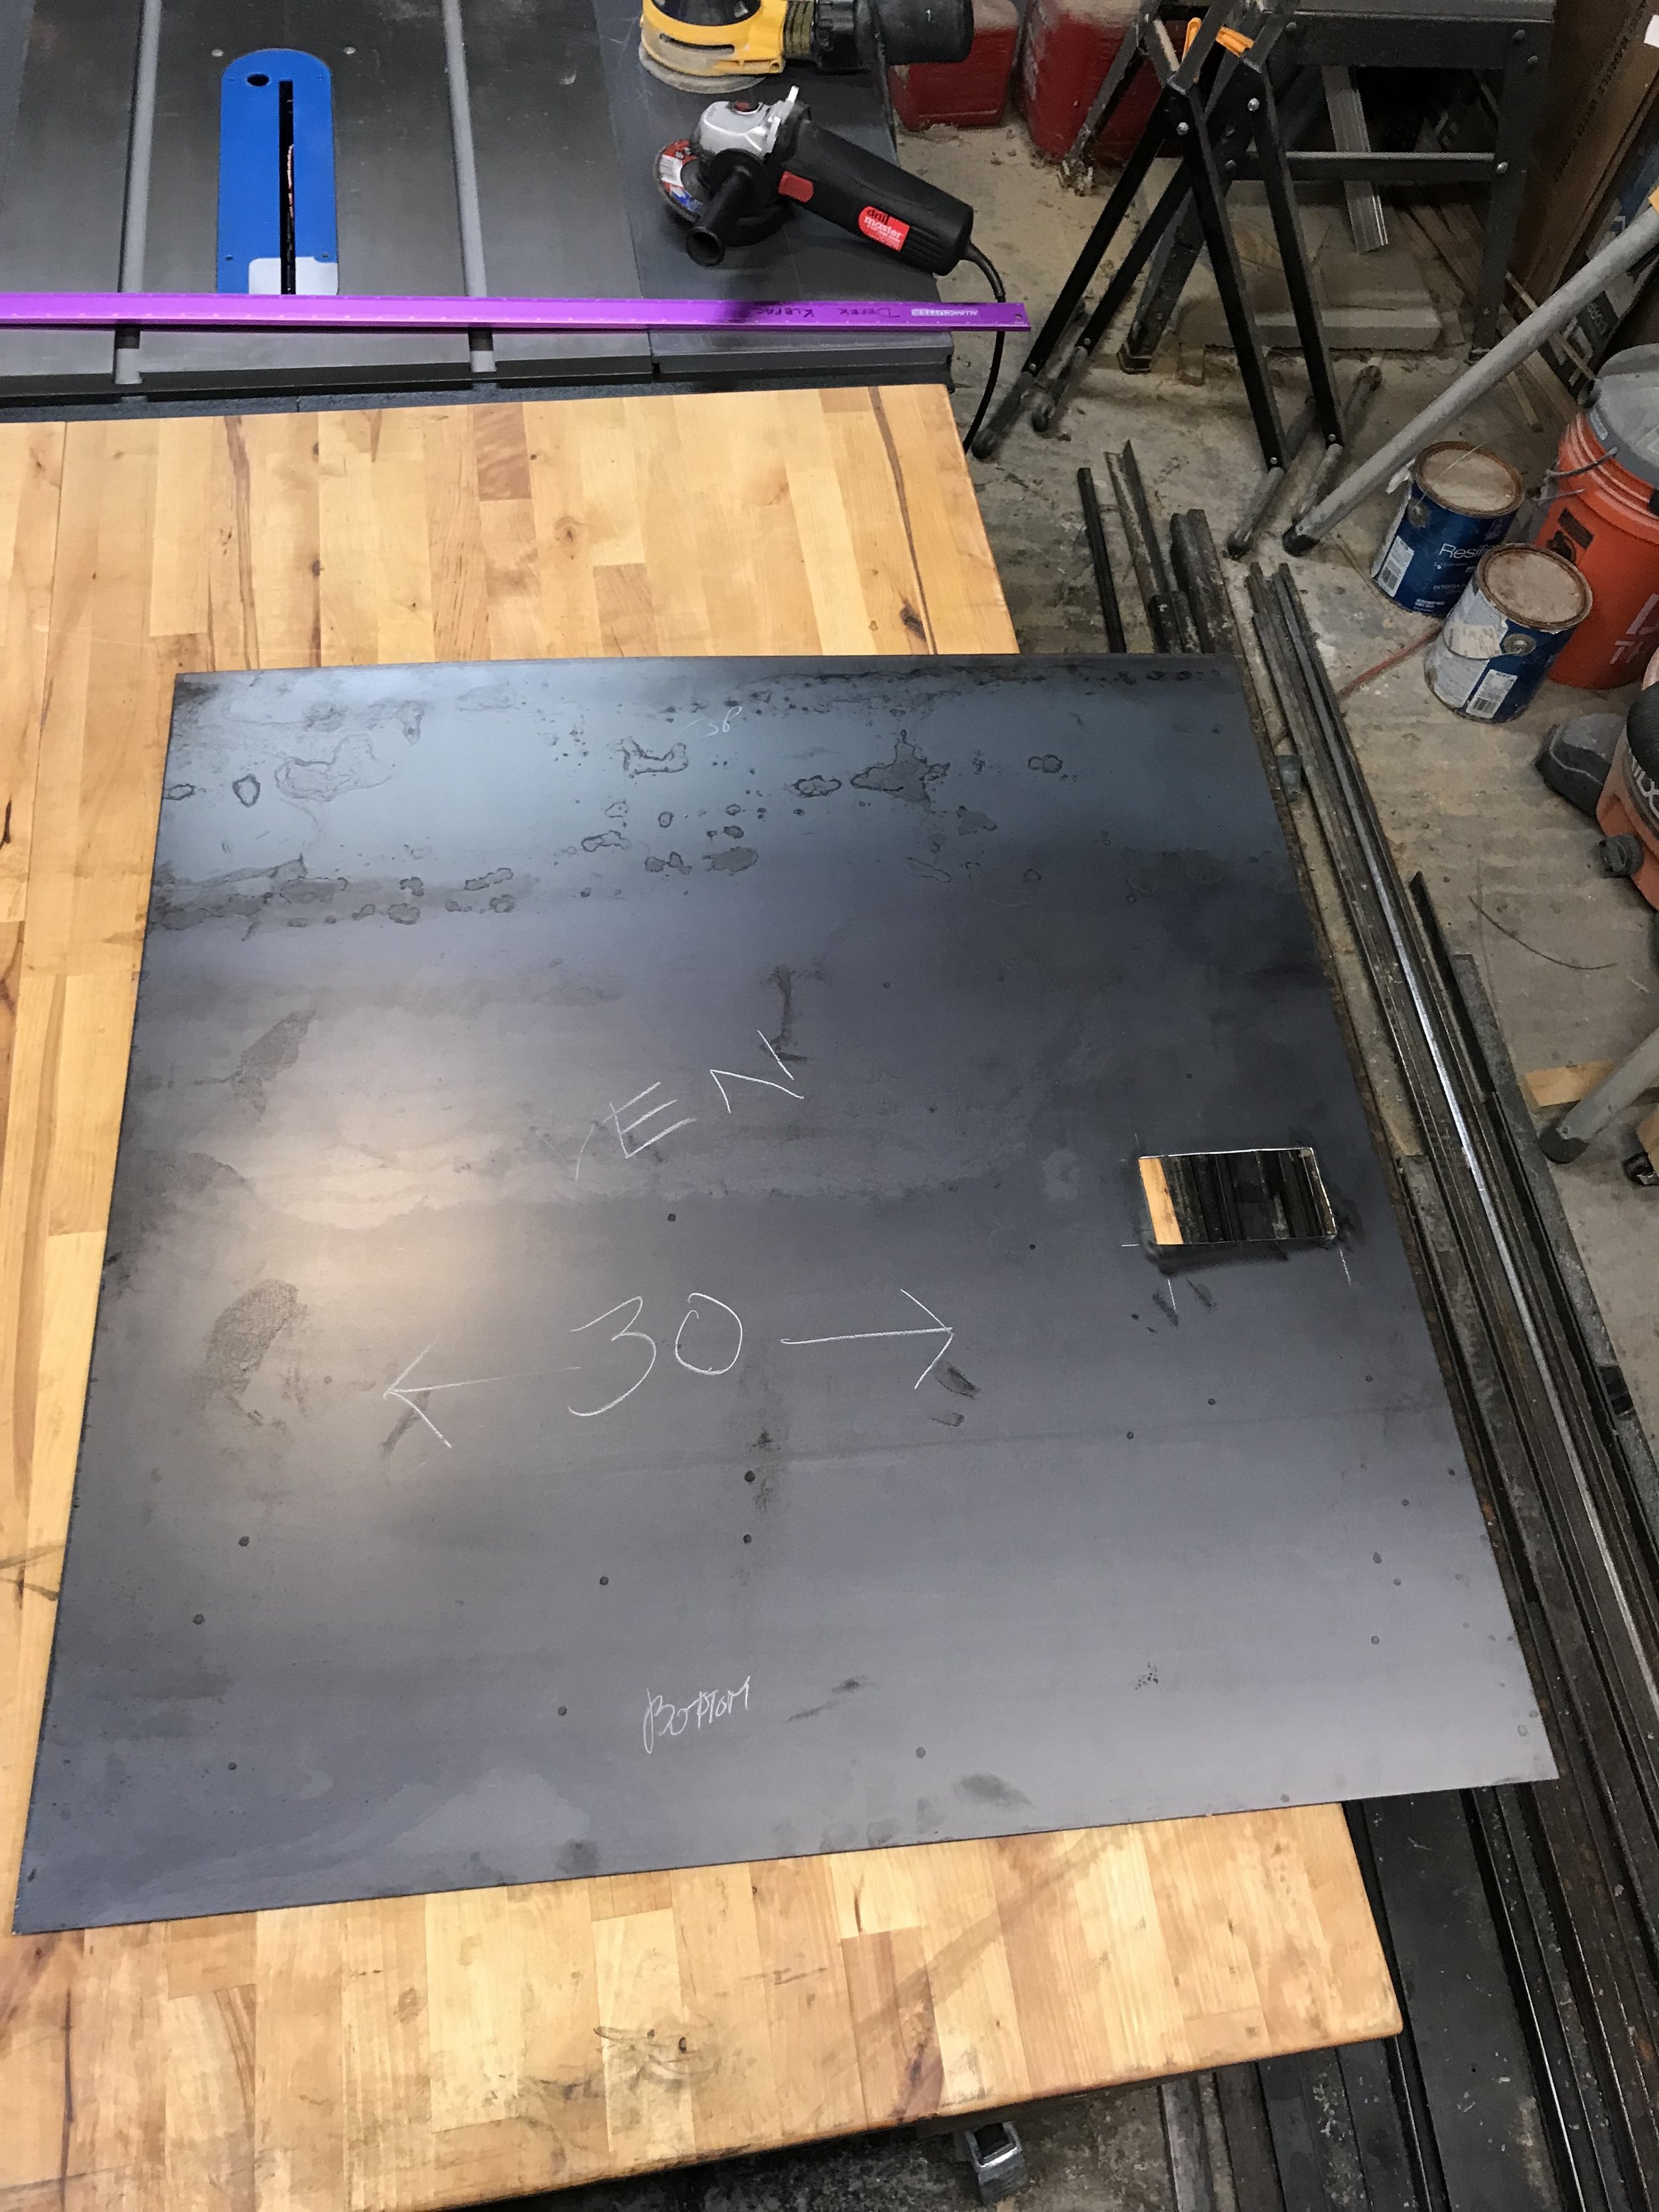
Then we decided on the spacing and pattern of the holes so that all of the fasteners looked uniform across the entire wall.

After pre-drilling and countersinking all of the holes for the fasteners he applied two coats of Mixwax Clear Spar Urethane. We really love the natural beauty of the mill scale that is produced in the factory when steel is hot rolled so we wanted to seal that in and enhance it.
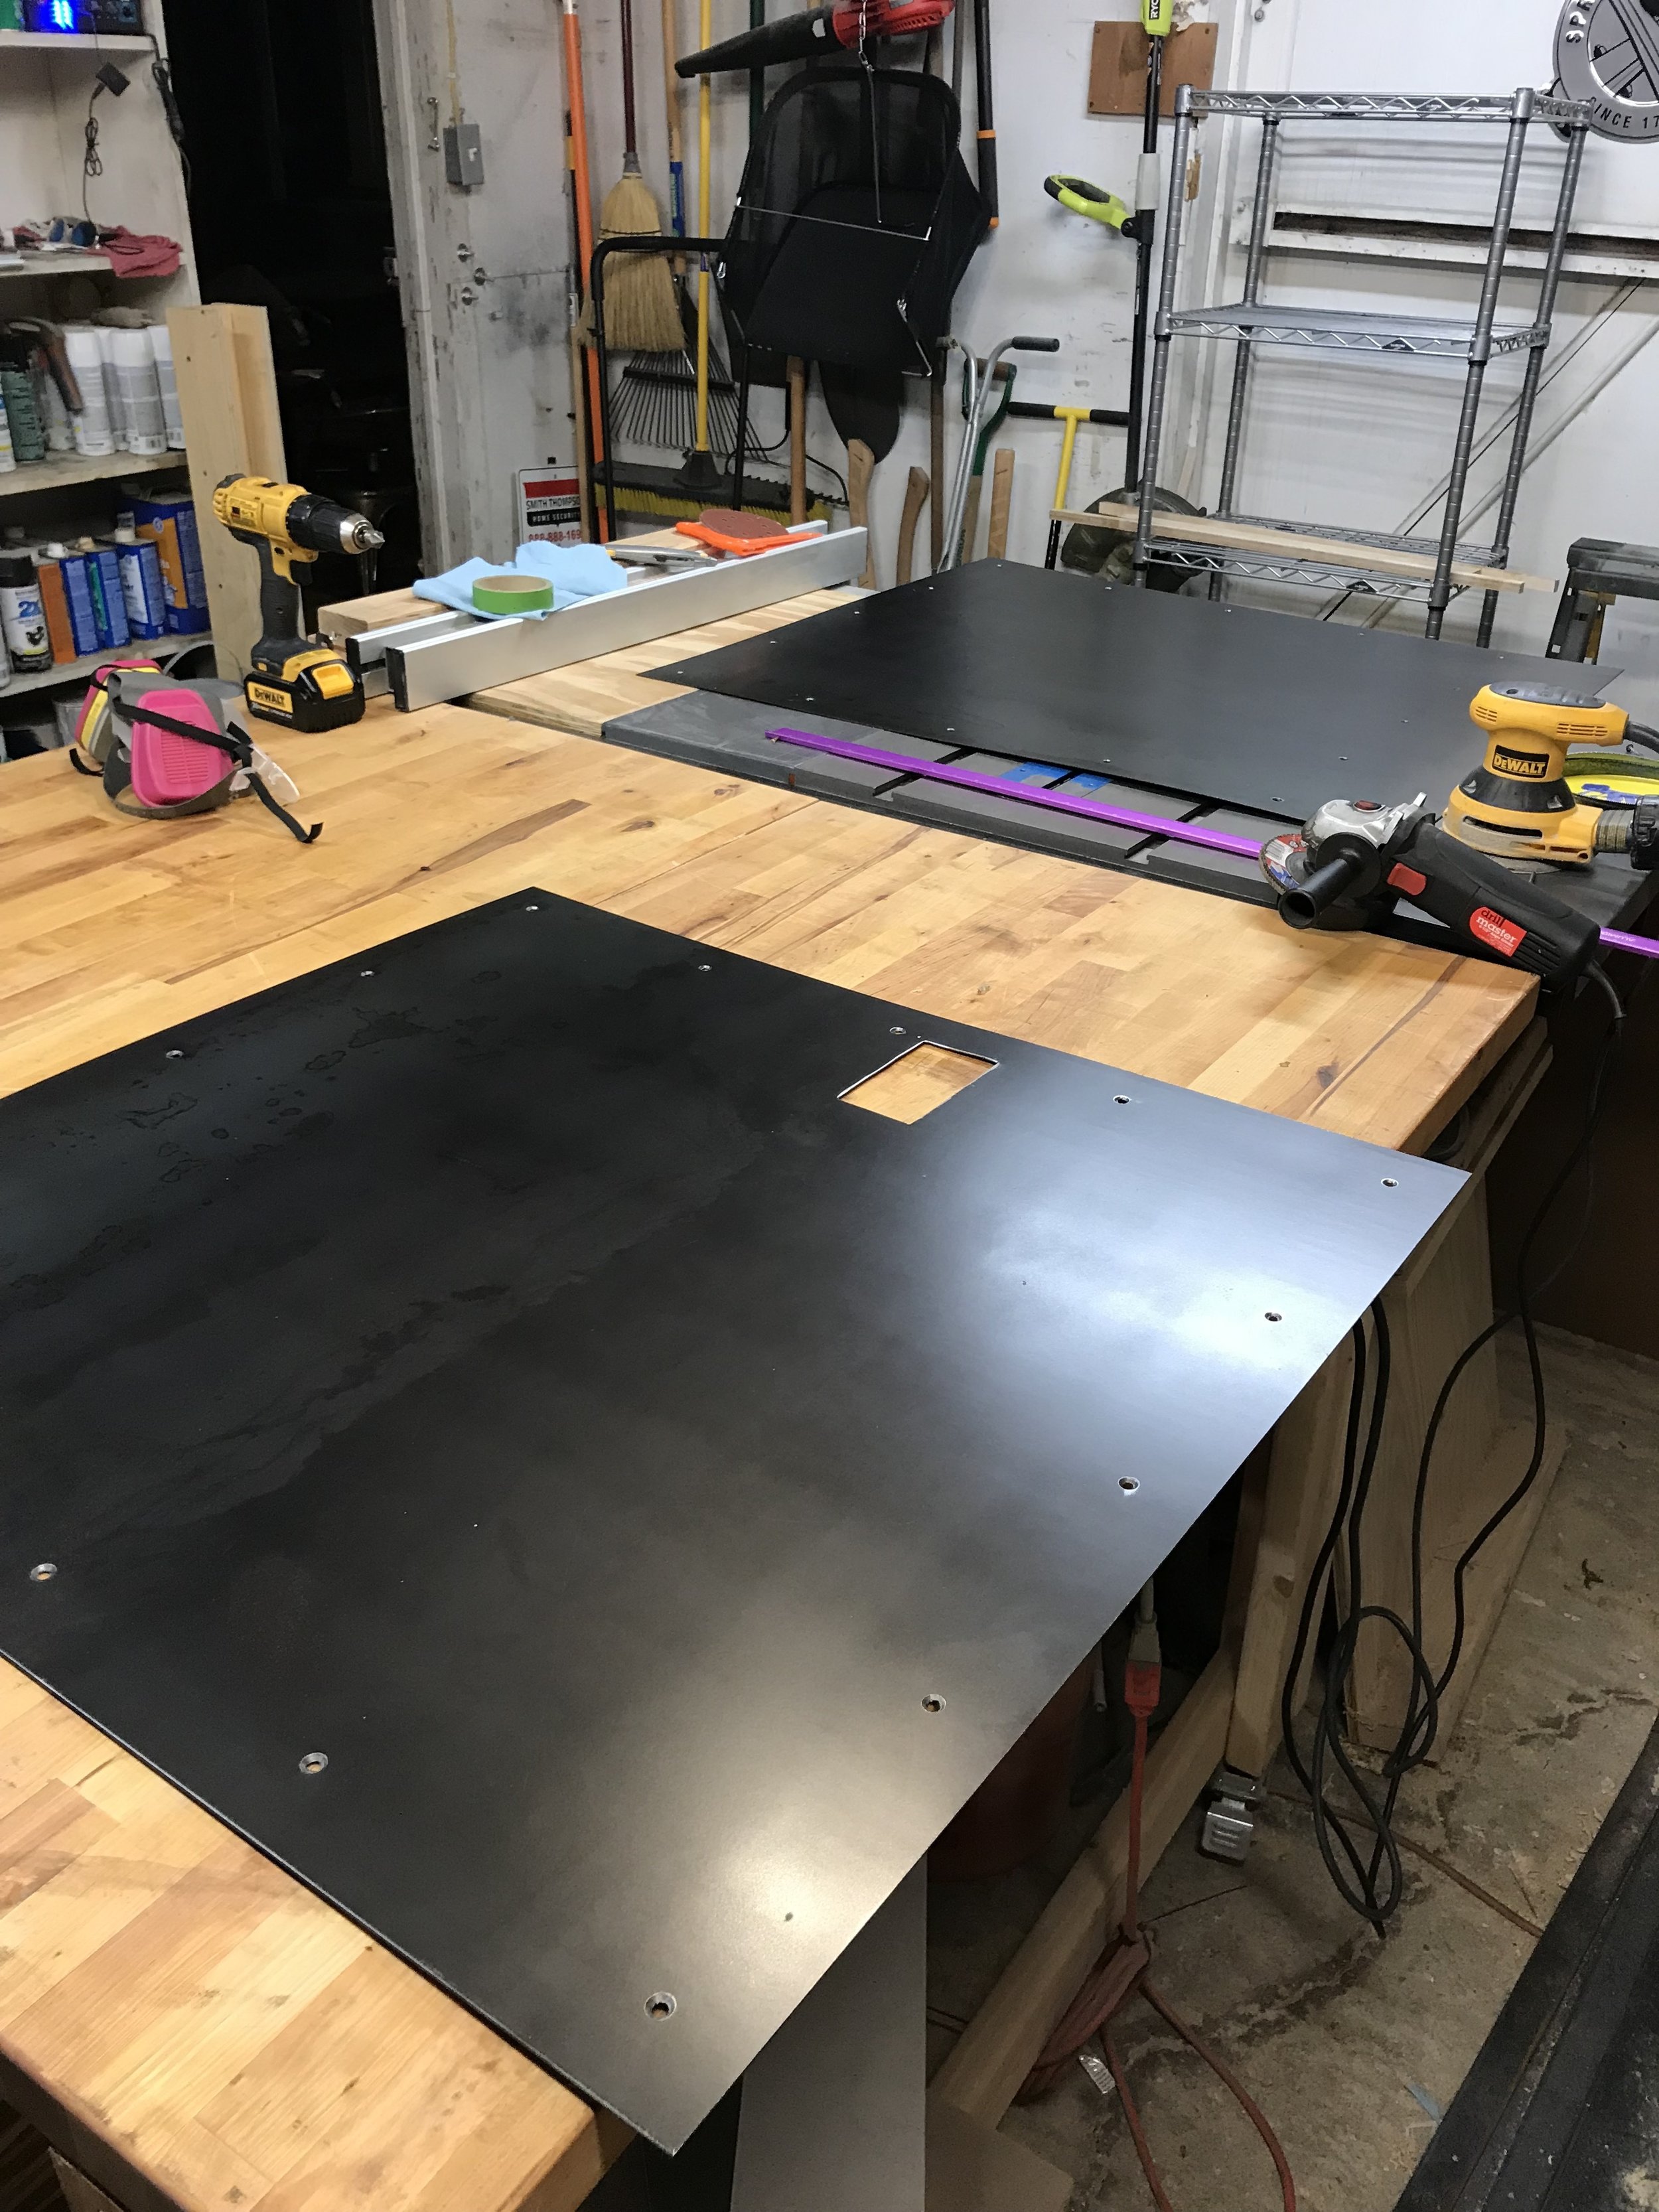
I held each piece in place as Derek installed all of the fasteners, and everything lined up perfectly thanks to our cardboard templates. We decided on black oxide coarse thread fasteners so that they kind of just disappeared into the steel. You can definitely still see them but they don't stand out as other fasteners would have.


For the thin blade shelf, Derek used a piece of 11 gauge sheet steel and tack welded it into place. He also welded on the 1 ft piece that turned the corner so that this final section was a solid unit.
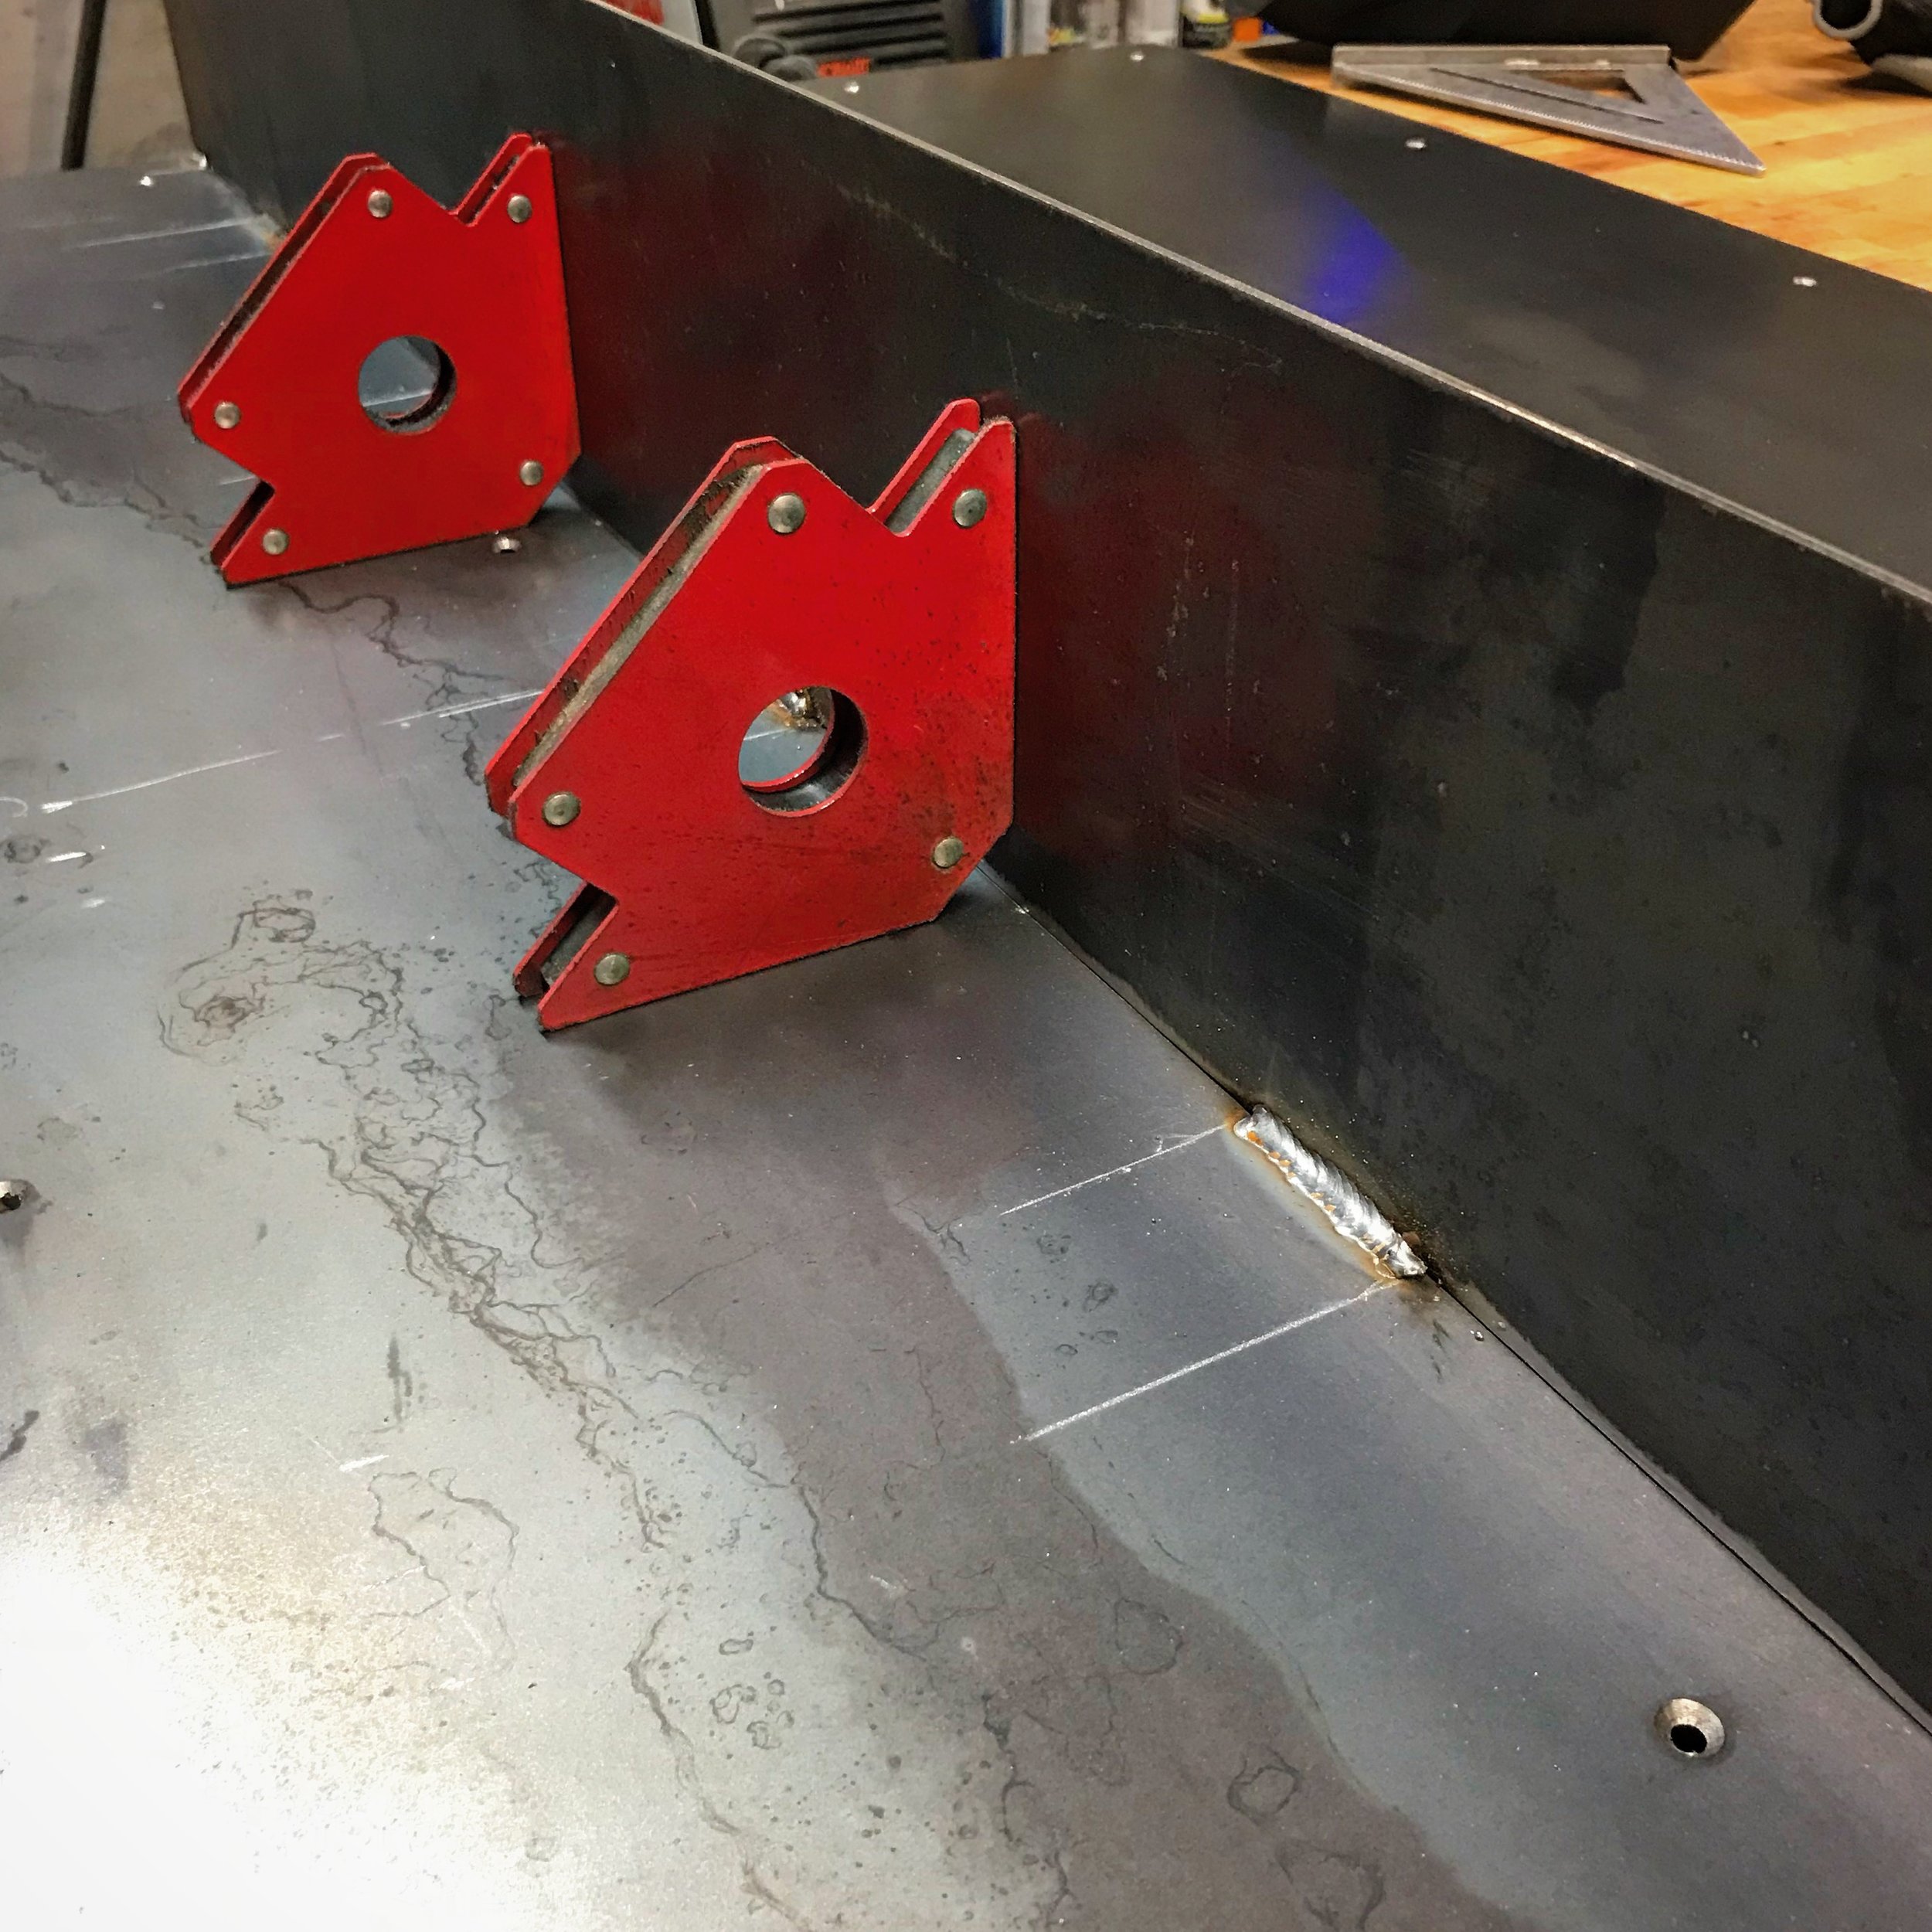


See just how thin it is? I love how everything just sort of floats on top.

Stay tuned for Part VIII of our kitchen renovation saga where I'll share our custom upper cabinets and vent hood wrap that Derek also made.